How to use VisiCut with Adobe Illustrator CS5
back to lasercutter page back to VisiCut pageThis tutorial explains how to create SVG files with Adobe Illustrator that can be used with VisiCut.
You can skip the first steps and download this template for Illustrator CS 5:
If you are using the template, scroll down to the last step: Draw and Save
Prepare Adobe Illustrator
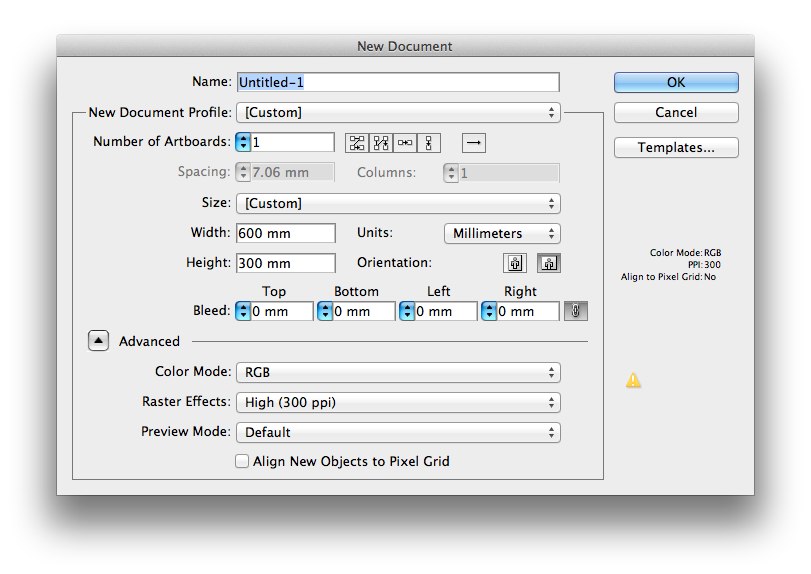
- Create a new document with Adobe Illustrator. Our lasercutter has a page size of 600mm x 300mm, so you can create files with this size or smaller
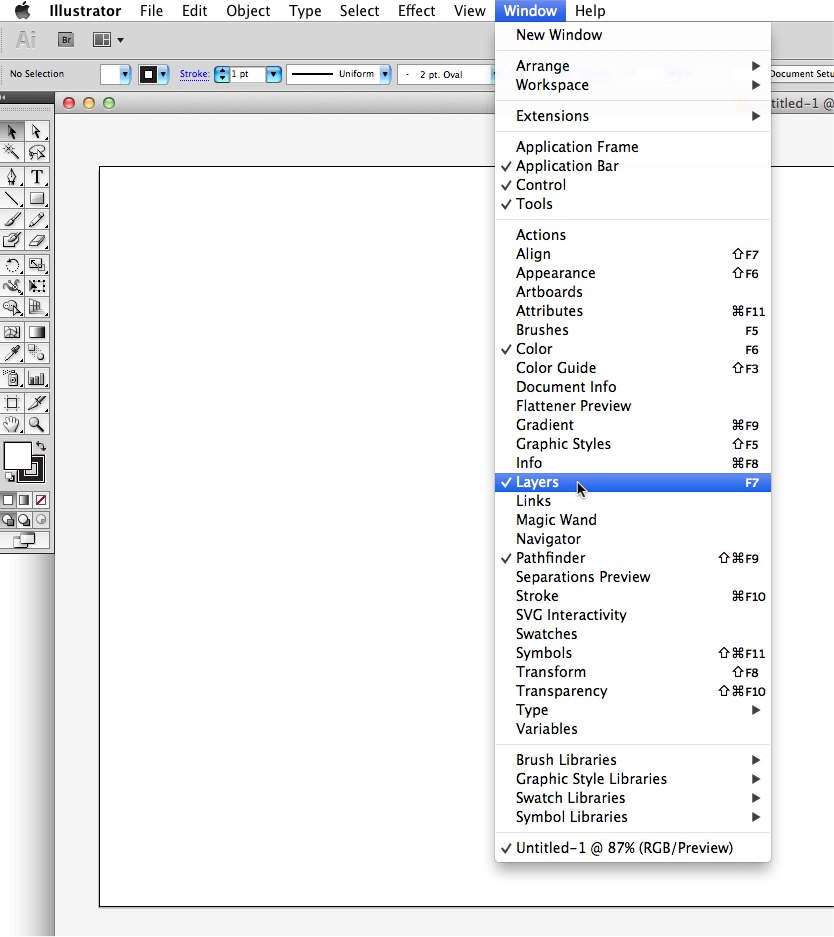
- Show layers. Make sure that the "layers" window is visible: you can find an entry called "layers" in the "window" menu. Make sure that this entry is enabled. You can also use the keyboard shortcut F7
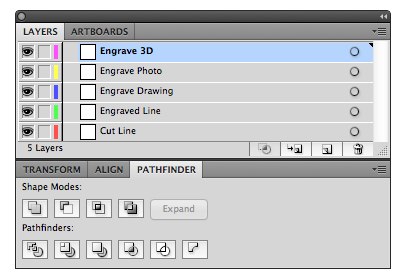
- Create five layers: Cut Line, Engraved Line, Engrave Drawing, Engrave Photo, and Engrave 3D and delete the default layer (Layer1):
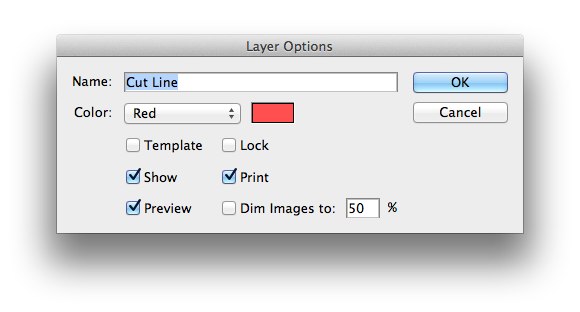
- In order to change the name and the color of a layer, double-click a layer's name in the layer window and change the parameters. Here is an example for the Cut Line layer:
Draw and Save
- Now you can draw any object to your layers.
- Put all shapes, that have to be cut out on the Cut Line layer. These shapes must have no fill color, but a dark stroke color.
- If you want to engrave lines (no areas) or shapes without a fill, put those objects on the Engraved Line layer. Keep in mind that these shapes must have a dark stroke color, but no fill.
- Put all filled shapes that you want to engrave on the Engrave Drawing layer.
- Images and Photos belong to the Engrave Photo layer.
- The 3D mode of the Engrave 3D is special. You can't mix 3D-shapes and normal shapes in one laser job. Short description: the darker the shape, the deeper the engraving.
If you want to move an object from one layer to the other (e.g. from Engraved Line layer to Cut Line layer), first select the object and then select target layer (e.g. the Cut Line layer) and select this entry from the menu: Object->Arrange->Send to Current Layer
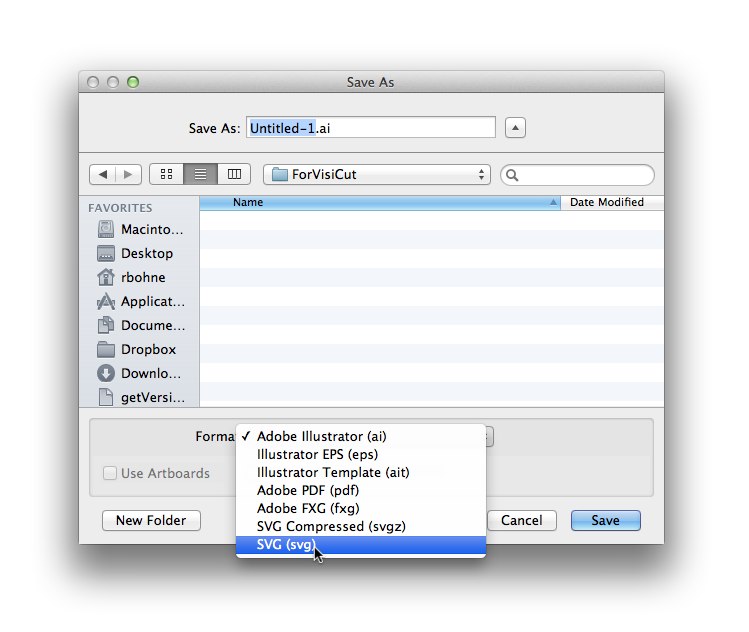
- Save your file: always save your work in the original Adobe Illustrator CS5 file format. VisiCut does not support this file format, so you have to convert the file into the SVG file format. Select this menu entry: File->Save As and the following dialog will appear:
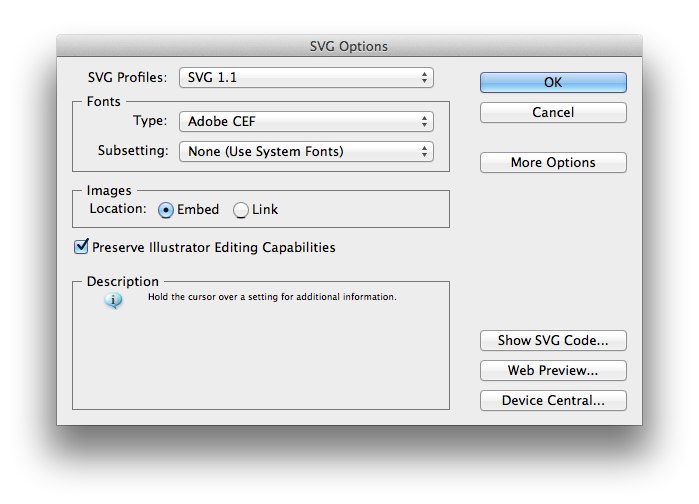
A new dialog appears. Select SVG 1.1 from the SVG Profiles groupbox:
You are done! The file is ready to be imported into VisiCut.