Back to Tools
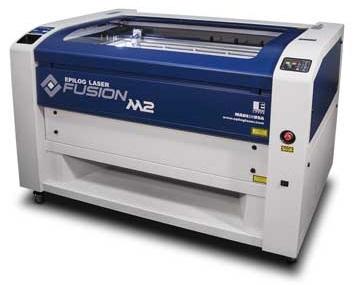
Our Lasercutter: Epilog Fusion M2 40
Machine status: Ready to use
In 2020, we upgraded our lasercutter from our old Epilog Zing 6030 to a new Epilog Fusion M2 40. It also uses a CO2 laser, so the materials that can be cut are the same, but it has a larger cutting bed size of 40 x 28 inches (slightly over 100 x 70 cm), and it's a 60 Watt laser, making it quite a bit faster than our old model.
Files
The lasercutter works with PDF (preferred) and SVG files that you can bring on a USB stick. The files can be created with any ordinary painting program. For most of our simple projects, we use Inkscape.
If you want to cut something, you need to make sure that your program exports the lines as vector paths. To engrave something, it can be either a colored area, a vector line, or even a normal picture inside the PDF.
If you want some lines/areas cut/engraved with different settings (for example, cutting through vs only marking), you can color them. In the lasercutter software we can then assign different cutting settings to different colors.
Material
Our laser cutter can not cut or engrave metal!
However, we can cut most wood, foam, acrylic sheet and acrylic glass. You can bring your own material or use some of ours. Our lasercutter can only cut 5mm to 6mm deep. The cutting area is 100cm x 70cm.
Bringing your own material:
When bringing your own material to cut or engrave, it is important that the material is as level as possible. When using material that has bends, the lasercutter may not be able to deliver a clean cut or engraving result because of the varying material height. When your material is very level and flat, the lasercutter will deliver a very exact result. You don´t need to pay anything when bringing your own material.
Some materials should not be cut with a lasercutter. Please refer to this material list to check if we have already cut your material. If not, the internet may have some information on whether your material is suitable for lasercutting.
Using our material:
We always have some material with multiple thicknesses available. This includes Finnboard (de: Finnpappe), poplar plywood (de: Pappel Sperrholz), MDF, acrylic glass (de: Acrylglas), and some colored acrylic sheets. Because of a lack of storage space, most of our material is 30cm x 60cm. Some bigger leftovers might be available.
When using our material, we will pass on the purchase price to you. Some leftover material might be available free of charge.
Step-by-Step tutorial on how to use the lasercutter
Information for FabLab Staff
Page about the filter system: https://hci.rwth-aachen.de/lasercutter-filters
Guide to the Arduino Compressor Controller
Laser Cutter Maintenance
-
Clean the Lens: weekly to remove smoke residue and ensure optimal beam quality.
-
Clean the Mirrors: every few months to maintain reflectivity and cutting performance.
-
Clean the Scale: monthly inspection and cleaning of the ruler/scale to ensure accurate positioning.
-
Check the Focus: monthly calibration of the focal height for precise cutting and engraving.
Maintanance Files
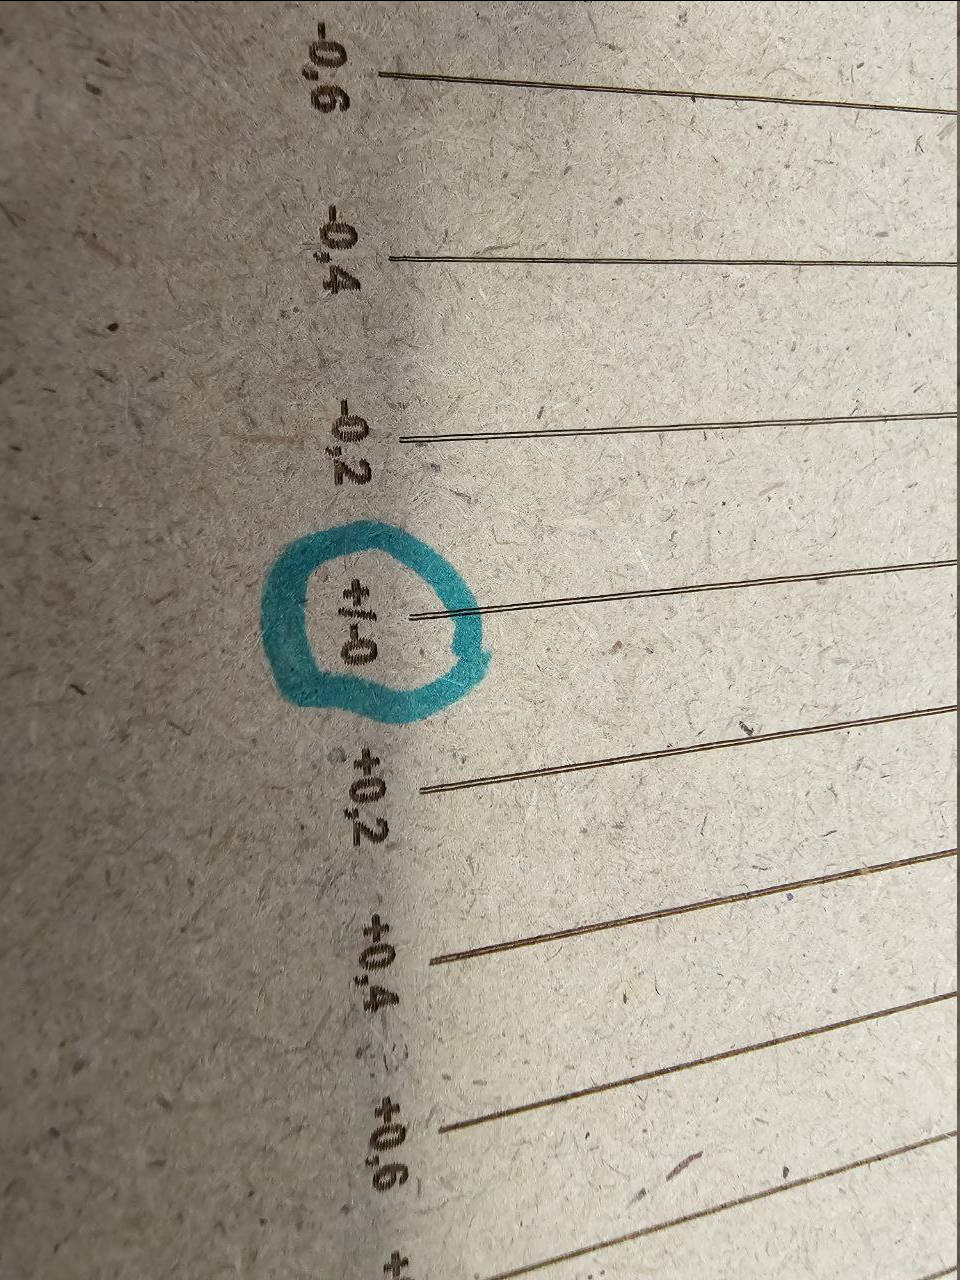
Fokustest
To check the laser focus, you can use this test file. Manually set the material thickness on the laser cutter itself and load the PDF.
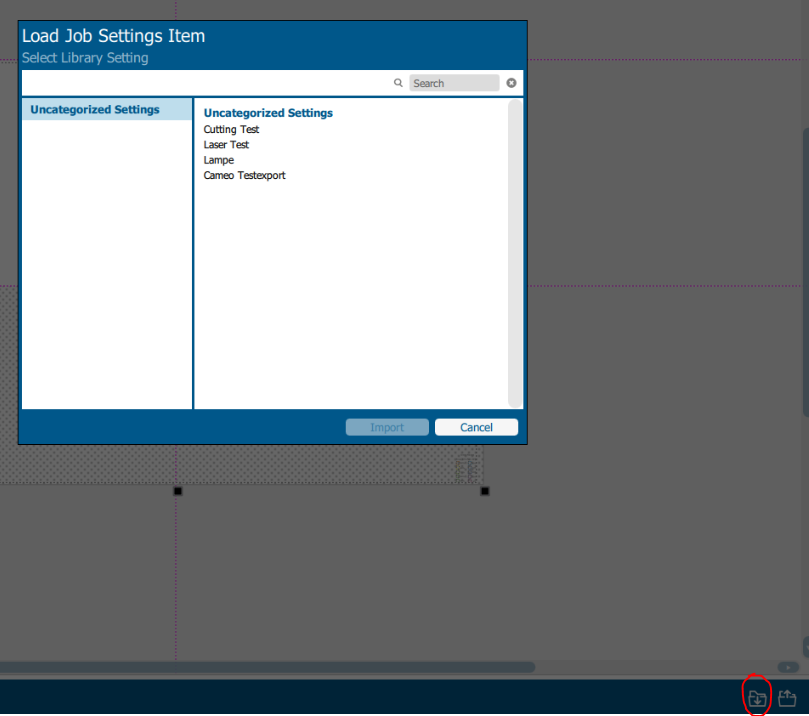
Import the "LaserTest" preset in the Epilog Dashboard and click "Print."
You will now see several engraved lines. If the laser is correctly focused, you should see two very thin, separate lines instead of one thick one.
The numbers represent the deviation from the set focus height. You can adjust your focus accordingly.
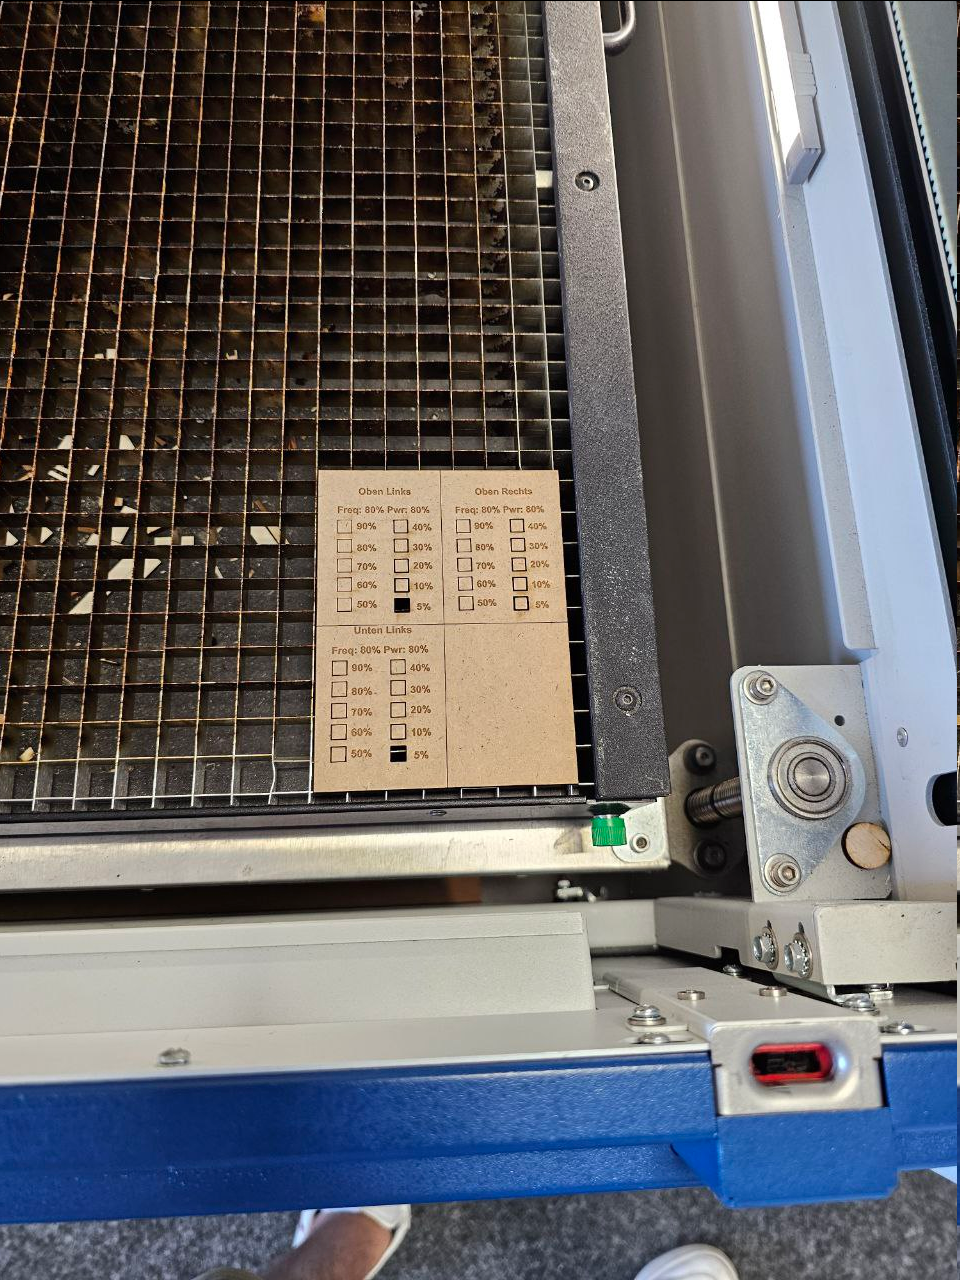
Test for Cutting parameters
To determine the laser cutting parameters for a given material you can use this test file. Manually set the material thickness on the laser cutter itself and load the PDF.
Import the "CuttinTest" preset in the Epilog Dashboard and click "Print."
Set the PDF origin to x=5mm and y=5mm
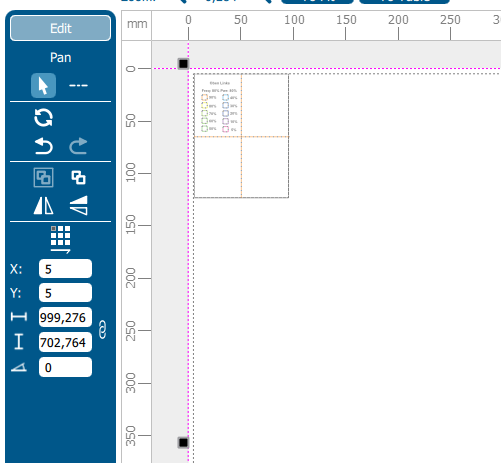
Then Isolate each corner and cut them one after the other
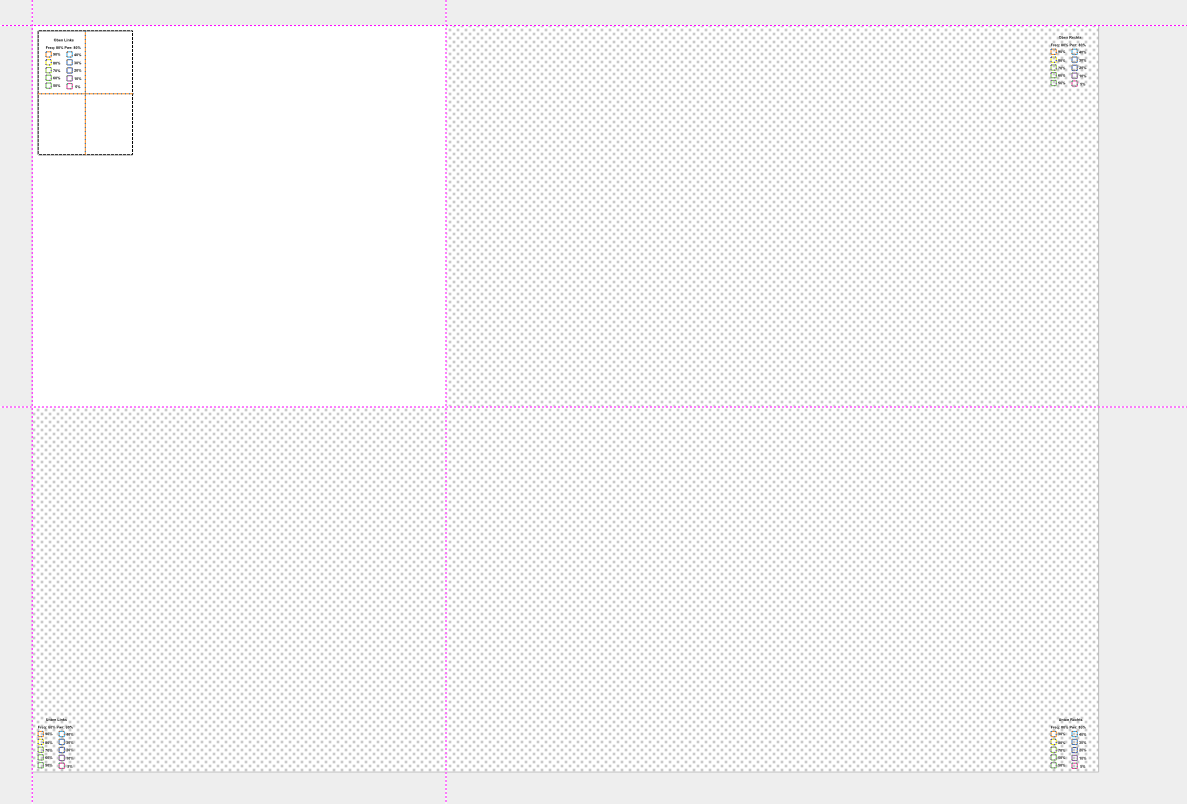
The white Area determines which lines should be cut/engraved.
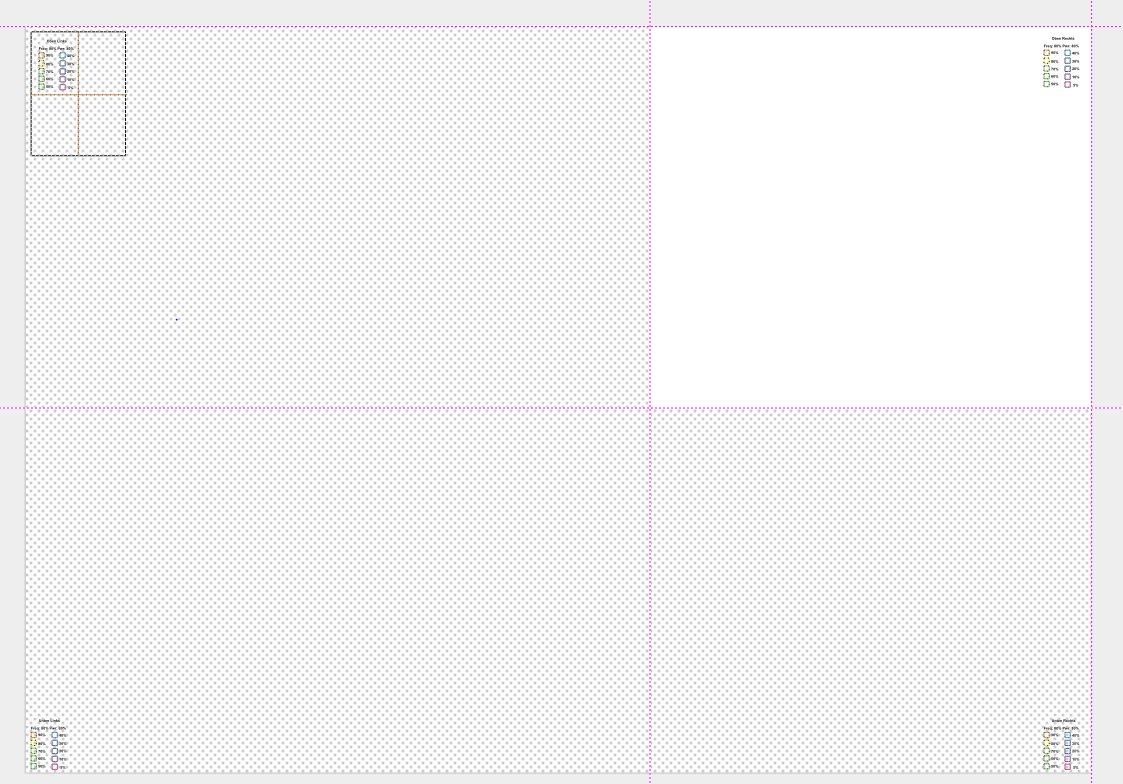
Then try to align the cut out piece on the cuttingbed.
The right corner of the right pieces should be aligned to x=1010mm
And the lower left corner on the lower two pieces should be aligned to y=710mm
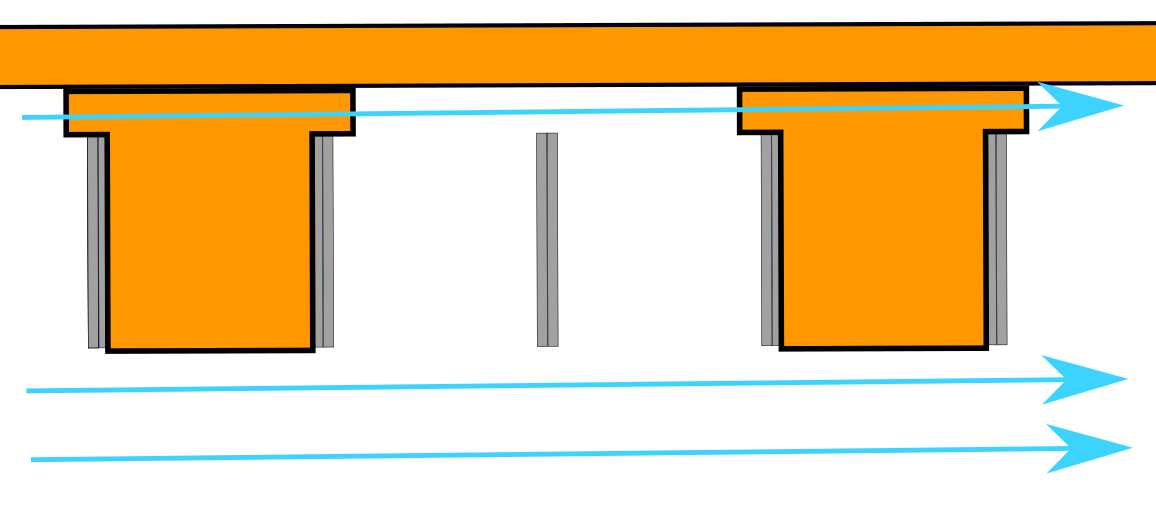
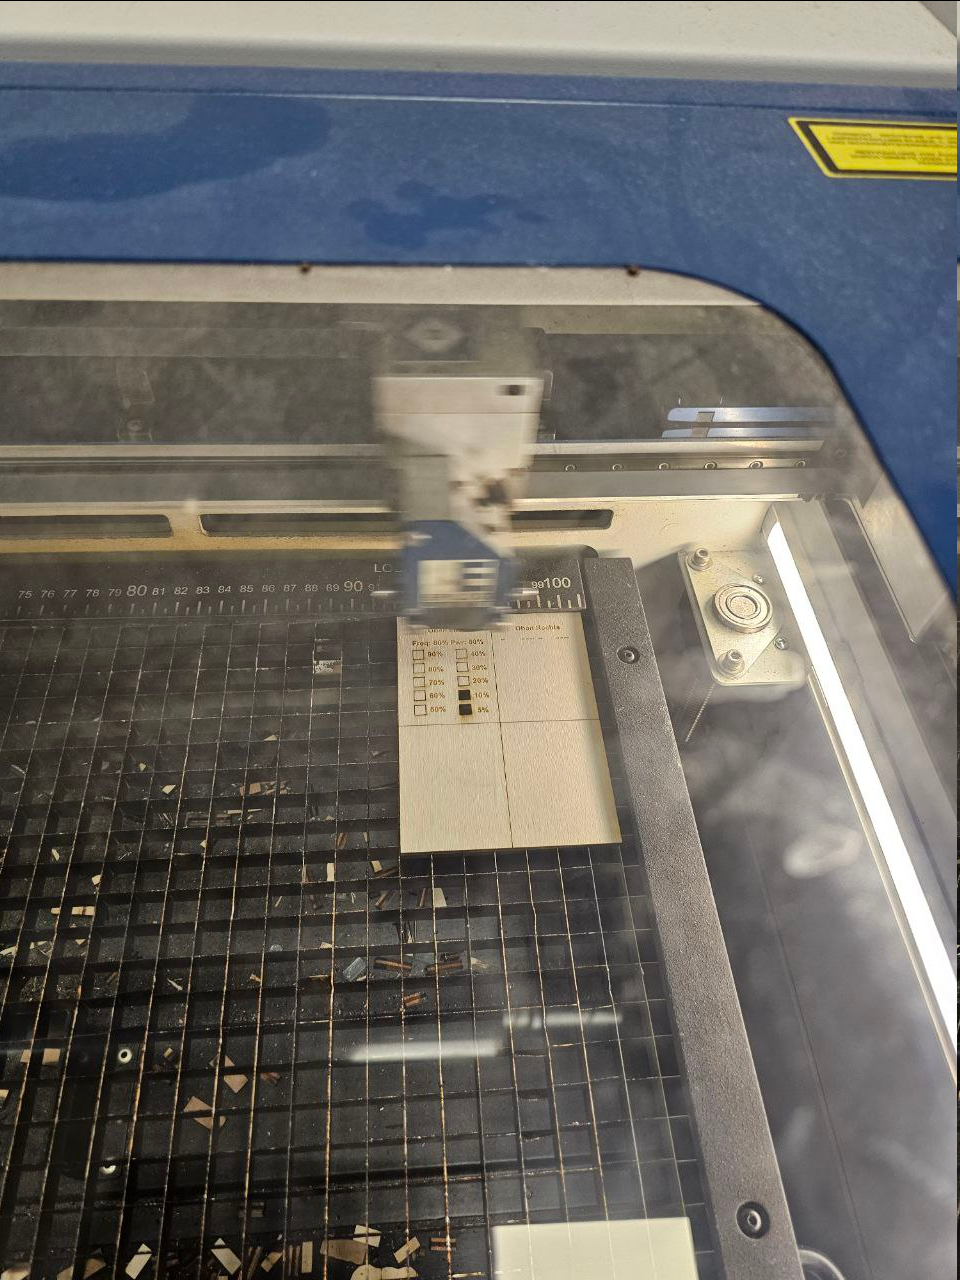
Robert's idea for material positioning
When positioning a flat piece of Material on top of the grating
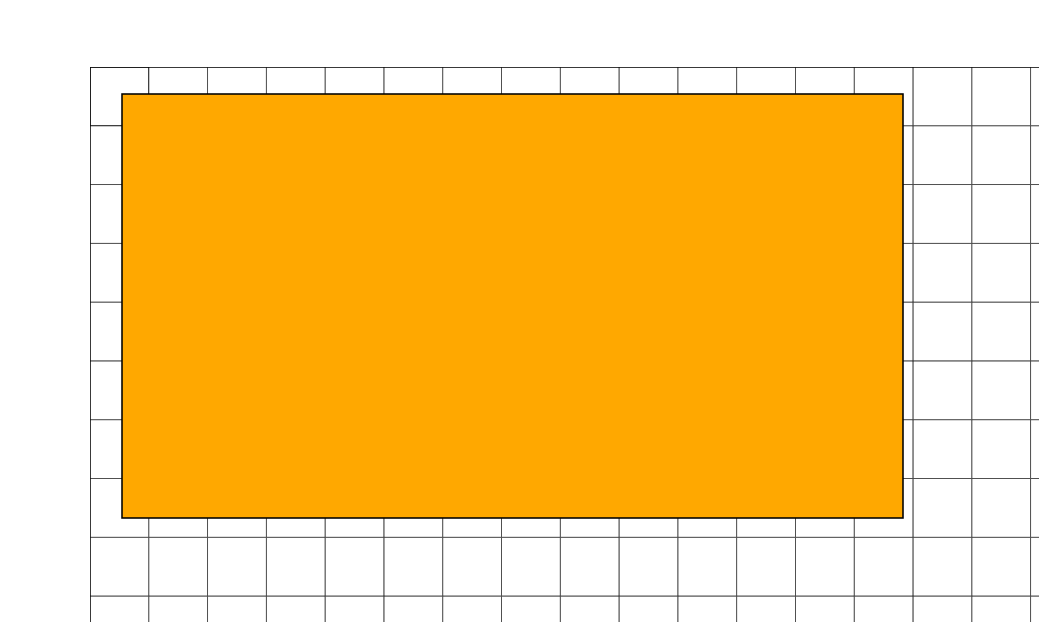
You will create small section of a vacuum inside the tiles of the grid when the air filter is turned on. This vacuum is not strong enougth to hold onto the material, but there will be more deposites on the grid and a visible grid pattern will appear below the material.
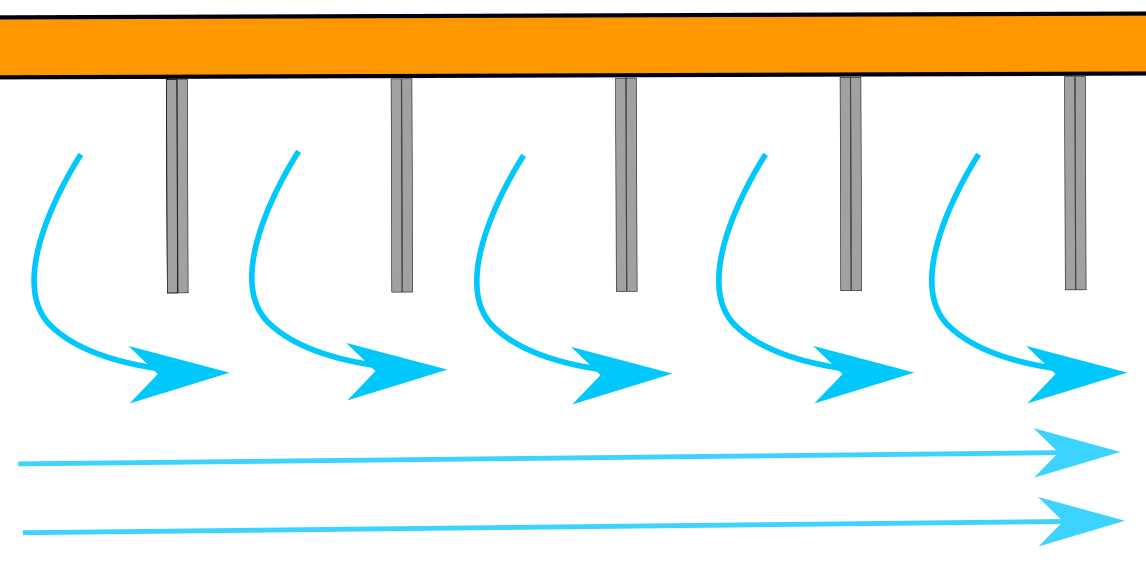
To prevent this, small T-pieces can be layed down to allow the air to move unobstructed below the material. It is recomennded, that the T-pieces are the same Material as the one you will cut, to prevent different colored deposition, when one of the T-pieces is cut accendentally.