Tutorial: Lasercutting with the Epilog Fusion M2
🔺 Read the safety instructions before use! 🔺 Fire hazard - never leave the laser cutter unattended!
Content
- Turning everything on
- Loading your material
- Opening your file and entering cutting settings
- Focus
- Sending the job to the lasercutter
- Starting the job
- Finished
|
Step |
Action |
|
1a |
Turn the lasercutter ON Press the main switch on the right side of the laser cutter.
click an image to enlarge!
|
|
1b |
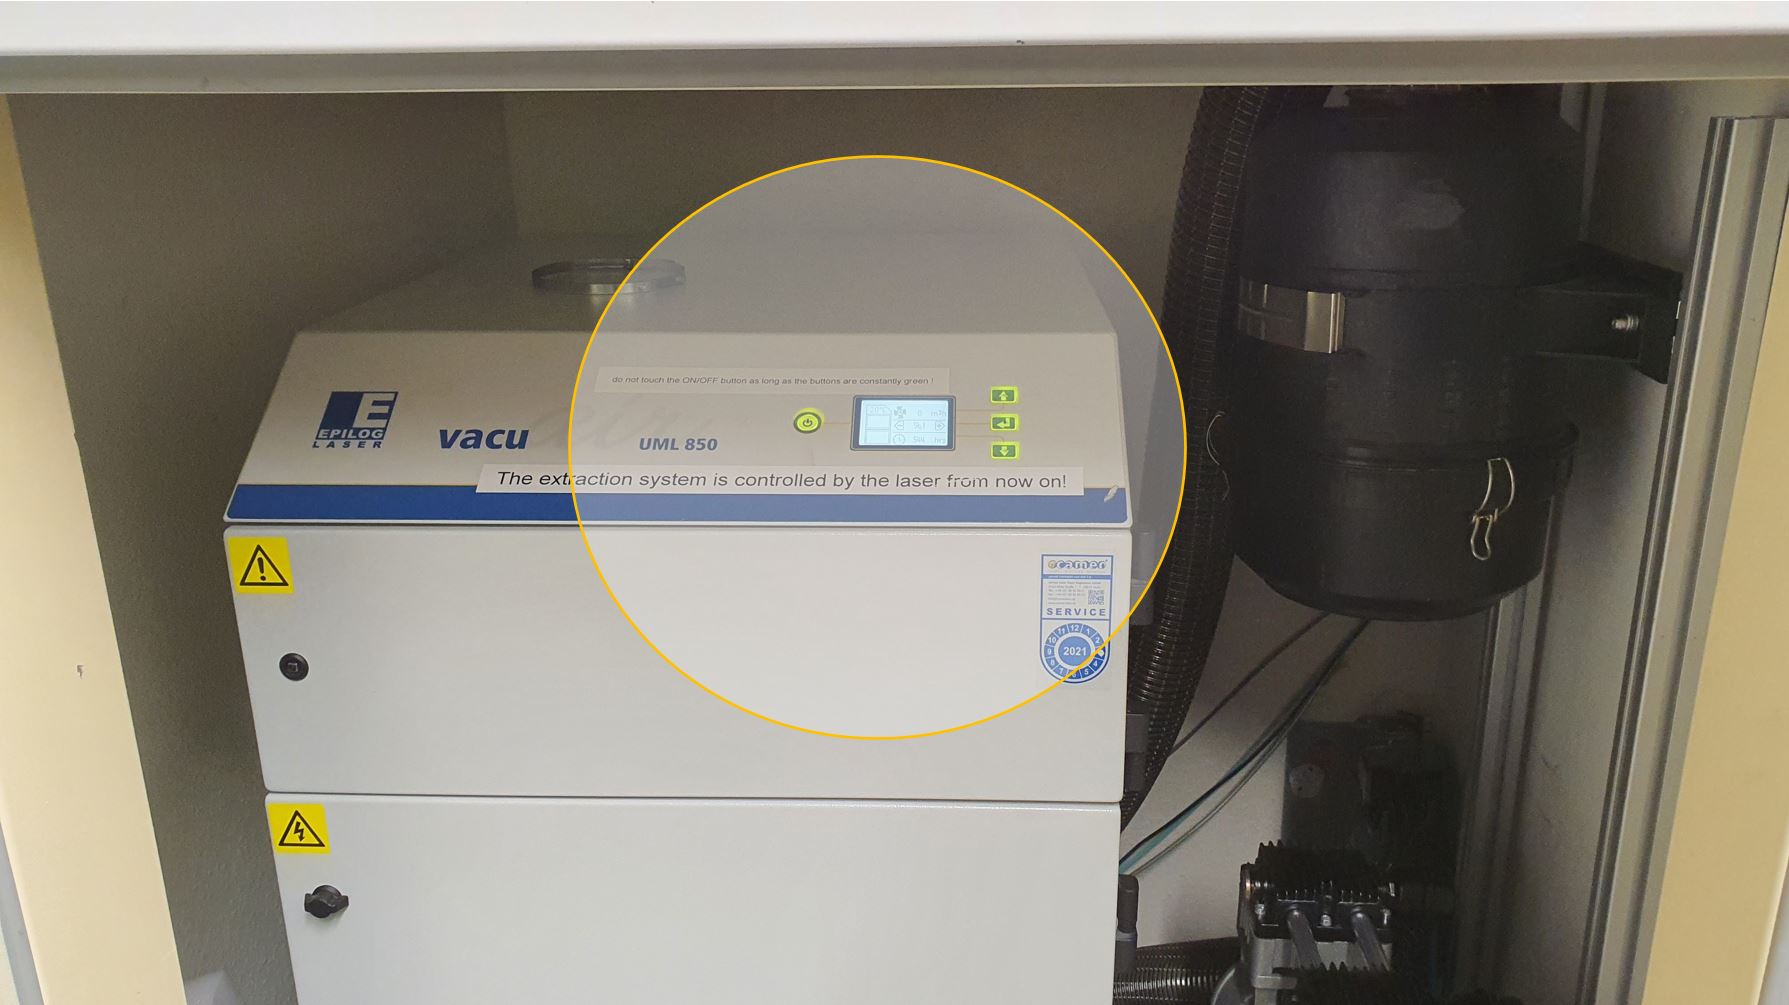
Turn the exhaustion system ON On the left side, next to the lasercutter, in an extra small room, is the exhaustion system. Press the left round button to turn it on.
|
|
2 |
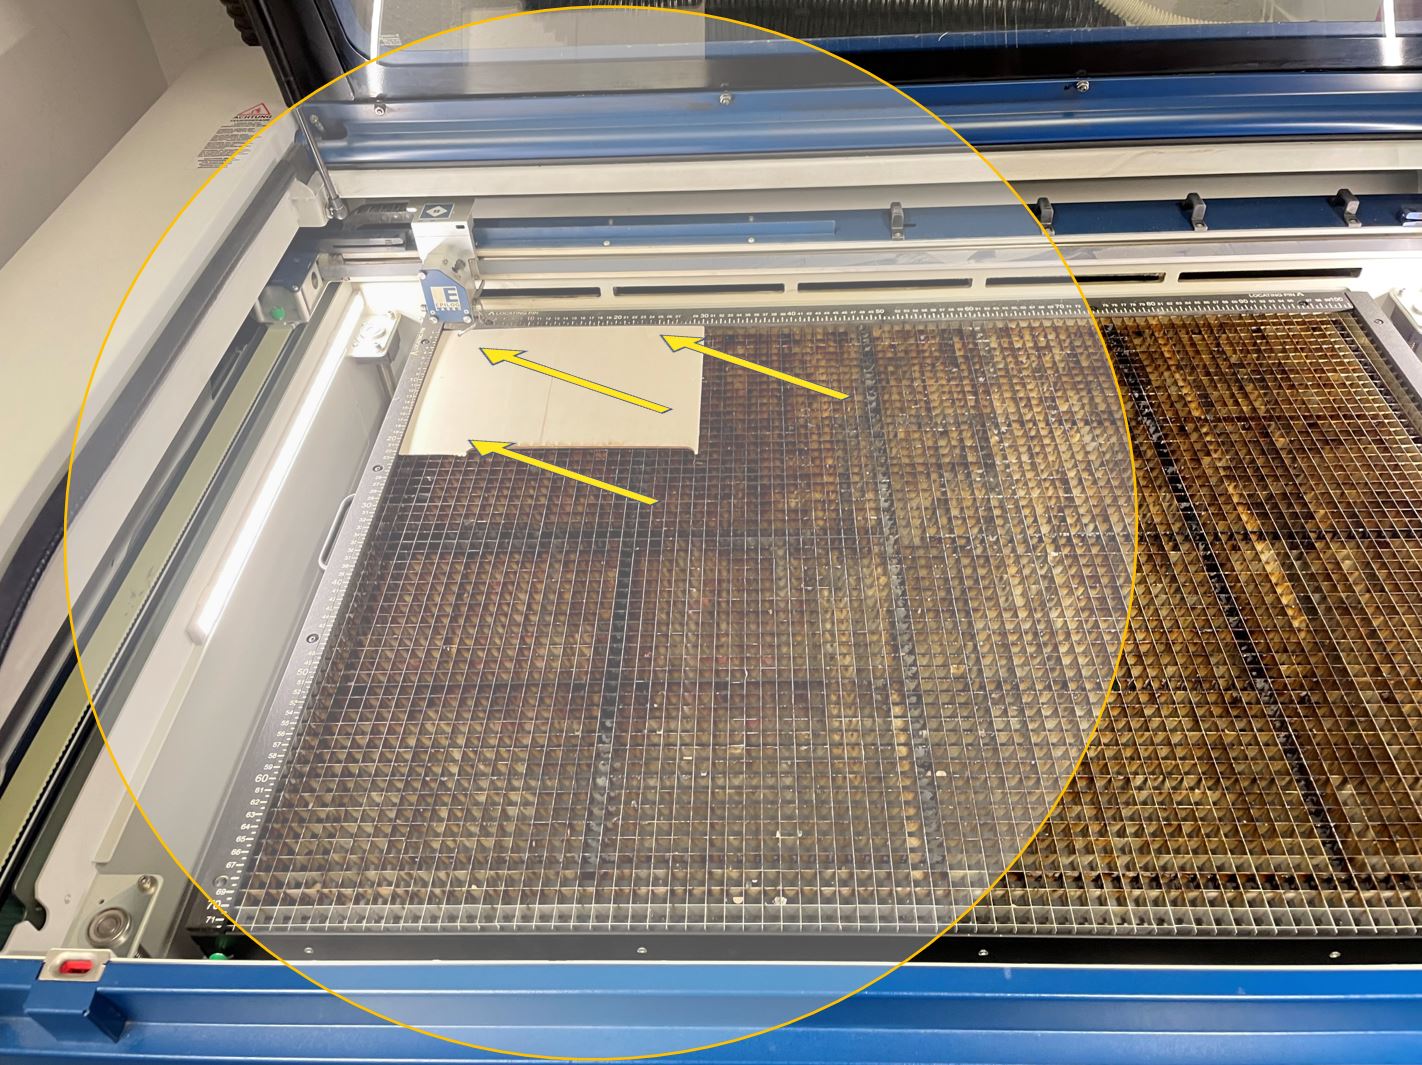
Load your material on the machine bed Put your material where you want to cut it. Most often, use the upper left corner.
Engraving on acrylic glass: When engraving something on acrylic glass there are some extra steps that should be followed for high quality results. |
|
3a |
On the computer for the lasercutter control (the Mac mini right beside)
|
|
3b |
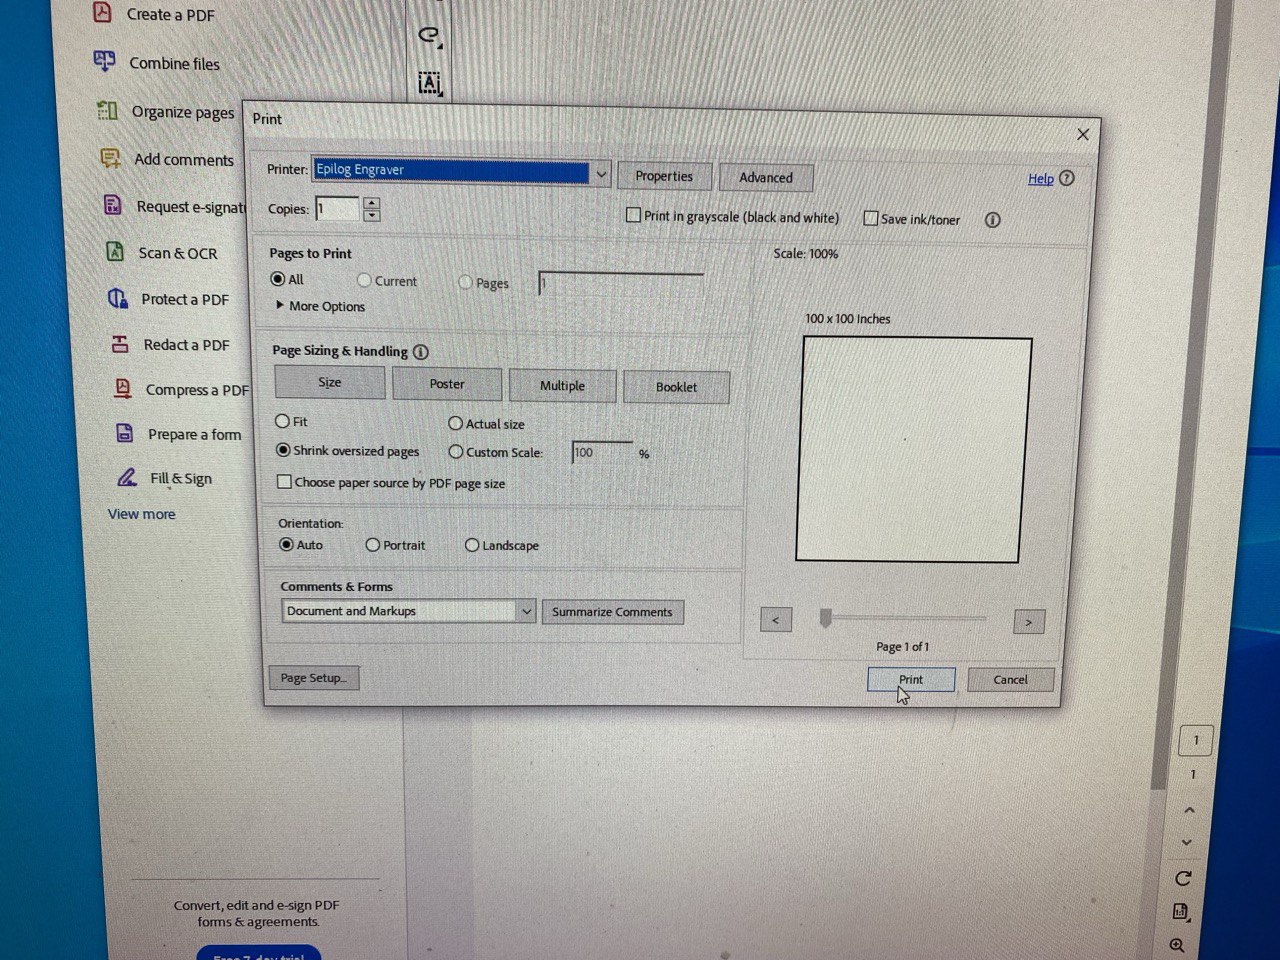
Sending the file to Epilog Dashboard
|
|
3c |
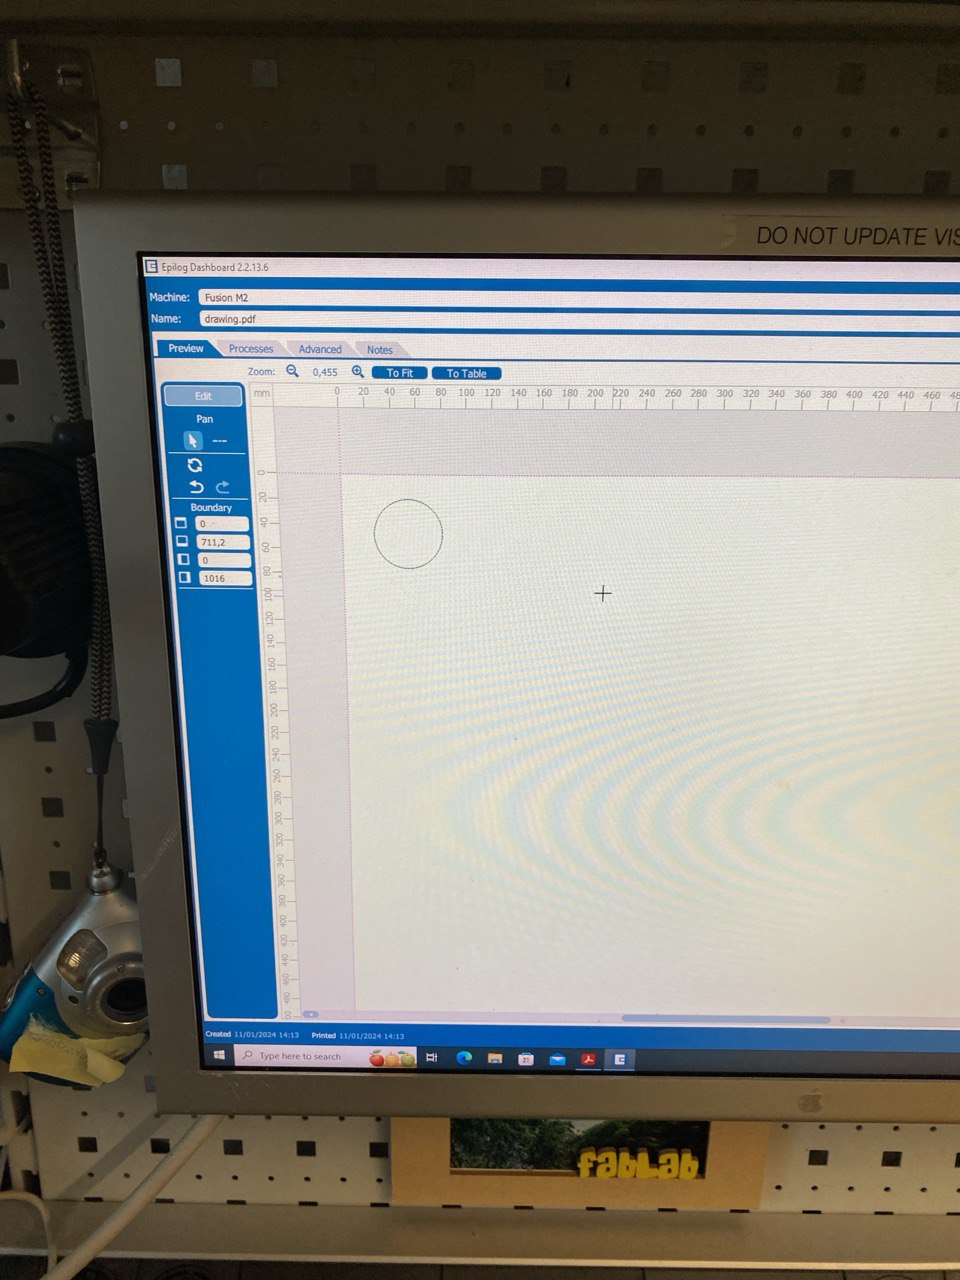
Using "Epilog Dashboard" Software
|
|
3d |
Adjust Settings
|
|
3e |
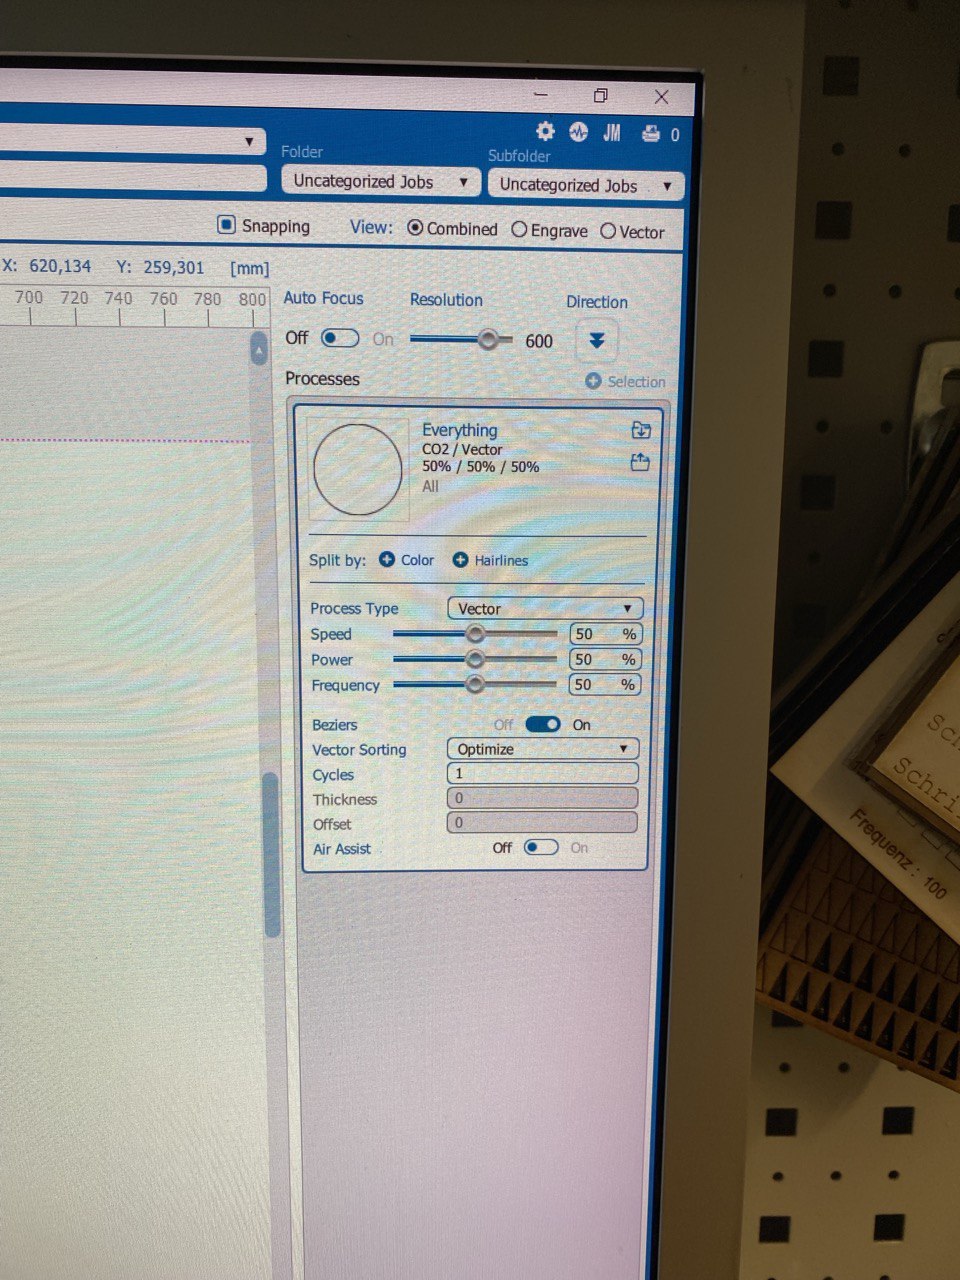
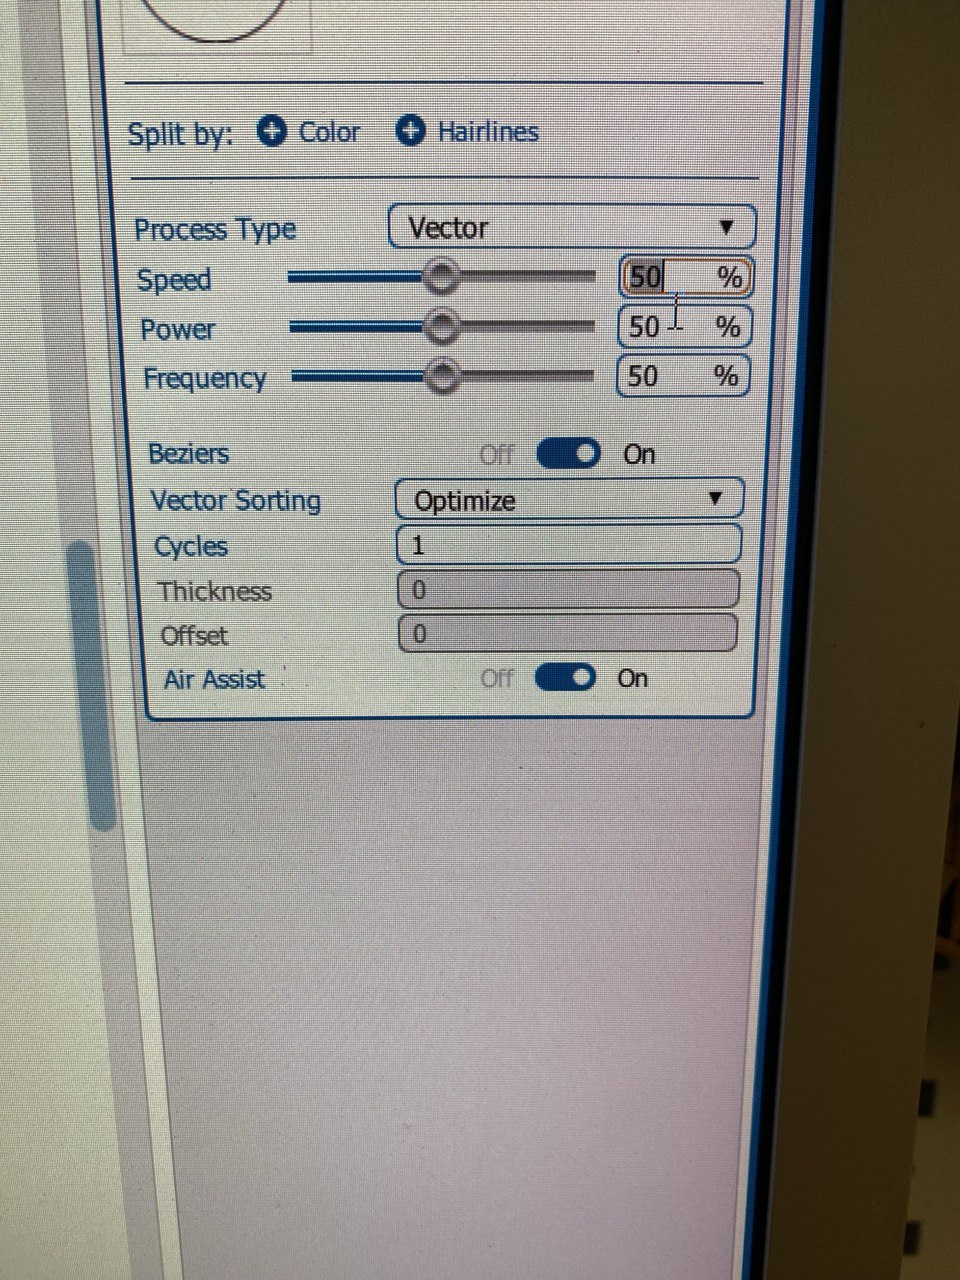
Utilize Colors for Different Settings The software allows grouping based on colors. You can adjust your file in Inkscape accordingly. Set Laser Speed and Power Below the settings, you can set the laser speed and power. Refer to hci.ac/lasercutter-materials for some common cutting settings.
|
|
3f |
Activate Air Assistance Turn on Air Assistance for safety. (See picture below "Air Assist") |
|
4 |
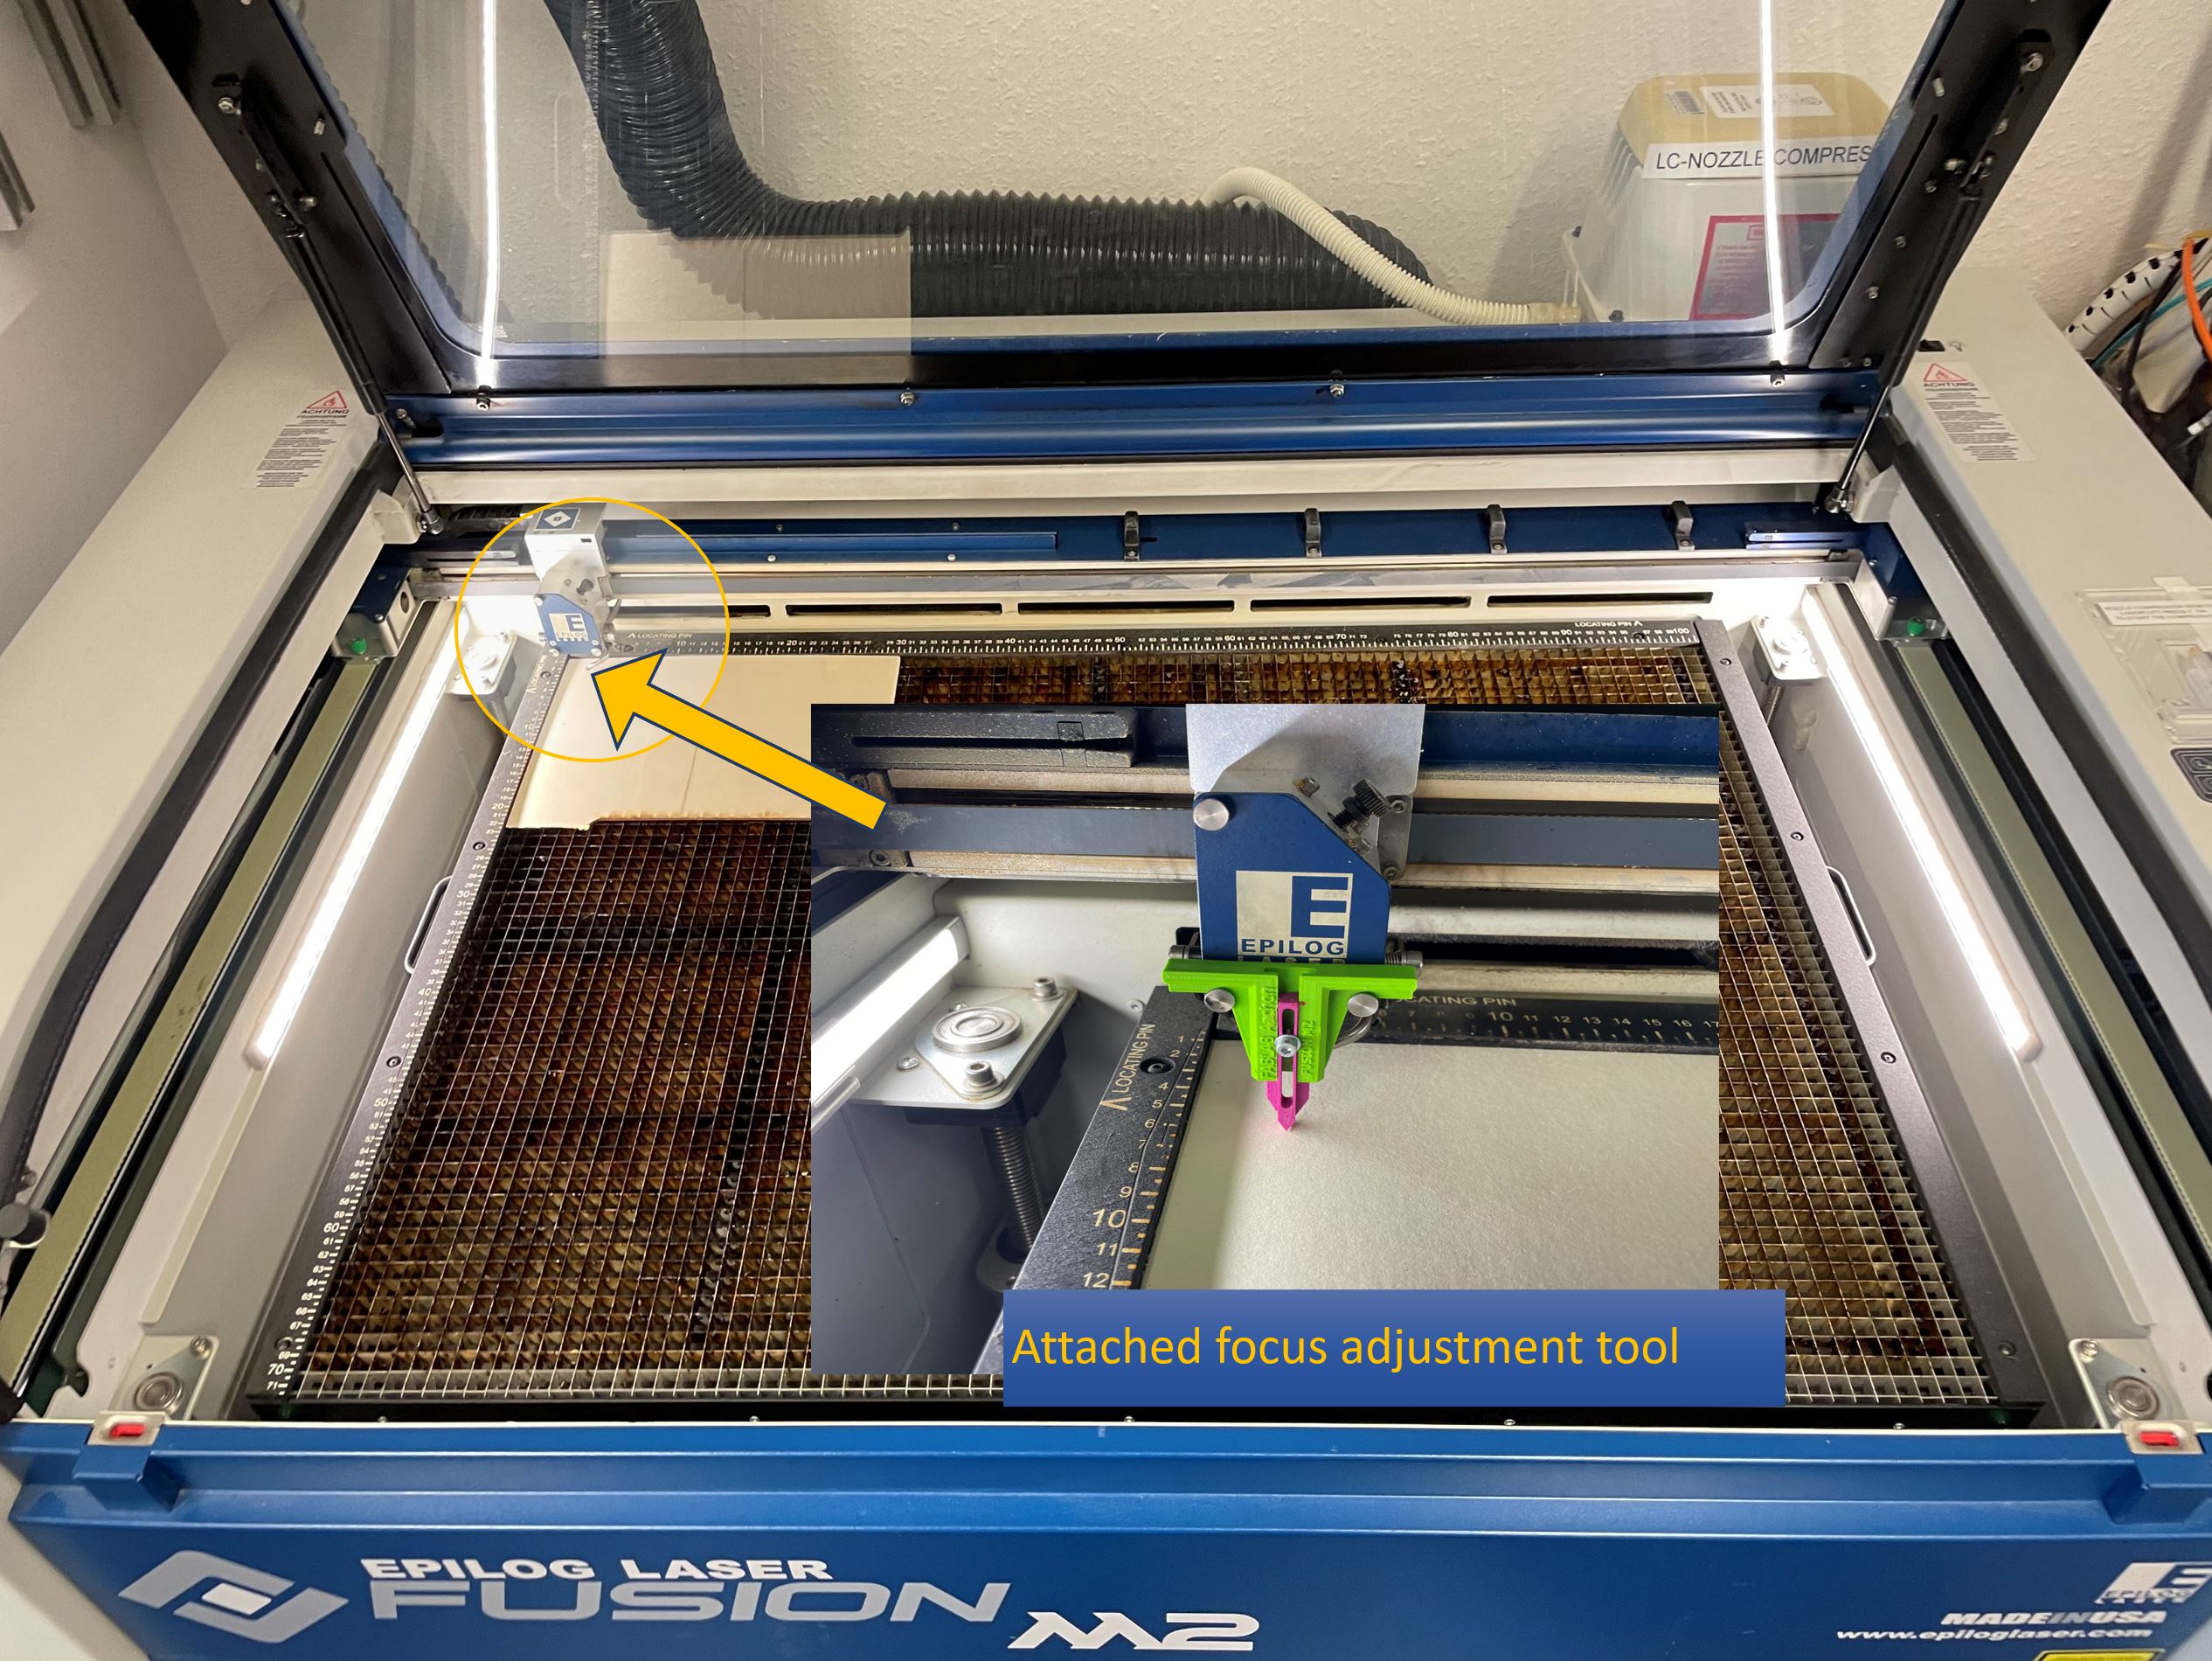
Choose: autofocus or manual focus Option 1 (easiest): Use the autofocus option in the lasercutter software and enter the material thickness of your material used. You need to enter the thickness for every color/tab you see on the right side in Epilog Dashboard! Option 2: Use the focusing tool and attach it to the laser head. Select the focus in the laser cutter control panel and use the joystick (up and down direction) to change the distance of the laser head to the cutting table (stick to the left to switch the speed mode fast/slow).
|
|
5 |
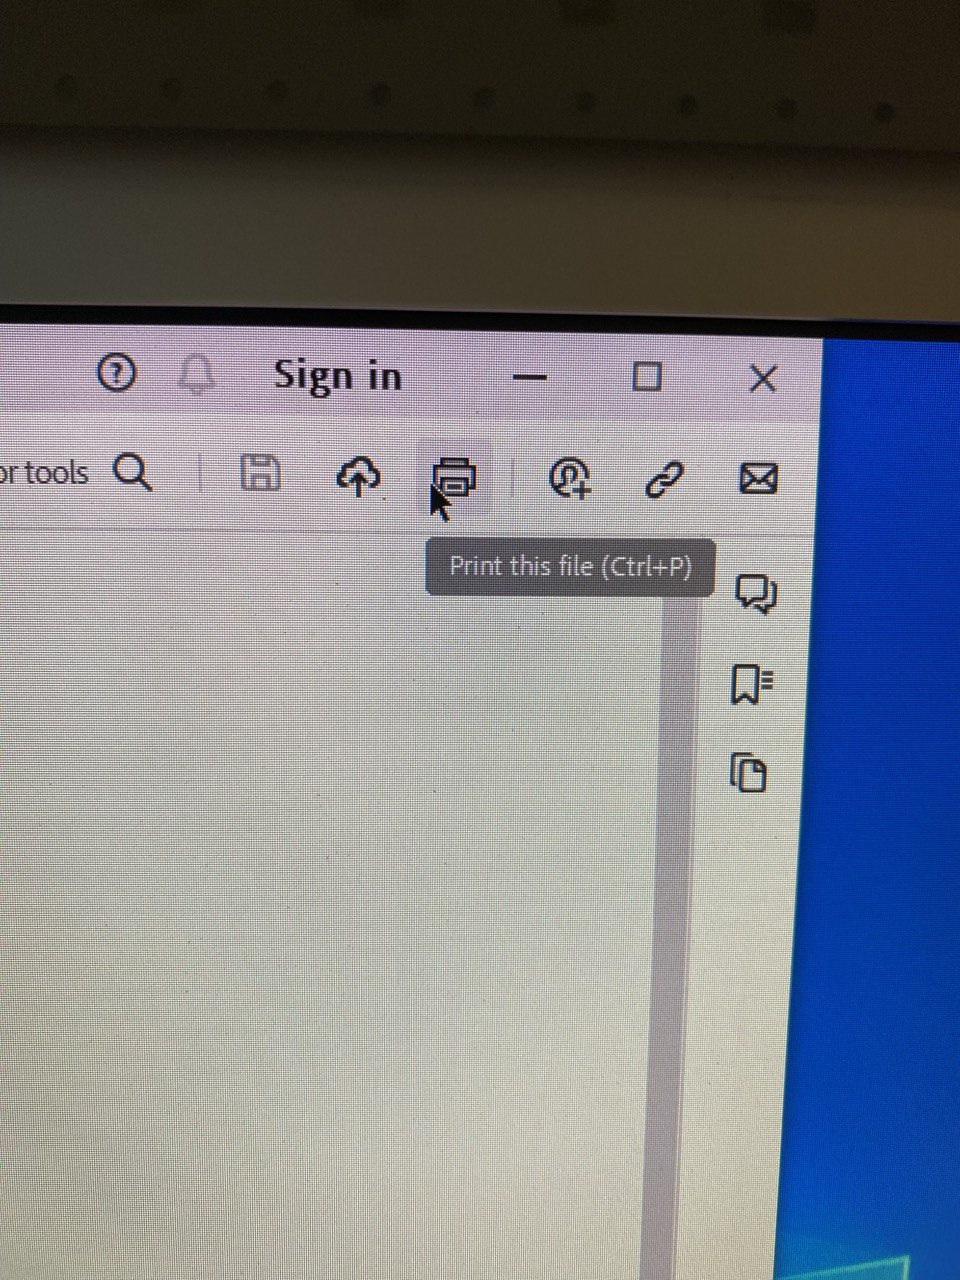
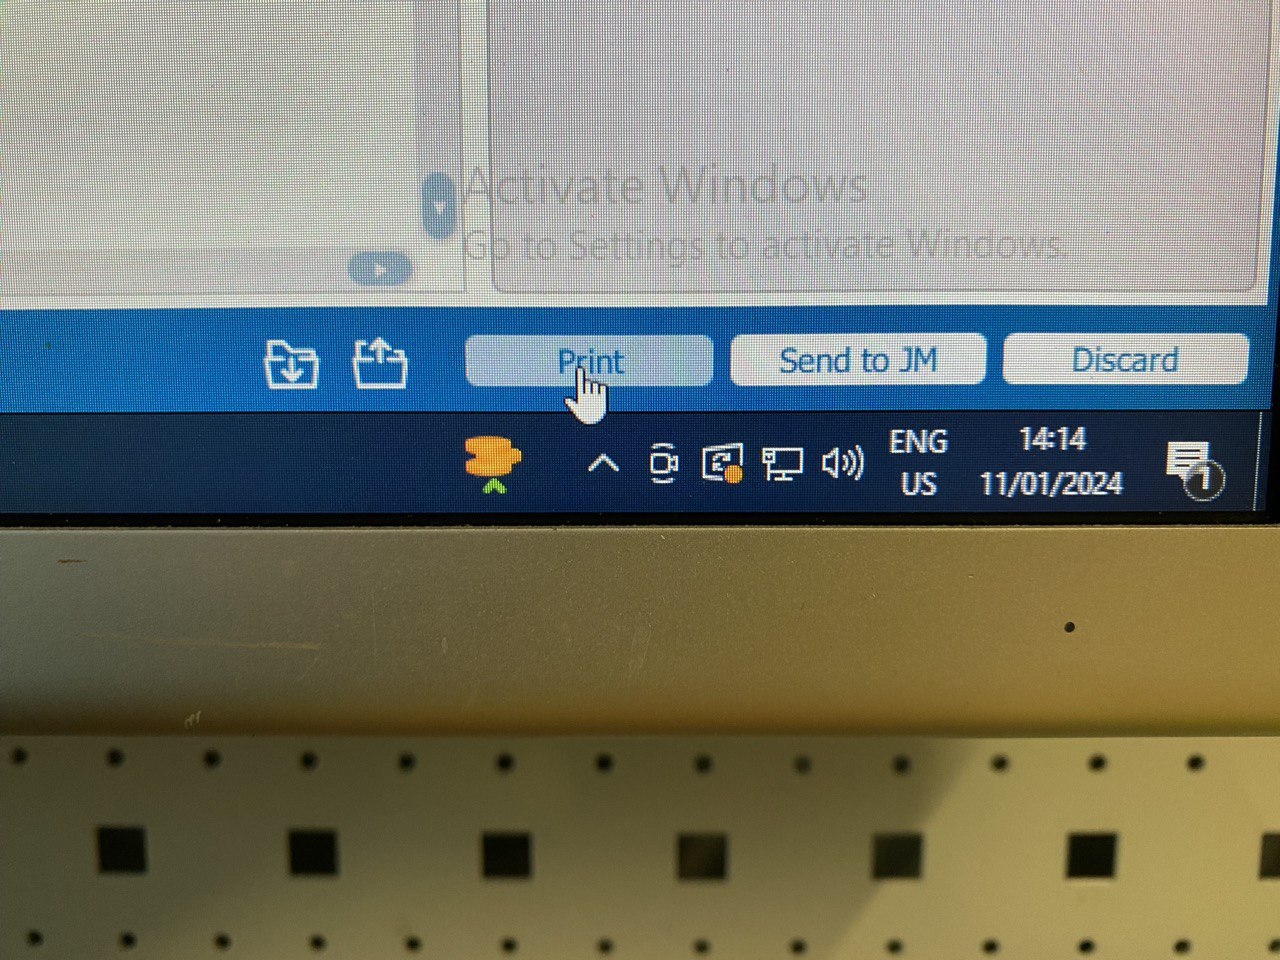
Initiate Printing Once all settings are configured, start the "print". The print job will be forwarded to the lasercutter.
At the lasercutter, you will see the "Daten" LED light up. That means the lasercutter is receiving information from Epilog Dashboard. When the LED is off again, you should see the name of your file on the lasercutter screen, as well as the estimated duration (this is usually very accurate). You can also scroll through recent jobs in the job menu. |
|
6 |
On the lasercutter, press “Start" to run the laser cutting process for your file! Make sure that the lid of the lasercutter is closed at this point! (Don't worry, the laser will automatically turn off when the lid is open) Your cutting job starts immediately and is now running! 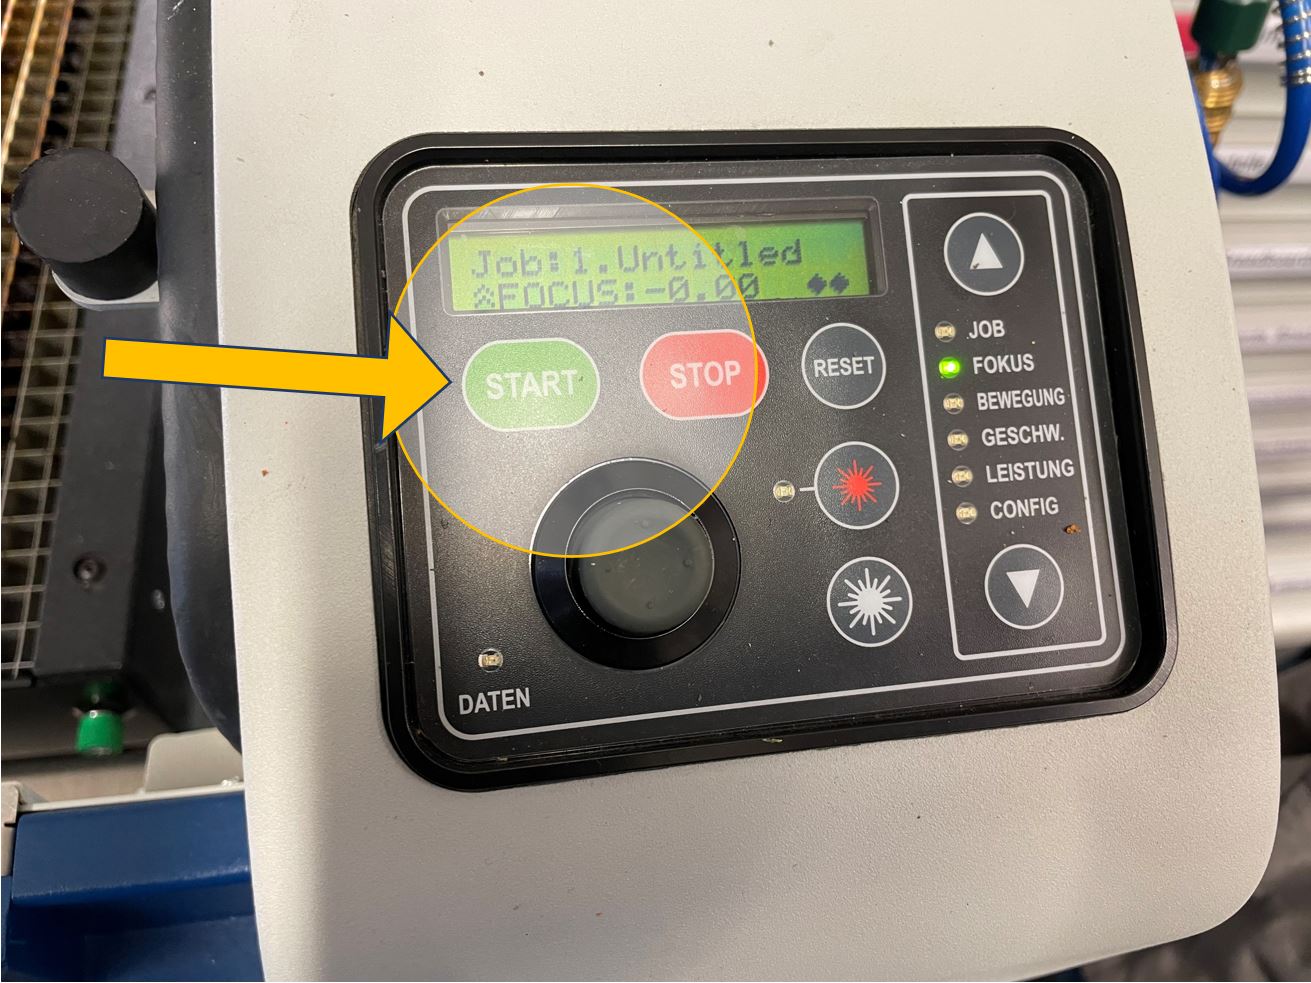 |
|
7 |
Finished?
|