Back to Tools
| FabScan - 3D Laser Scanner | ||||
| About | News | Hardware | Software | Contact |
Software
This place contains all the information that allows you to install, run and operate your own FabScan.
Installing the FabScan Software Using the FabScan Software Post-Processing with MeshLab
Installing the FabScan Software
The current FabScan100 Software uses qt and most people are having problems with it.
We are writing a new FabScan software that will be released in March 2015.
In the meantime, you can try the FabScan for Processing Software that was written by René Bohne.
Mac OSX - 10.8.3 Mountain Lion
FabScan100.9.zip with configurable set-up (bug fix) - DOES NOT WORK WITH MAVERICKS!
FabScan100.8.zip (experimental) big fix with powercrust
FabScan100.7.zip (experimental) now with PowerCrust support!
FabScan100.6.zip (experimental)
FabScan100.5.zip (experimental)
FabScan100.4.zip (stable)
Mac OSX - older: http://hci.rwth-aachen.de/fabscan_old
FabScan Ubuntu Live DVD
The LiveDVD was created by Mario Lukas.
You can download a running Ubuntu LiveDVD with preinstalled the FabScan software here: Ubuntu LiveDVD
You can find older versions of the LiveDVD here:
http://www.mariolukas.de/downloads/
And find a tutorial (in German) here: http://www.mariolukas.de/2014/07/scannen-mit-dem-fabscan/
FabScan for Windows
Wolfgang Schmidt created his own software for the FabScan for Microsoft Windows. You can find more details about his project on his website:
http://wolfgangschmidt.info/simple3dscan/
Other Platforms
To compile the software yourself on Mac, Linux or Windows, follow these instructions.
Using the FabScan Software
How to opperate the FabScan:
Setting up the FabScan Software
- Select the Logitech camera from the menu. (Sometimes the software crashes which seems to be a bug in Qt5, just reopen and try again.)
- Select the serial port from the menu "SerialPort"
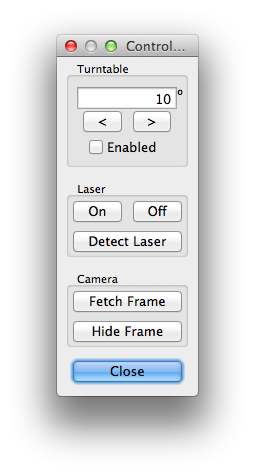
- Open the Control Panel from the menu.
Scanning an Object
- Remove all objects from the scanner. Then click "Detect Laser". A window will open after a few seconds. If a red line lies on top of the laser, the laser line has been correctly detected. If not, try making it darker in the room or put something on the scanner to make the inside less bright.
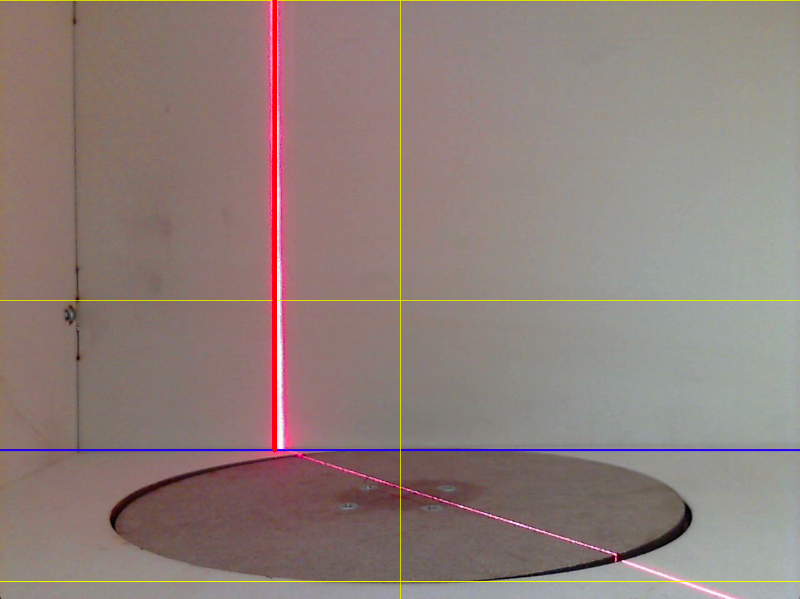
- Click on "Fetch Frame" and make sure that the blue horizontal line touches the top of the turning table and the yellow horizontal line touches the bottom of the turning table..
- The yellow vertical line should pass through the center of the turntable. If this is not the case try playing with the screws. A non aligned camera will result in distorted scans!

- Click "Enable", then clicken on "<" and/or ">" to check if the turntable/stepper is working correctly.
- Click the "Close" button.
- Click Scan.
- Wait until the scan is finished.

How the FabScan configuration.xml file works
Eon, a user from our google group, explains how the FabScan config file works.
After the Scan
- Save your 3D pointcloud: Menu: File->SavePointCloud and then enter a filename.PCD or filename.PLY and select the correct file format from the dropdown box.
- Save a 3D STL file (does not work on all platforms!): Menu: File->Export .STL and then enter a filename.STL
- If you are experiencing problems with the STL export, you should save the 3D pointcloud instead and follow the instructions in the following section (Meshing: taking points to triangles)
- You can also open an older scan: Menu/File/OpenPointCloud...
Postprocessing with MeshLab
1. Export the pointcloud as .ply under menu File/Save PointCloud... and select .ply file format.
2. Open the exported pointcloud in MeshLab.
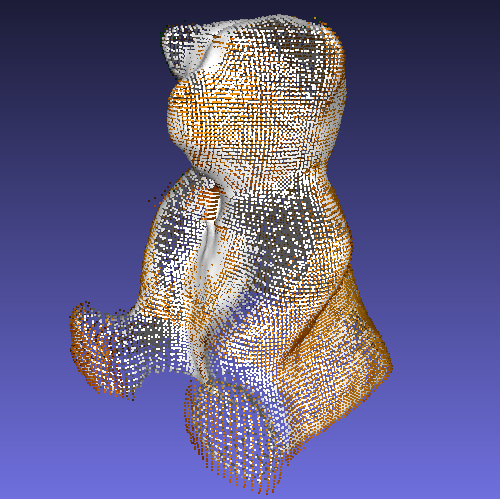
3. In MeshLab, compute the normals (Filters/Point Set/Compute normals for point sets),
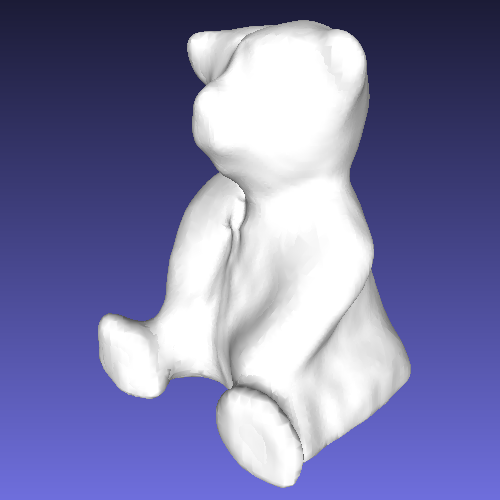
4. Then reconstruct the surface using poisson reconstruction (Filters/Point Set/Surface Reconstruction: Poisson)


