Fab Lab Aachen Tools: 3D Printers
These are the 3D printers we currently have in active service. Looking for an older model? See our list of retired 3D printers.
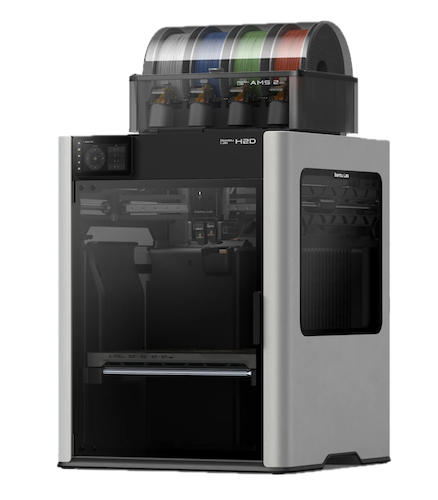
Bambu Lab H2DMid-Level FDM 3D Printer (Dual Extruder) Machine status: Ready to use |
|
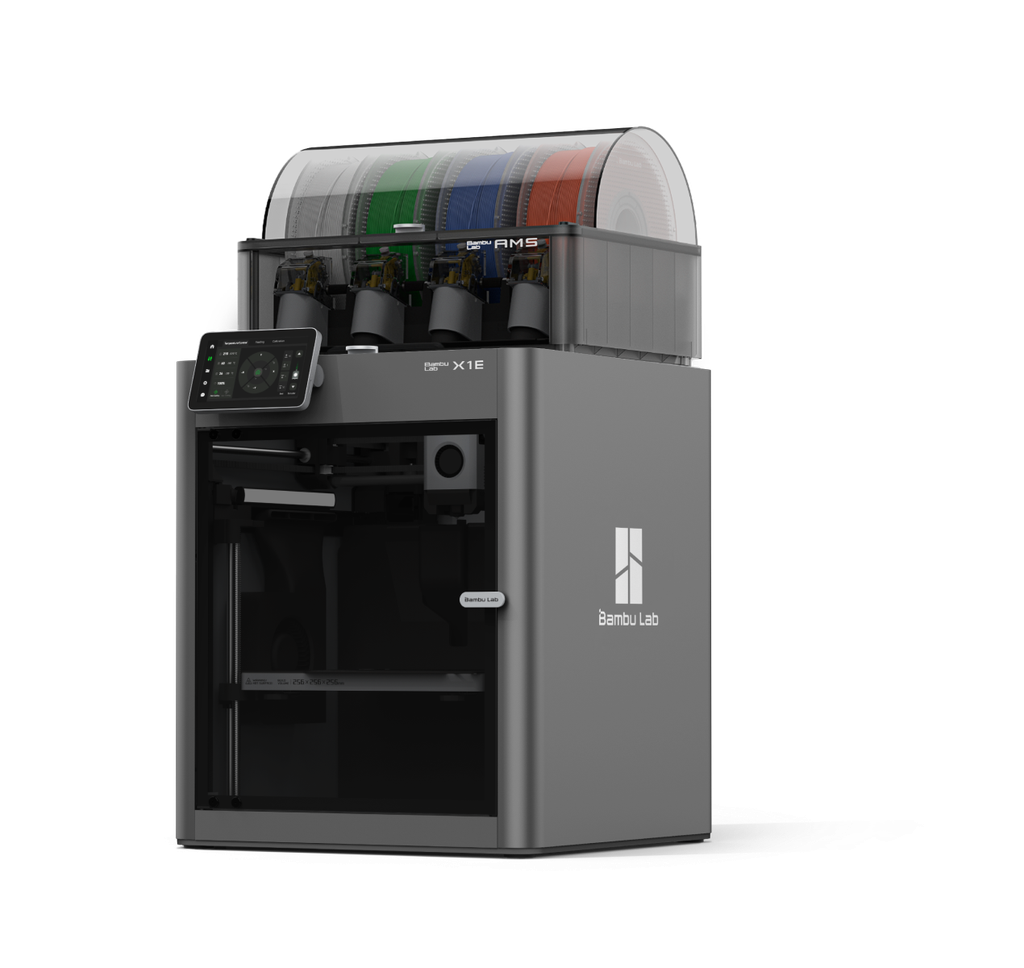
Bambu Lab X1EMachine status: Ready to use |
 |
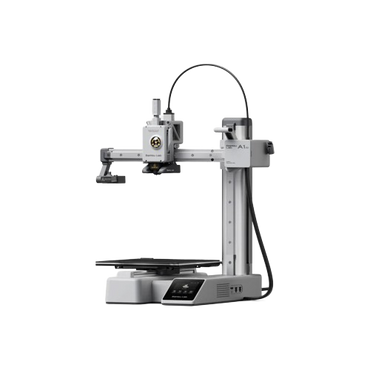
Bambu Lab A1 miniMachine status: Ready to use |
 |
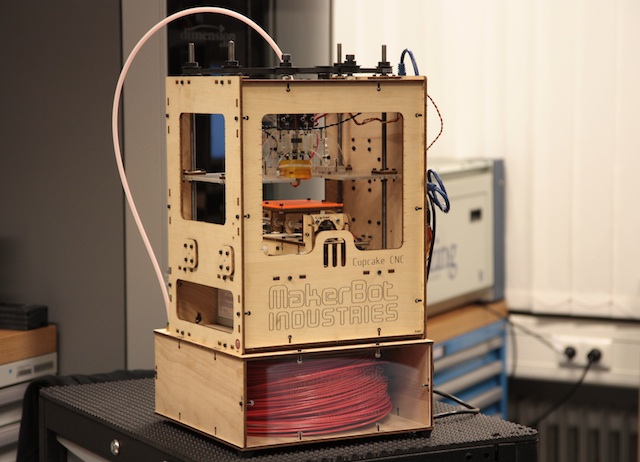
MakerBot CupCake CNCMachine status: Vintage :) |
 |
Octoprint |
 |
Tipps & Tricks for 3D Printing
How to Start Printing?
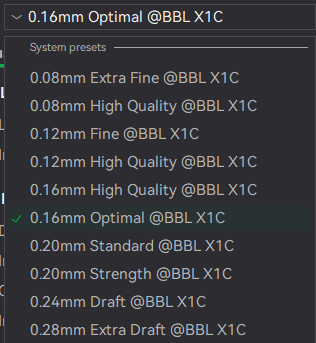
We use BambuSlicer. Select one of the print profiles:
-
Miniatures: 0.08 mm or 0.12 mm profile
-
Fast Prints: 0.24 mm Draft profile
-
Standard Prints: 0.20 mm profile (suitable for most applications)
-
Structural Parts: 0.20 mm Strength profile
Should I Use Supports?
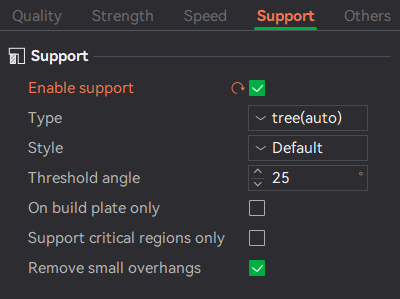
If your model has steep overhangs or floating islands, enable supports:
-
Regular Supports are generally more reliable
-
Tree Supports are easier to remove
Prints Not Sticking to the Build Plate?
If your prints aren’t adhering to the build plate:
-
Clean the build plate thoroughly with isopropyl alcohol (IPA).
-
Ensure there are no grease residues from handling the plate—any oils will prevent plastic from sticking.
-
After cleaning, consider using a glue stick, hairspray, or specialized adhesion aid (e.g., BuildTak, PEI sheets) for extra grip.
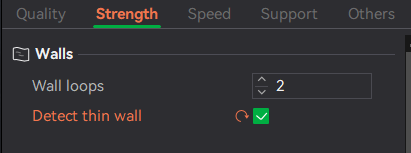
How to Increase Part Strength?
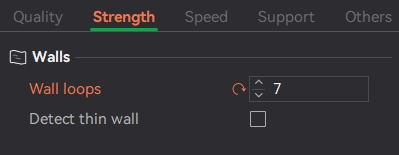
The primary strength of a 3D-printed part comes from wall thickness. To increase strength:
-
Increase the number of wall loops
-
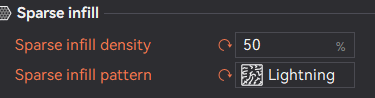
If needed, increase infill density (above ~50% infill is usually sufficient)
How to Print Large Decorative Objects?
Use Lightning Infill: the part is printed hollow, with infill only where it’s structurally required.
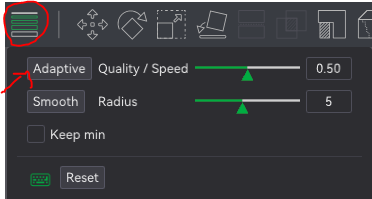
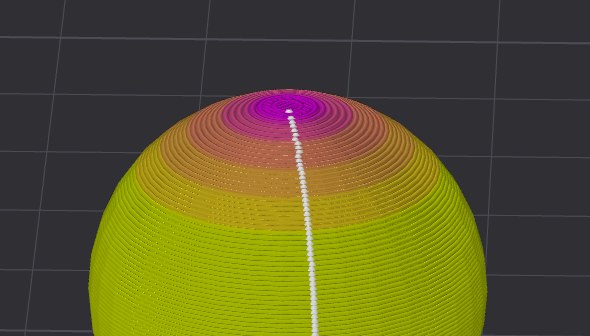
Adaptive Layer Height?
Adaptive Layer Height automatically adjusts layer thickness where needed. This gives high surface quality while being faster than printing the entire part with a fine layer height.
What to Do with Very Thin or Small Details?
-
If possible, use a 0.20 mm nozzle setup
-
Enable Thin Wall Detection
-
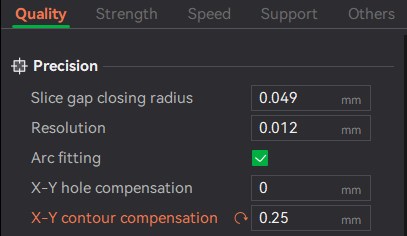
If details are still unprintable, increase Contour Compensation (e.g., +0.25 mm ensures a minimum feature thickness of 0.50 mm)
-
Optionally, enable the Arachne Wall Generator to print features smaller than the installed nozzle diameter by reducing flow on thinner sections.
Want to use Nylon Filament?
Always Dry your filament first and apply a thin film of gluestick to the buildplate before printing.
Want to use the the Smooth PEI build plate?
- Always clean the buildplate with IPA before printing with PLA
- Before printing PETG on the smooth PEI plate, rub the surface lightly with your hands. The natural skin oils help prevent the PETG from sticking too strongly, making it easier to remove the print.
Maintanance
To keep your printer running smoothly:
-
Lubricate the Rails: The printer will periodically prompt you to apply lubricant to the linear rails.
-
Clean Build Plates: Regularly wipe down plates with IPA to remove dust and oils.
-
Remove Stuck Filament: If filament is stuck on the nozzle, heat to 180 °C and carefully remove the blob.
-
Clear the Poop Chute: Empty and clean the debris collector (often called the poop chute) to prevent jams.