How to open files with cut and engrave layers with VisiCut
Back to lasercutter page Back to VisiCut pageThis tutorial explains how to open an SVG file with two layers with VisiCut. The files needs to have five layers: Cut Line, Engraved Line, Engrave Drawing, Engrave Photo, and Engrave 3D. You can create SVG files with many programs, e.g. with Adobe Illustrator or Inkscape.
- Open the file: open this menu entry: File->Open and select your SVG file. You can also drag and drop the SVG file to the VisiCut canvas.
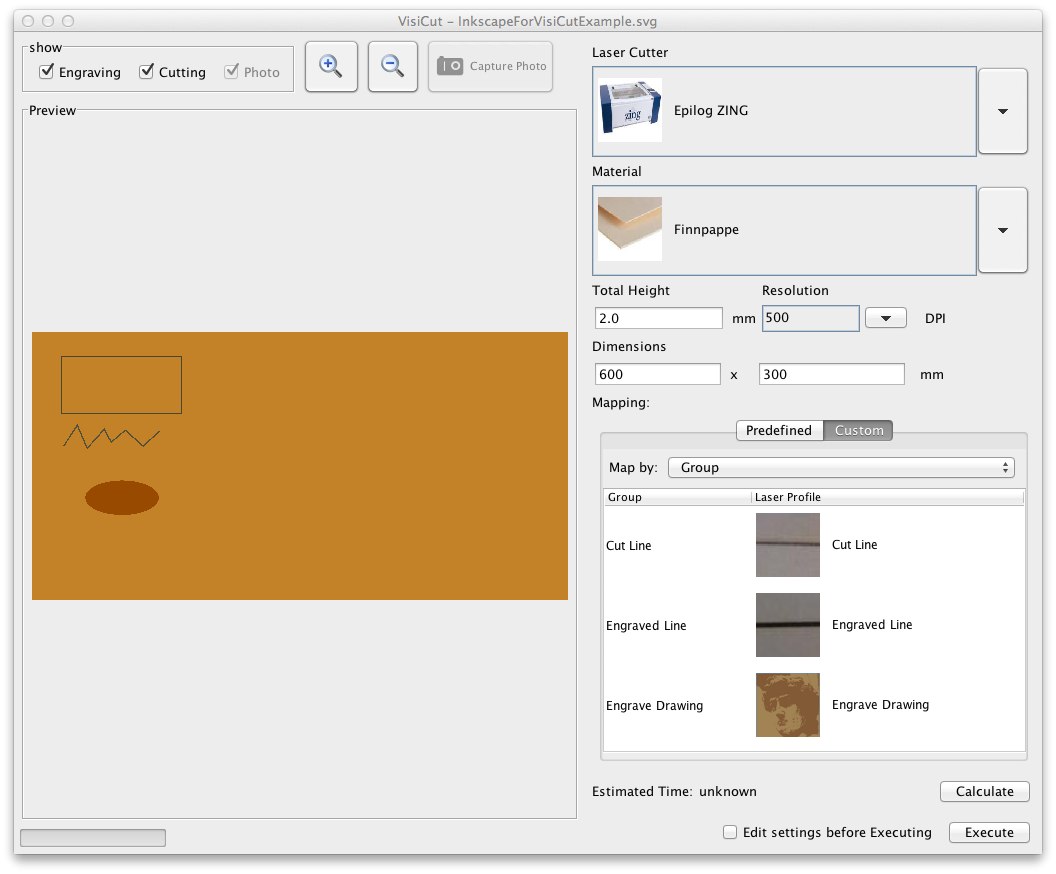
- My example file has three objects: a black rectangle with no fill (on the Cut Line layer), a black zig-zag line (on the Engraved Line layer), and a black circle with black fill but not stroke color (on the Engrave Drawing layer).
- On the right side, click on the tab called "Custom" and in the Map By groupbox, select Group at the bottom of the list.
- In the table on the right, you can change the custom mapping: change the mappings of the groups so that it fits (e.g. map Cut Line to Cut Line, etc.)

- Keep in mind, that VisiCut only shows groups that are used in your file. If you added a photo to the Engrave Photo layer, you would see this group in VisiCut and you need to set the mapping for this group then.
You are done and can start lasercutting as you are used to.
Save the VisiCut job to a PLF file - and bring it to the FabLab
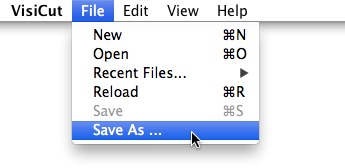
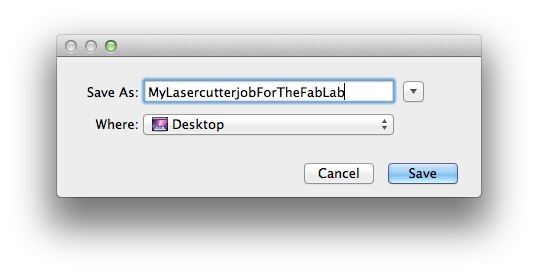
When all mappings fit and your objects are at the right place in the preview window, you can save the lasercutter job in a PLF file. Bring this file to the FabLab and you can start lasercutting with no problems! It is really simple: just click File->Save as in the menubar:


