FabScan Arduino Shield
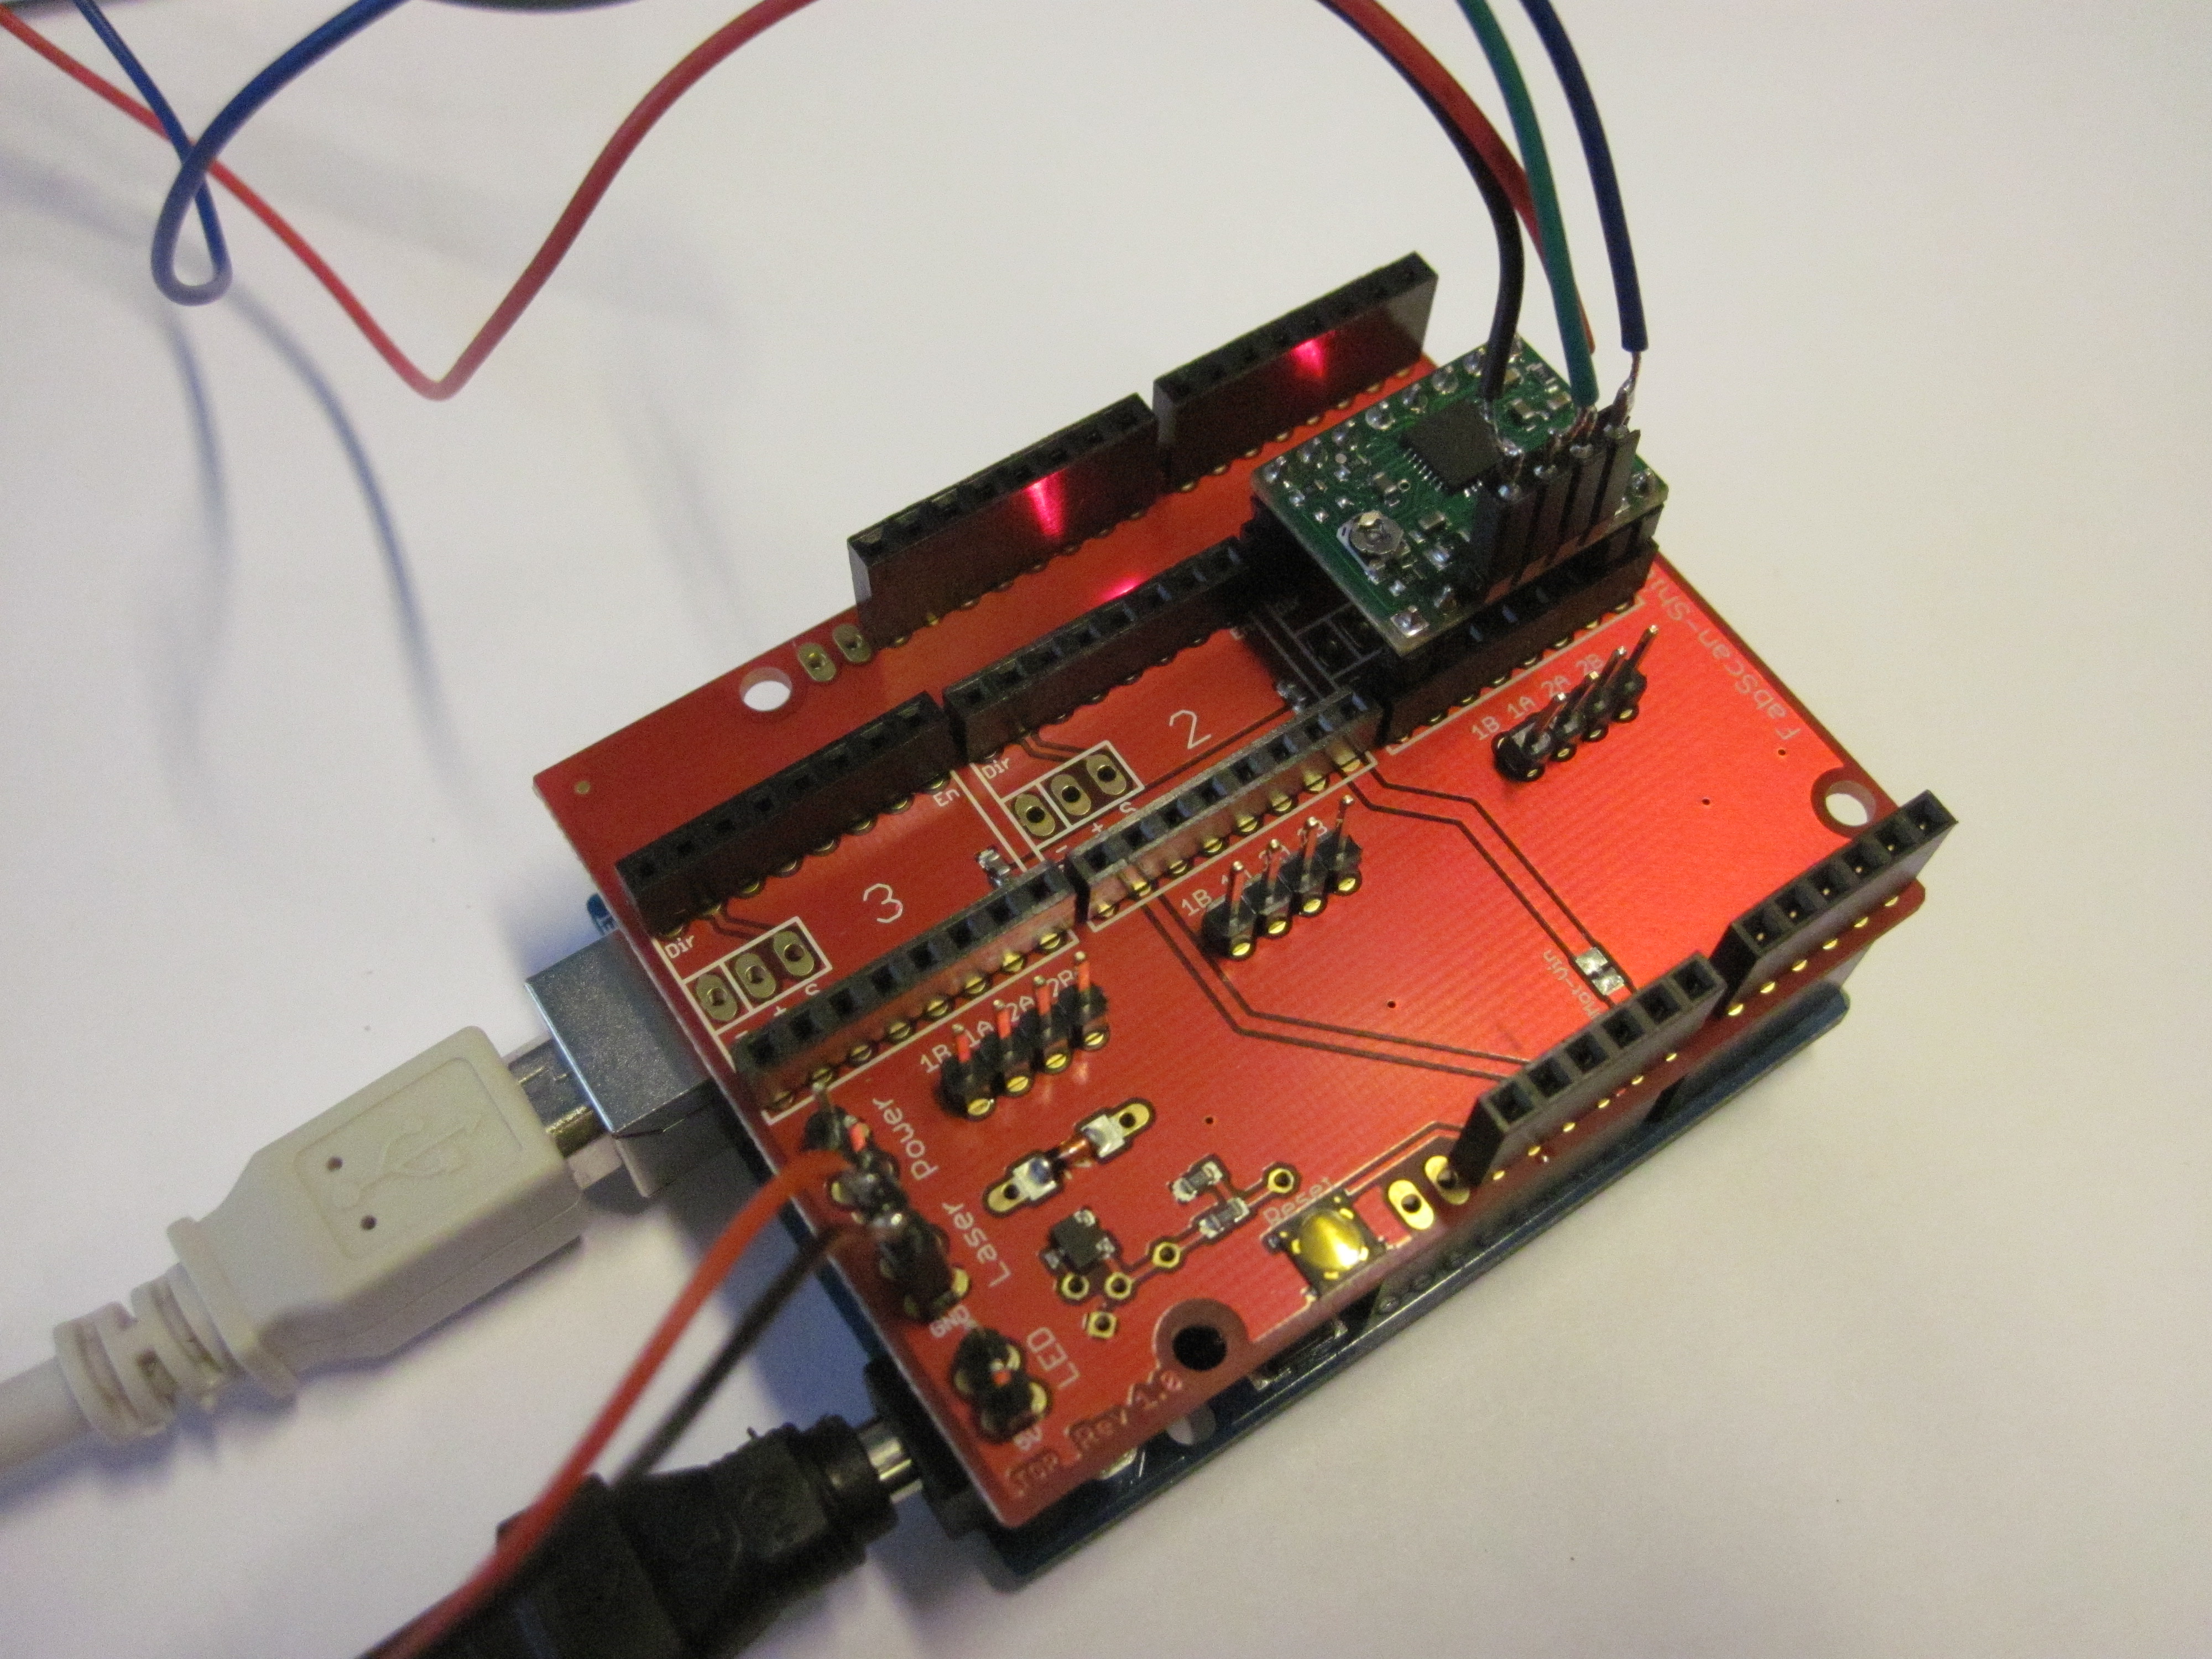
You can put this board on your Arduino, add stepper motor drivers, and build a fabscan 3D-Scanner with it.
The board can control up to three stepper drivers (Pololu A4988 and compatible ).
The following table shows the pin mapping for the three stepper drivers and the three function pins DIR, STEP, and ENABLE:
| FUNCTION | STEPPER A | STEPPER B | STEPPER C |
|---|---|---|---|
| ENABLE | 2 | 5 | 11 |
| STEP | 3 | 6 | 12 |
| DIR | 4 | 7 | 13 |
You can buy it here:
http://www.watterott.com/de/Arduino-FabScan-Shield
Schematics / Board Layout
You can find the eagle cad files here
Build instructions
The PCB comes with all SMD parts pre-assembled. You just have to solder the pin headers to the board. In the box, you get:
- 2x 6pin interconnect headers
- 2x 8pin interconnect headers
- 6x 8pin female headers (for pololus)
- 3x 8pin male headers - break them into: 3x 2pin, 3x 4pin (and optional: 3x 3pin if you want to use servos)
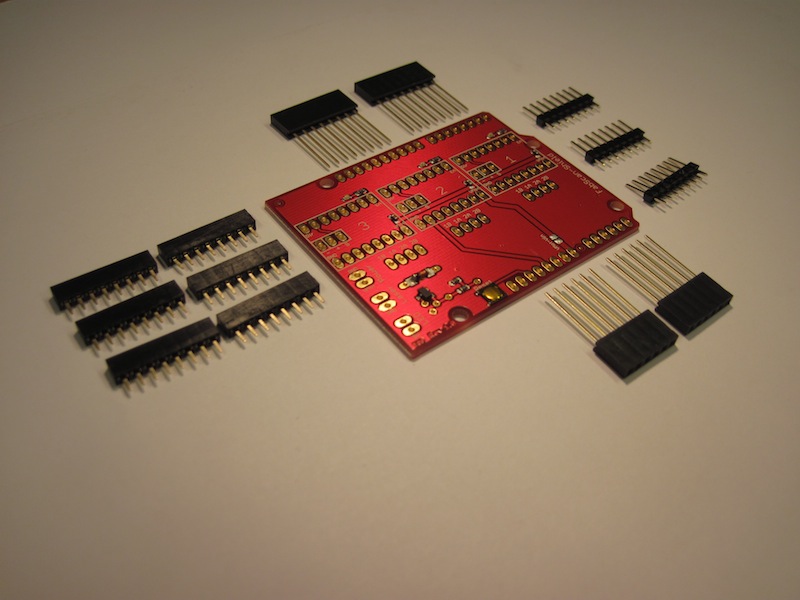
Solder the headers in this sequence:
- female headers
- male headers
- interconnect headers
For all headers, soldering is pretty similar:
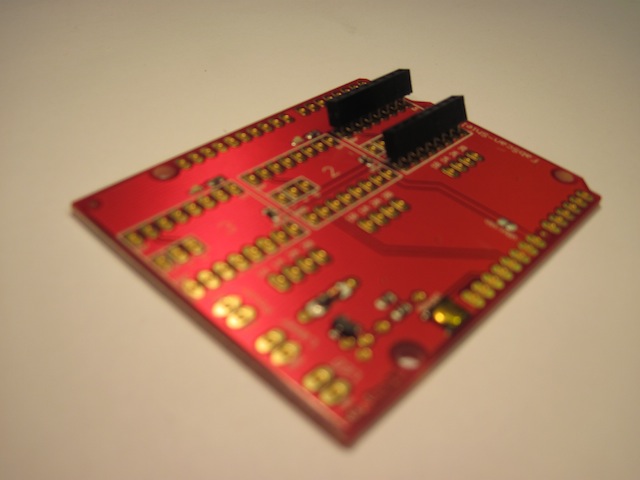
First, put the component through the board. In the following picture, you can see two female headers in the board:
On the bottom side, you need to solder the pins to the board.
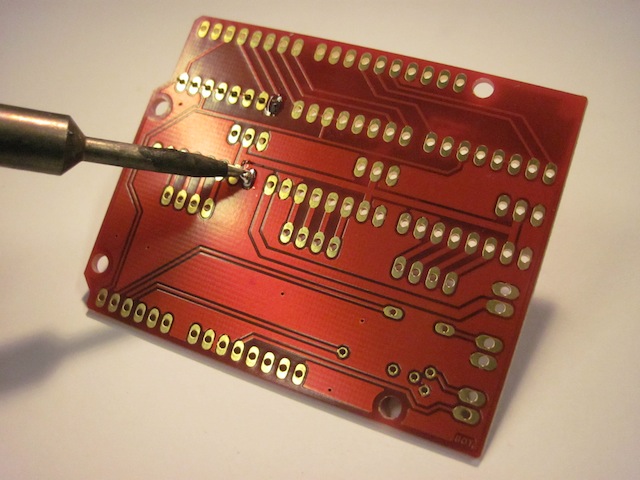
In the end, your board's bottom side should look like this:
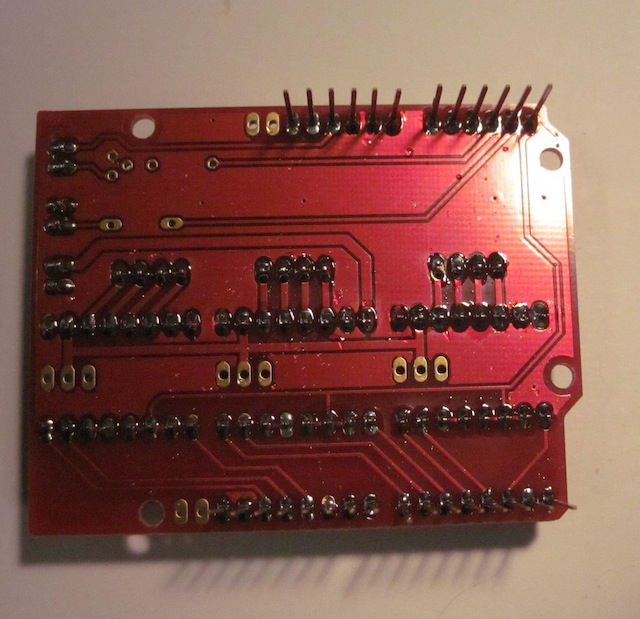
Here is the finished FabScan Arduino Shield with one stepper driver and the laser connected:

Software
The latest official FabScan Arduino sketch can be found on github: https://github.com/francisengelmann/FabScan100/tree/master/arduino
Always check if the pin mapping in the beginning of the file match your hardware (See table above)!
You can also download this Arduino sketch if you have a turntable connected to stepper driver A (and optional: a rotating laser connected to stepper driver B):
https://github.com/francisengelmann/FabScan/raw/master/arduino/FabScanArduinoFirmware.pde

