Please note: This page is outdated and no longer in use. Please refer to hci.rwth-aachen.de/lasercutter and hci.rwth-aachen.de/tutorial-laser for up-to-date information about our lasercutter and how to operate it.
How to work with the Epilog software for Epilog Laser Fusion M2 in Windows
The lasercutter is switched on as usual (similar to the old introduction). This new guide is mainly about how to forward a file in the software to the lasercutter as a print job.
1. Power Up the PC and Open Your File:
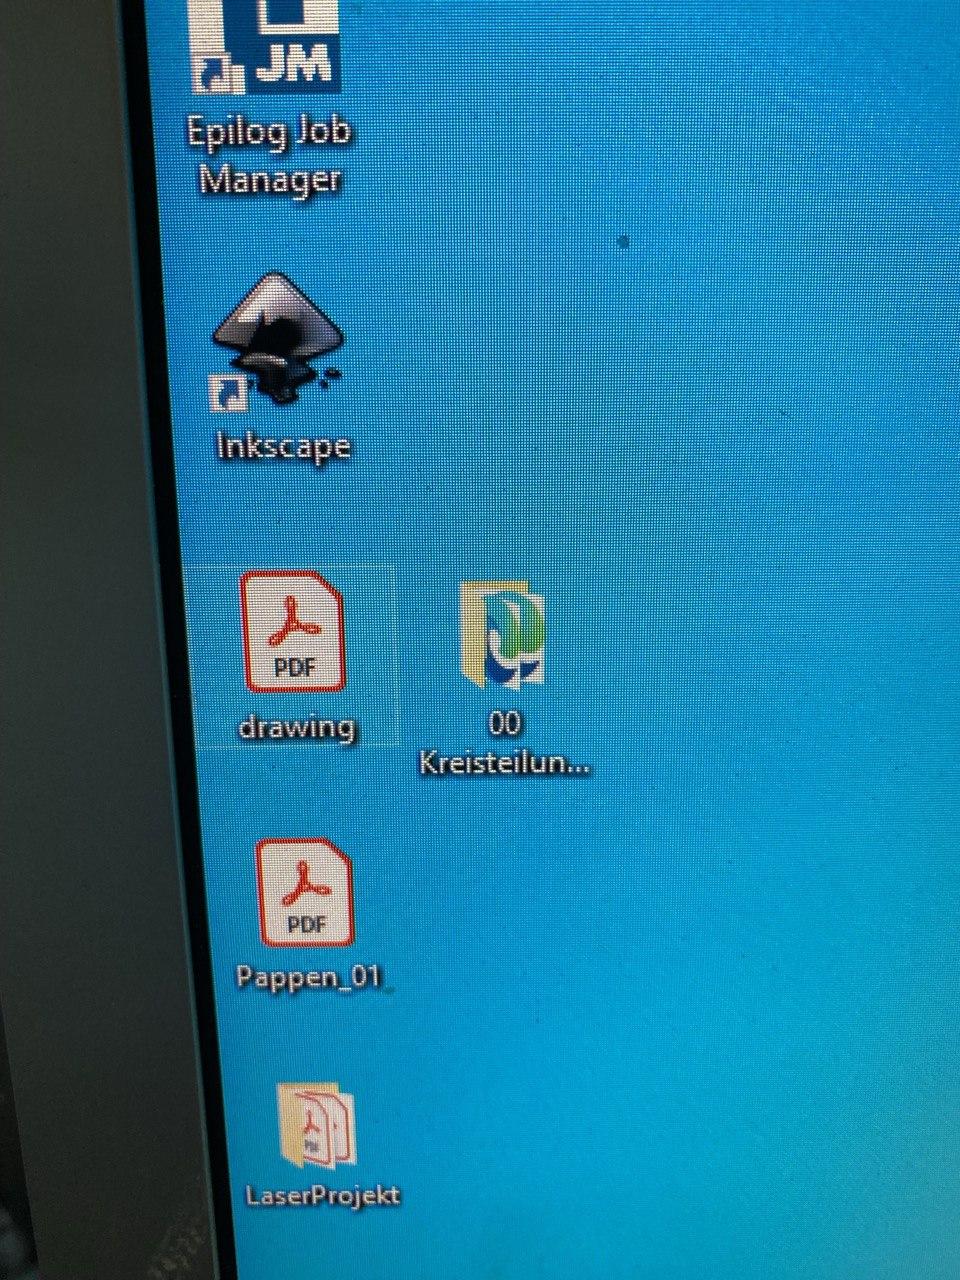
- Start the PC and navigate to the Windows Desktop.
- Open your file, preferably saved in PDF format. If it's in SVG, use Inkscape to convert it to PDF. If adjustments or design changes are needed, you can do so in Inkscape.
2. Open PDF File in Adobe Acrobat:
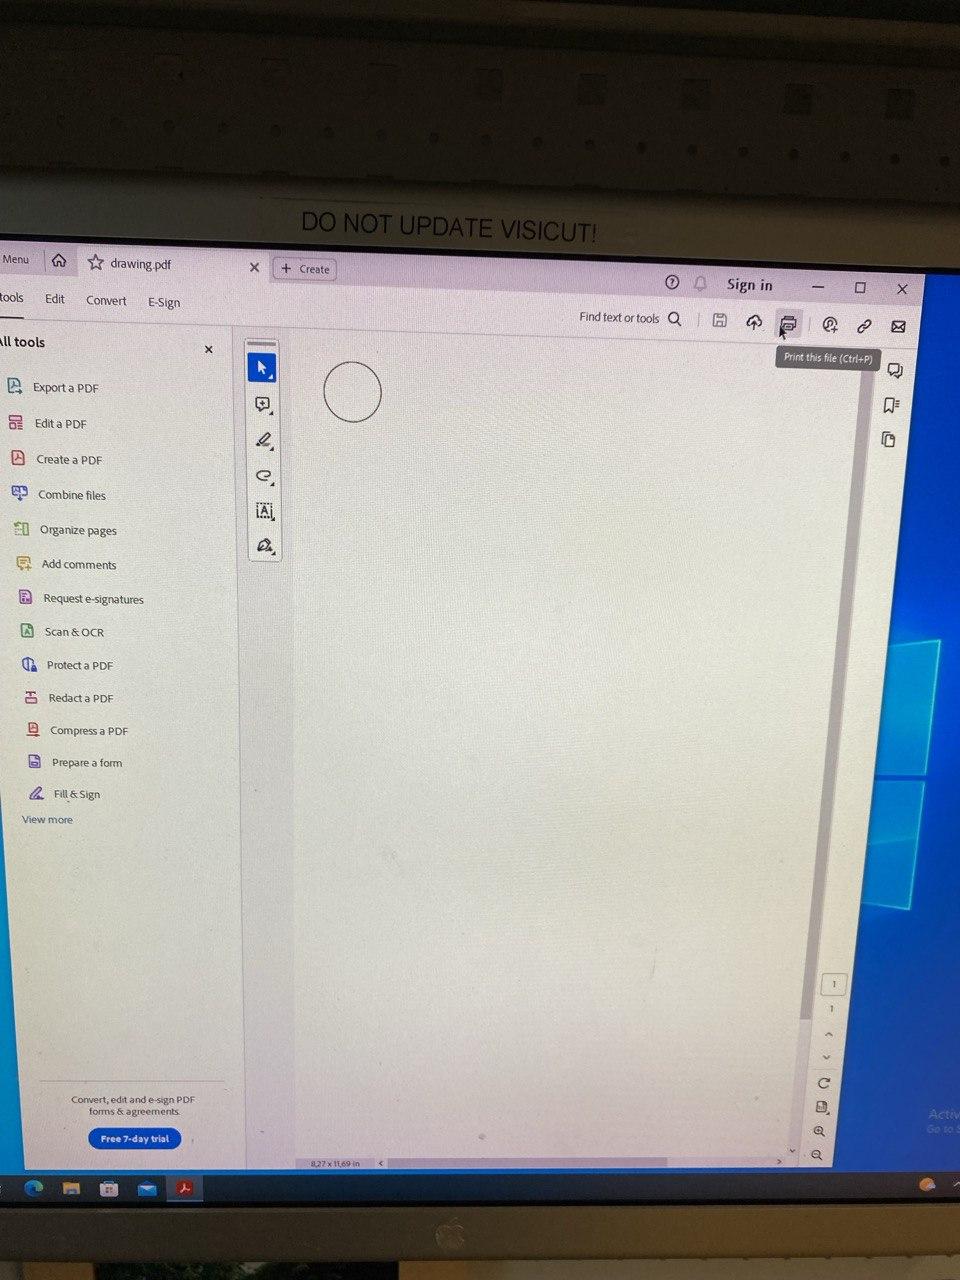
- Open the PDF file in Adobe Acrobat.
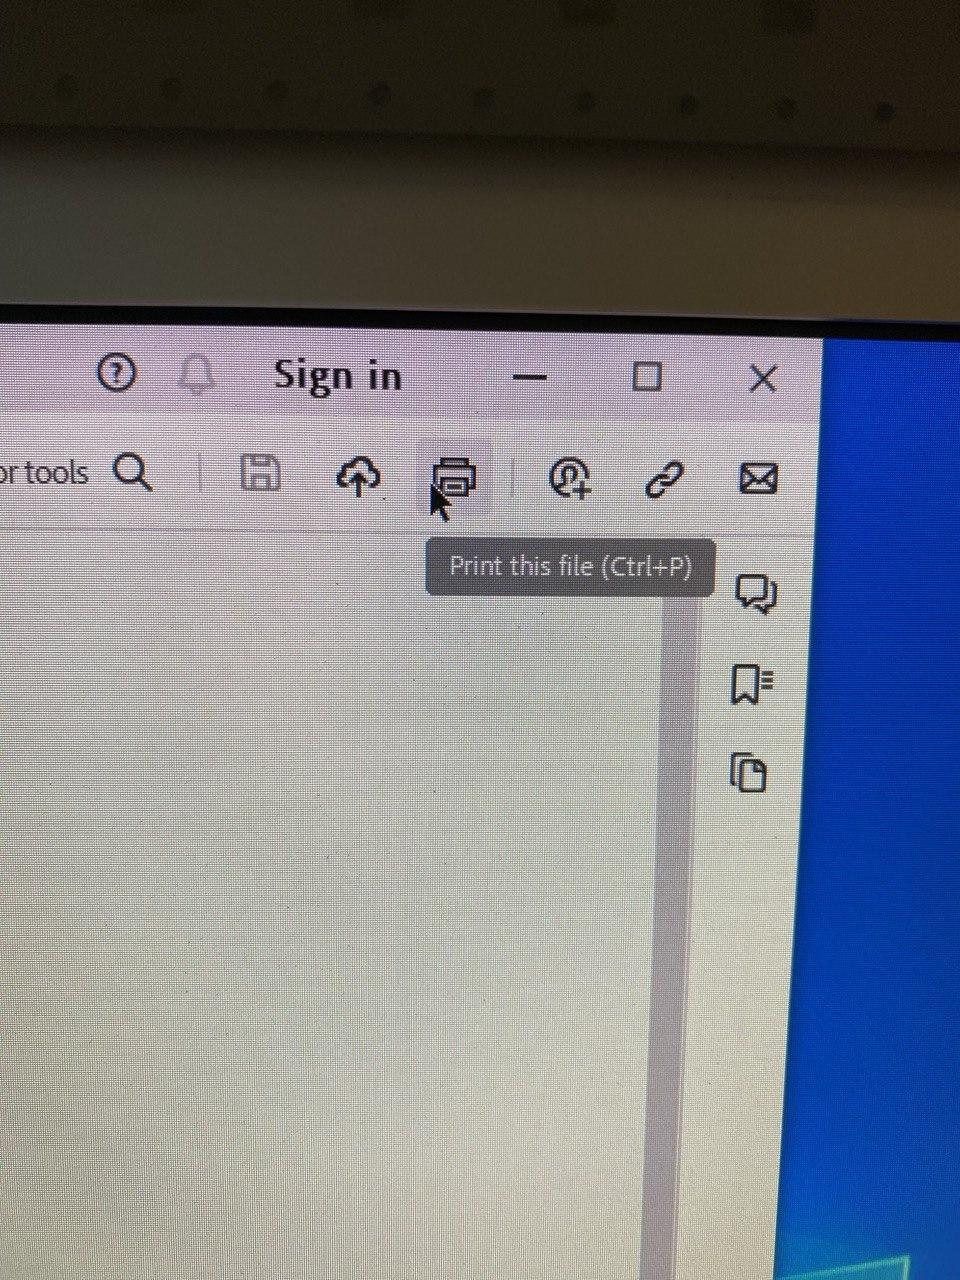
- Go to the print area (locate the print icon).
3. Send Print Job to the Lasercutter:
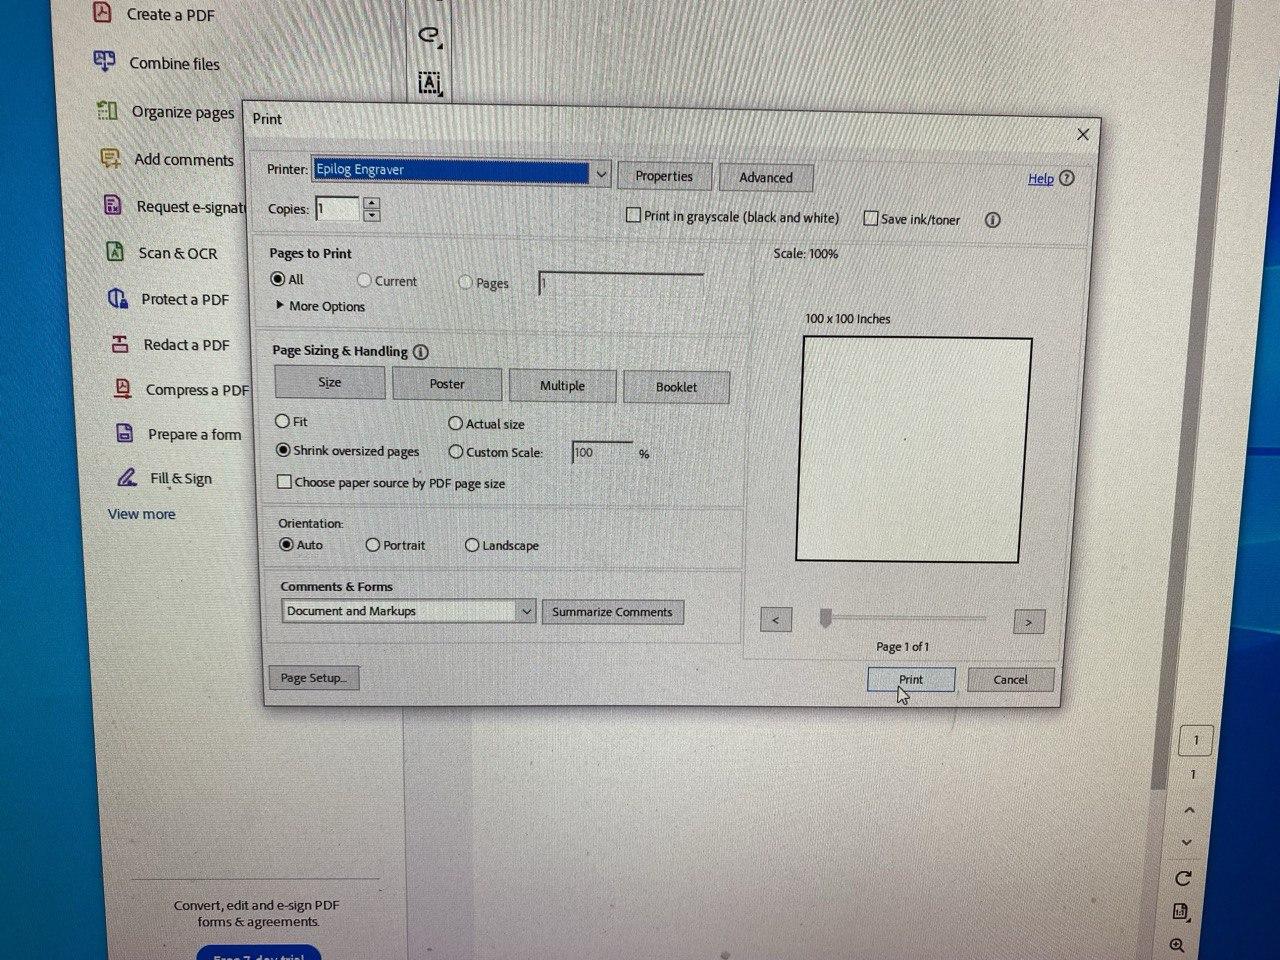
- Another window will open, and the Lasercutter should already be listed as the "printer."
- Send the print job.
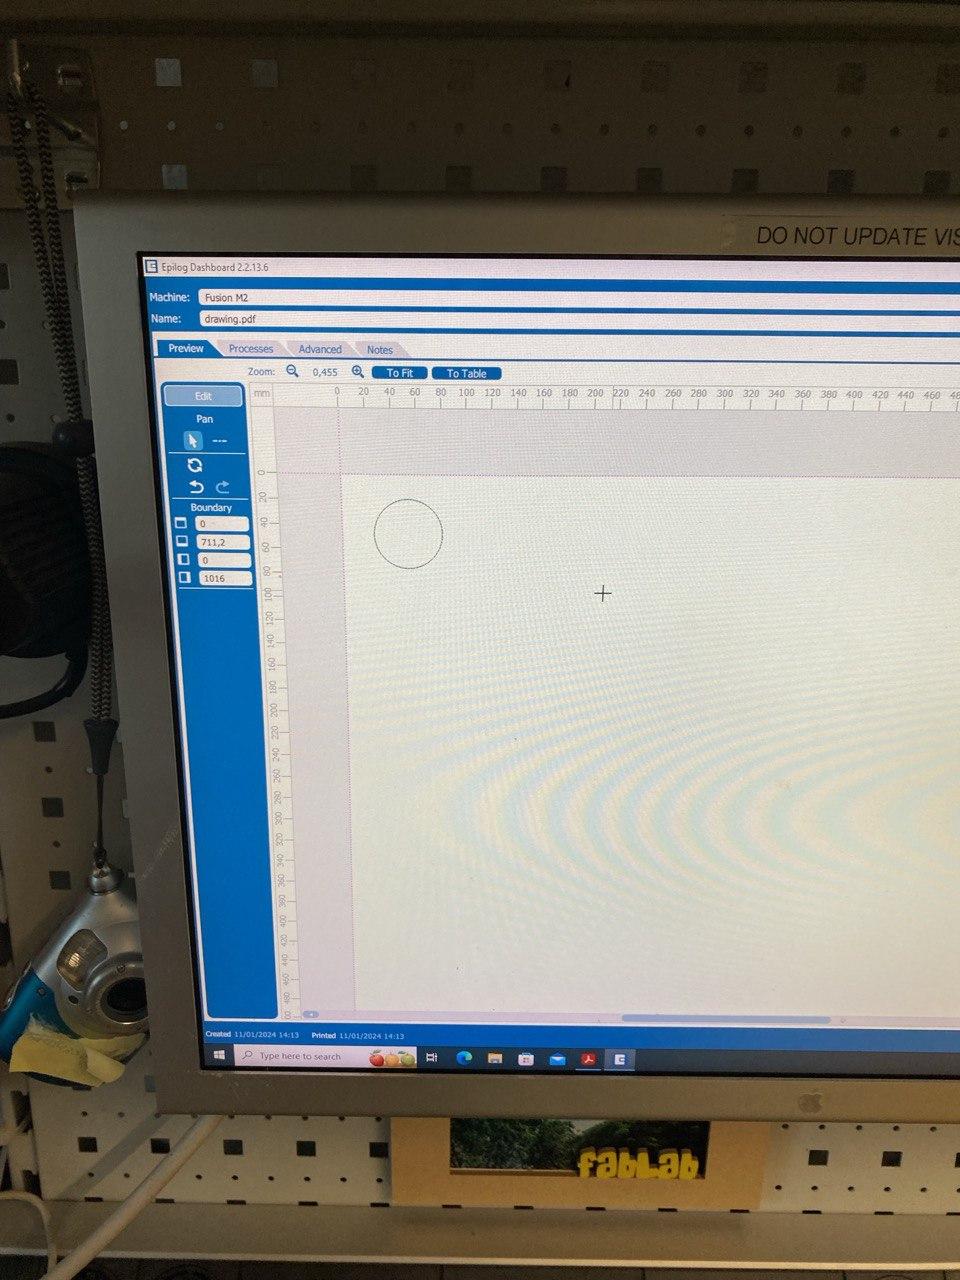
4. Open "Epilog Dashboard" Software:
- The "Epilog Dashboard" software will open automatically.
- Your file will be at the bottom left - drag it into the white cutting area.
5. Ensure File Is Within Cutting Area:
- Make sure the file is not outside the cutting area to prevent potential laser damage!
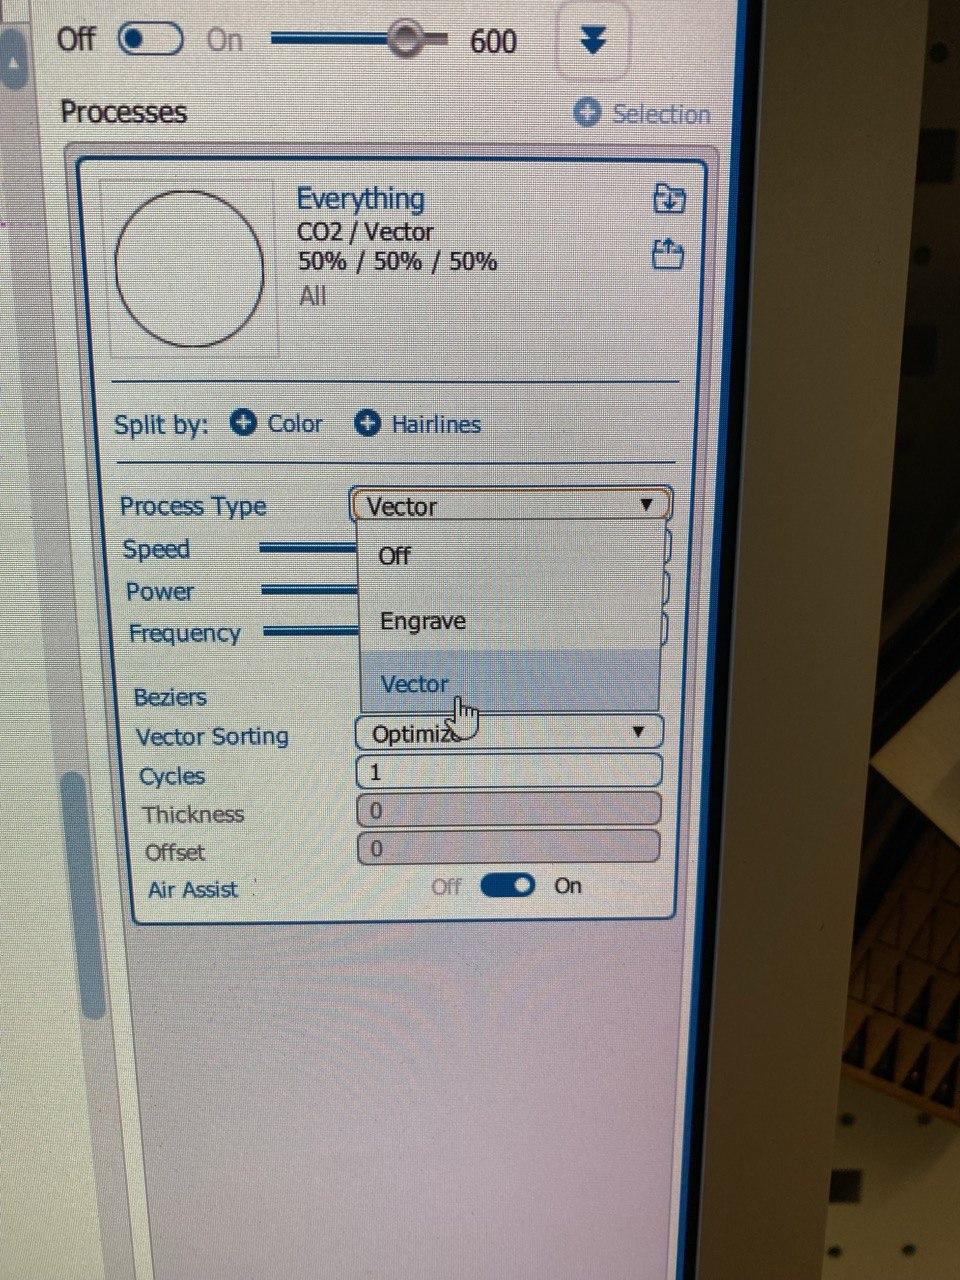
6. Adjust Settings:
- In the bottom right corner, find the settings for cutting or engraving.
- "Engraving" is for engraving, and "Vector" is for cutting.
7. Utilize Stroke Widths and Colors for Different Settings:
- The software allows grouping based on stroke width or colors. Adjust your file in Inkscape accordingly.
8. Set Laser Speed and Power:
- Below the settings, you can set the laser speed and power.
- Be cautious not to set the laser frequency to 100%, but adjust it as needed (e.g., 70/75% or lower).
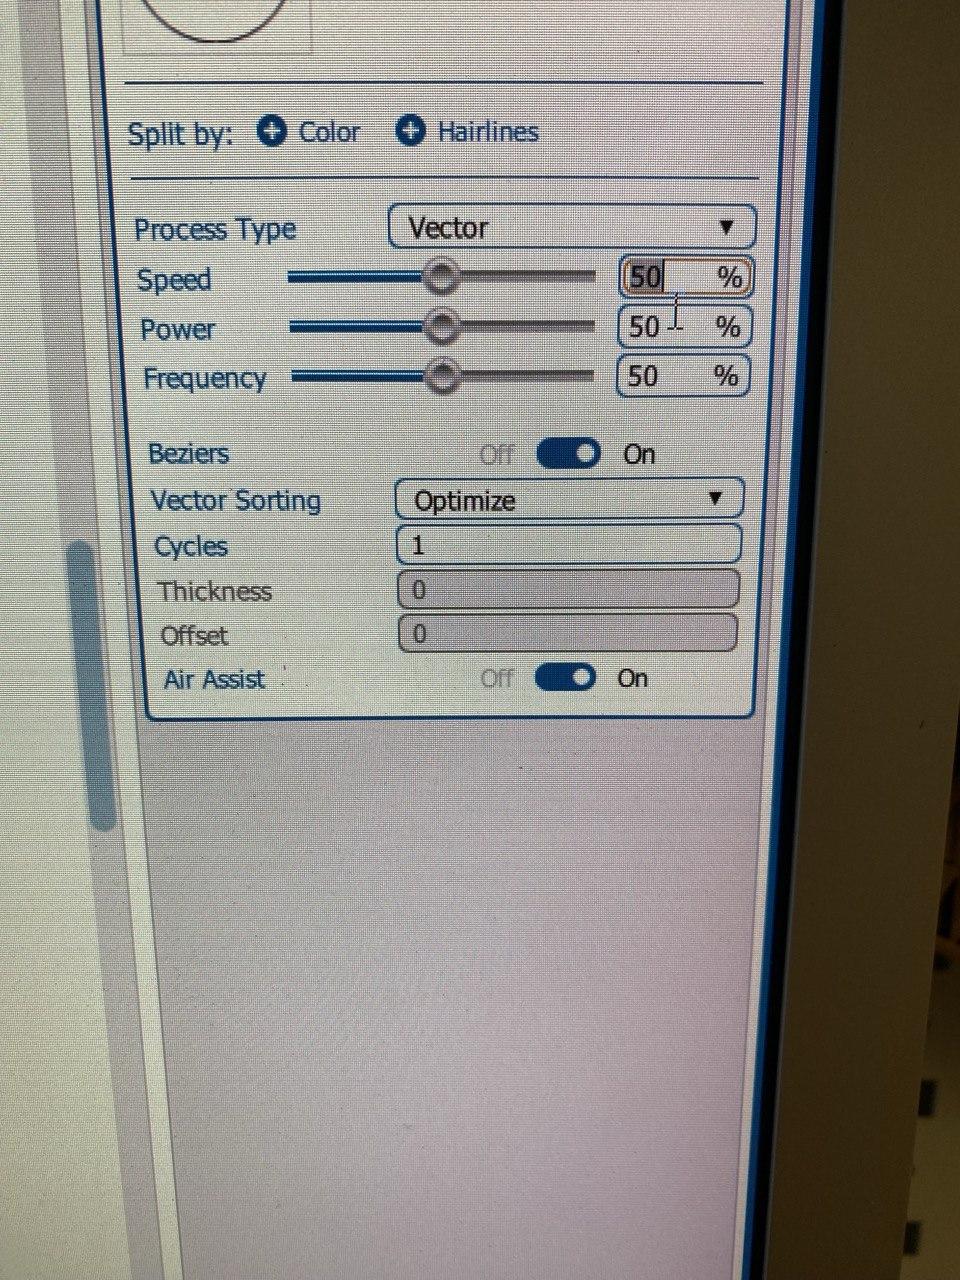
9. Activate Air Assistance:
- Turn on Air Assistance for safety. (See picture below "Air Assist")
10. Autofocus:
- It is also possible to cut with autofocus, but the exact thickness of the material would have to be specified! Otherwise, adjust by hand as usual with the measuring tool on the lasercutter.
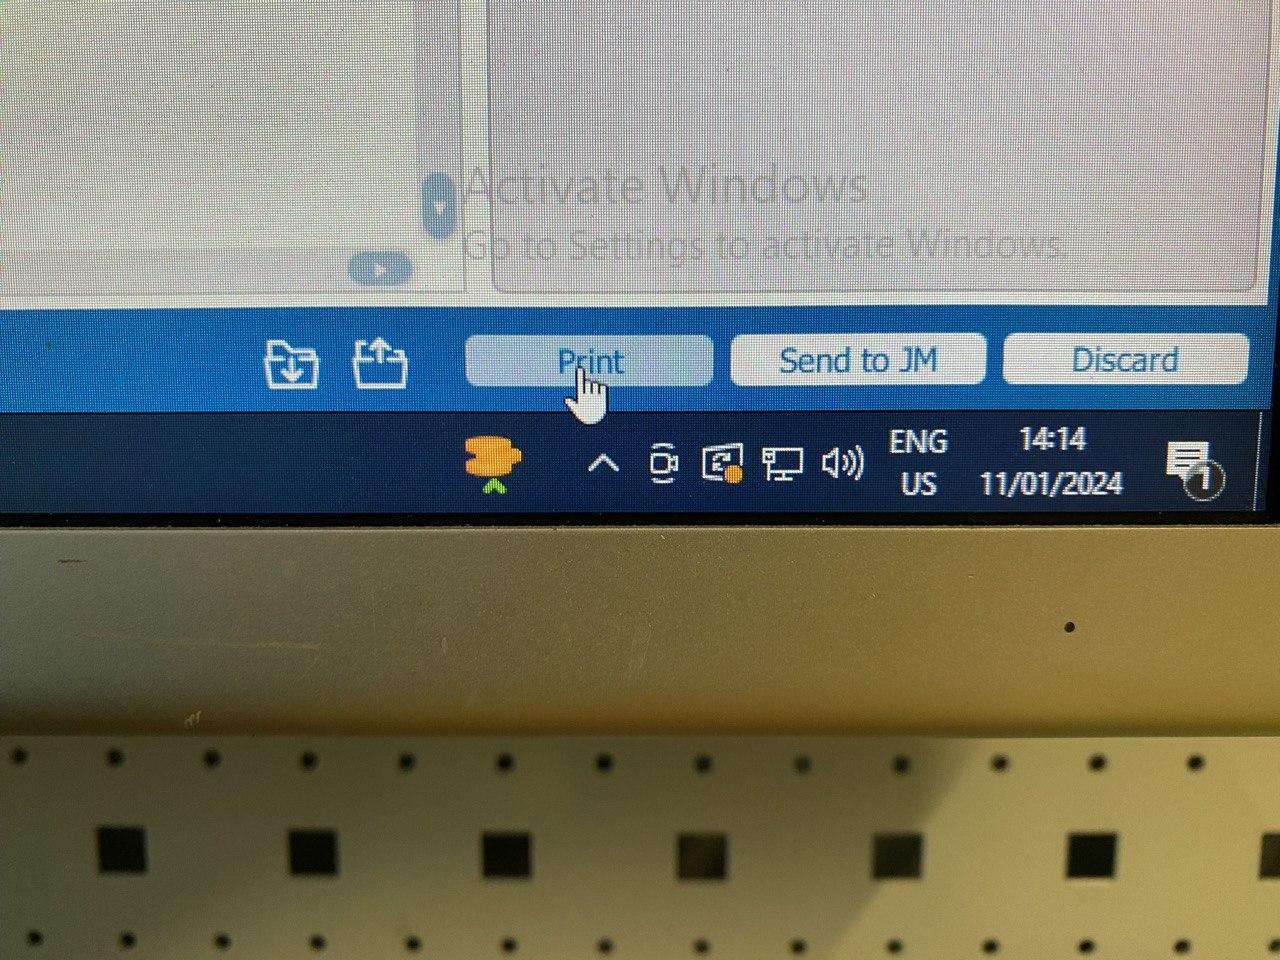
11. Initiate Printing:
- Once all settings are configured, start the print. The print job will be forwarded to the Lasercutter.
12. Monitor Progress:
- At the Lasercutter, you will see the file name being processed. If everything is correct, initiate the job.