FabScan Camera
FabScan100 uses the Logitech C270 webcam. This tutorial explains how to modify the camera so that it can be used with the FabScan 3D scanner.
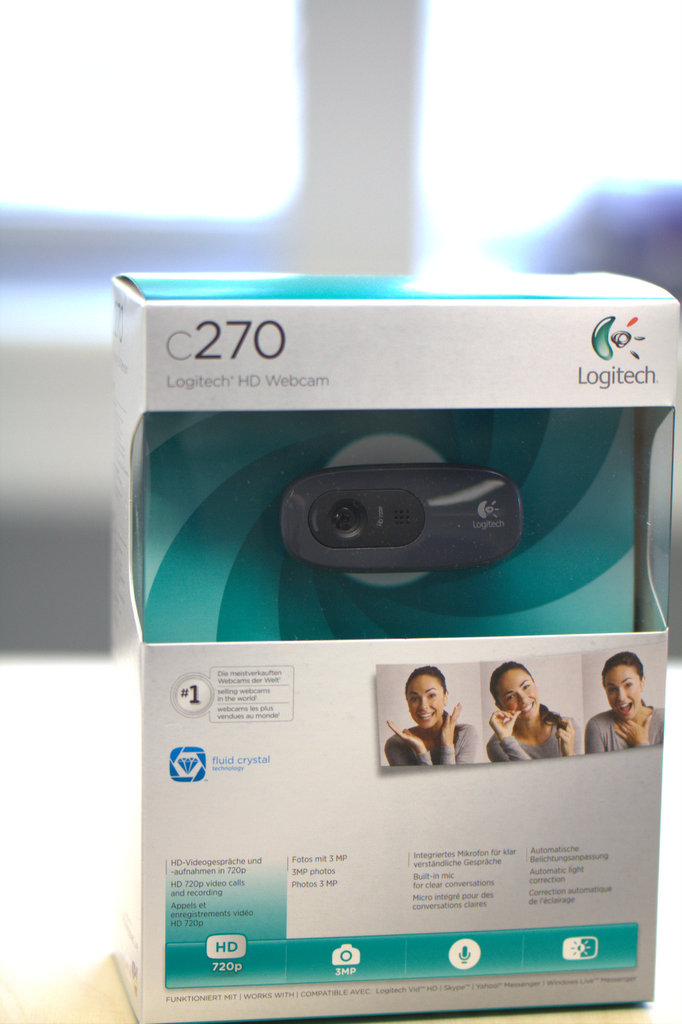
Get this webcam.
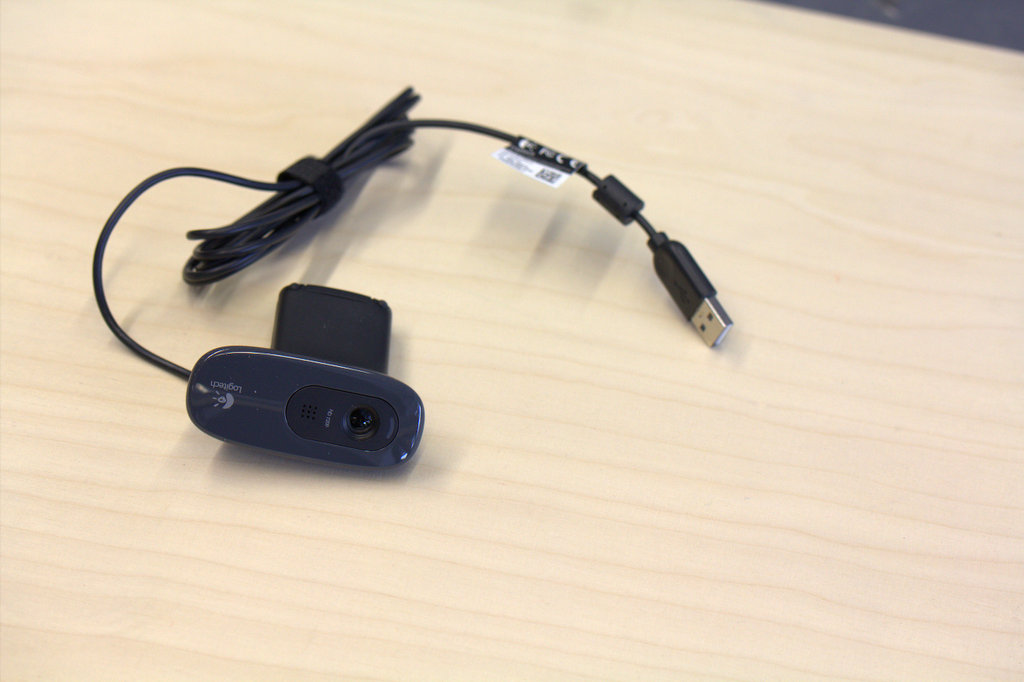
Take it out of the box.
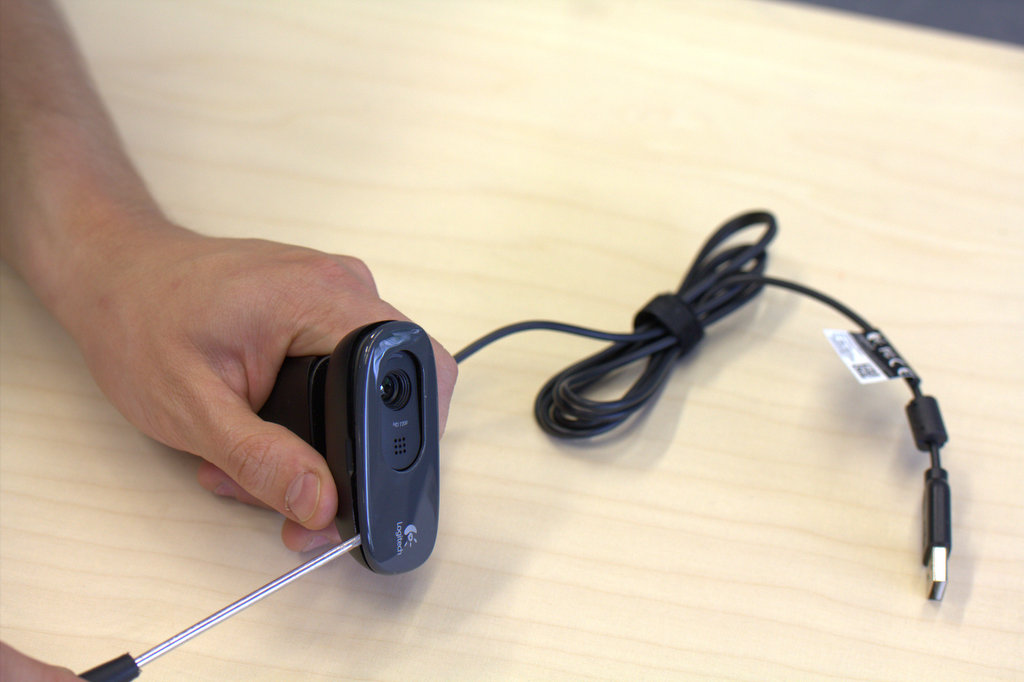
Take of the front shield, there are no screws.
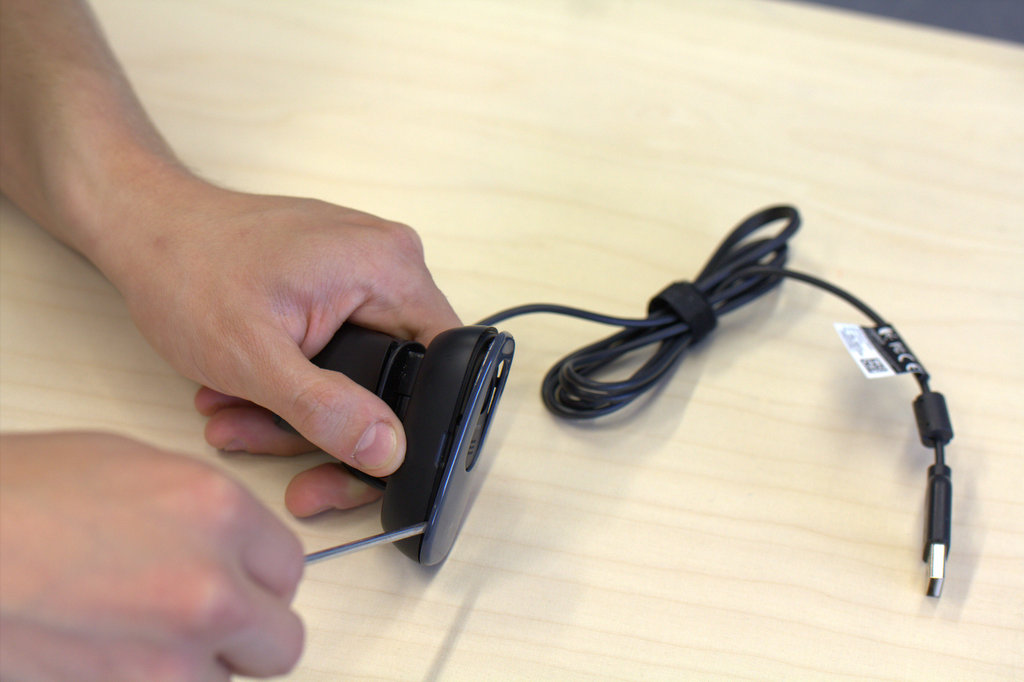
Gently...
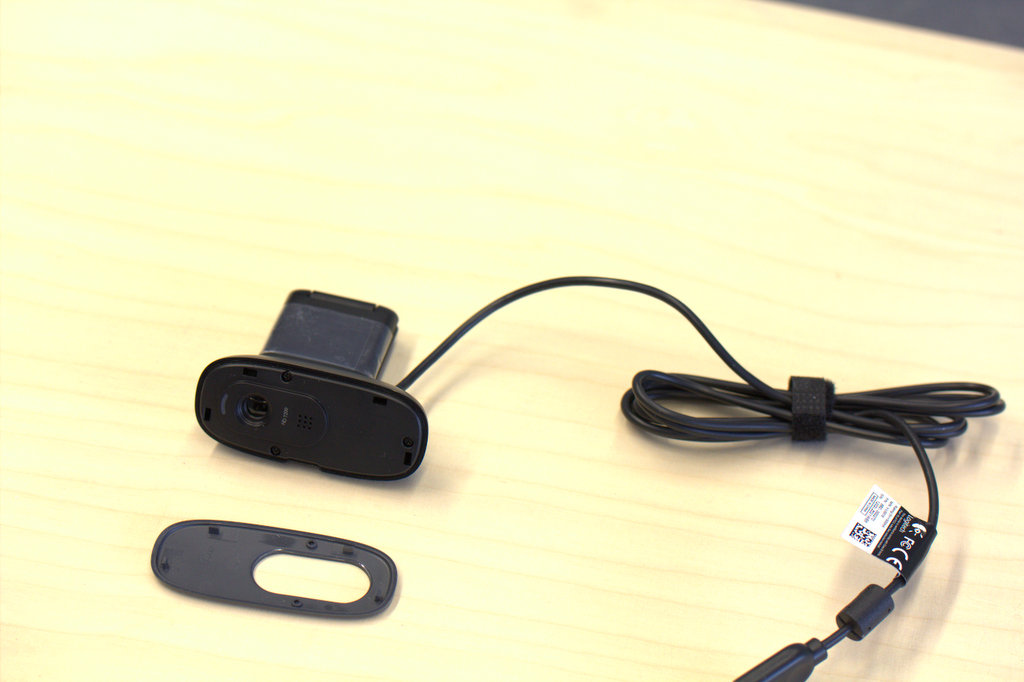
Now its off. Three screws become visible.
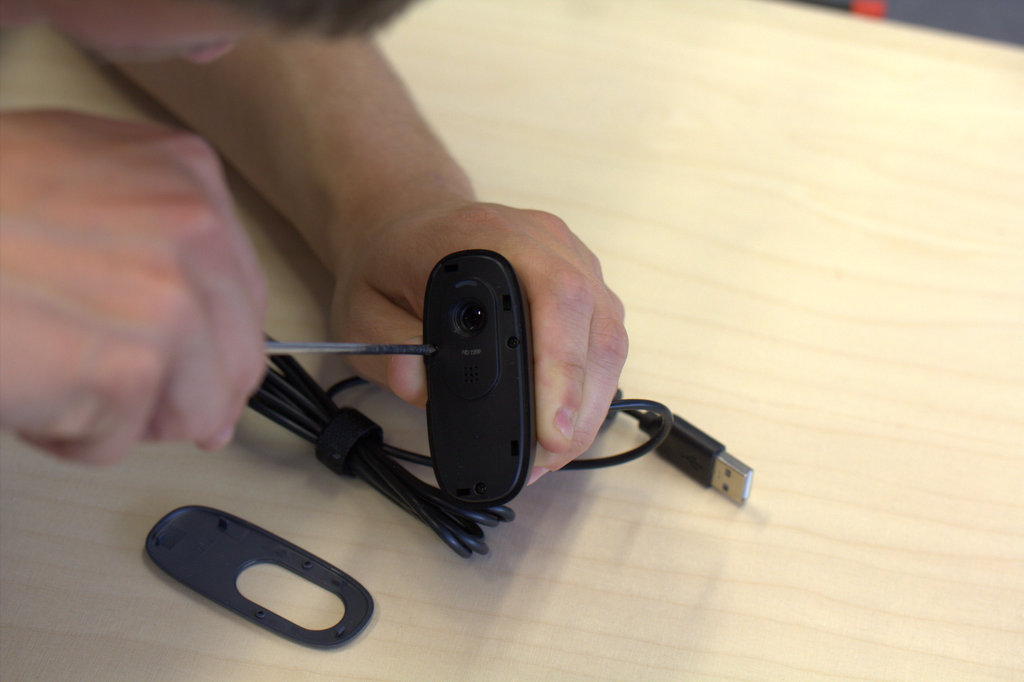
Take them out.
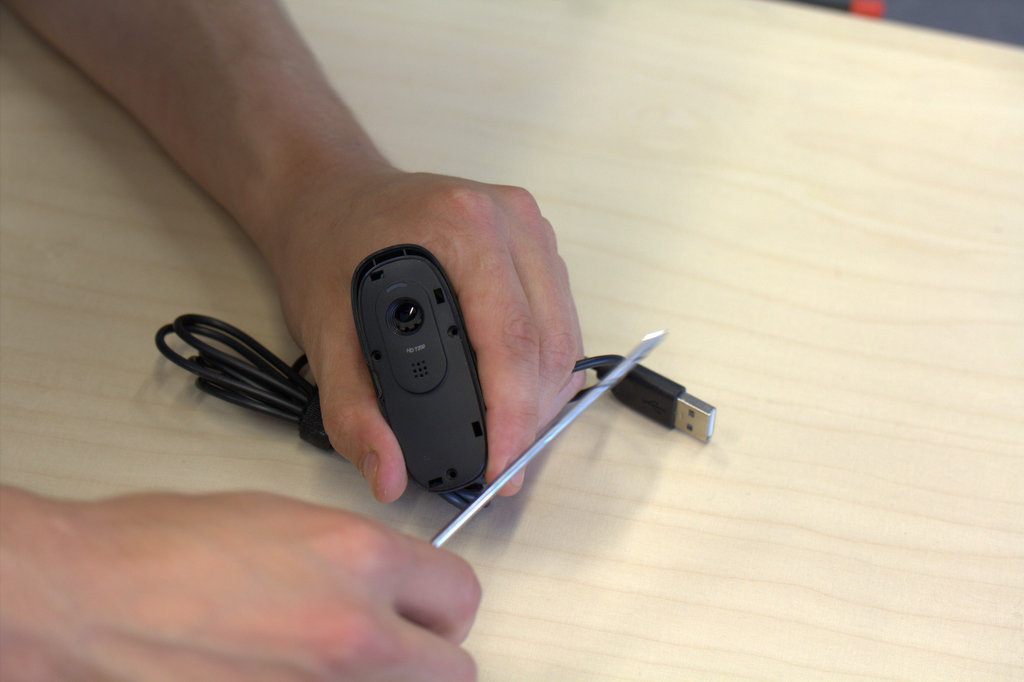
Pull it apart.
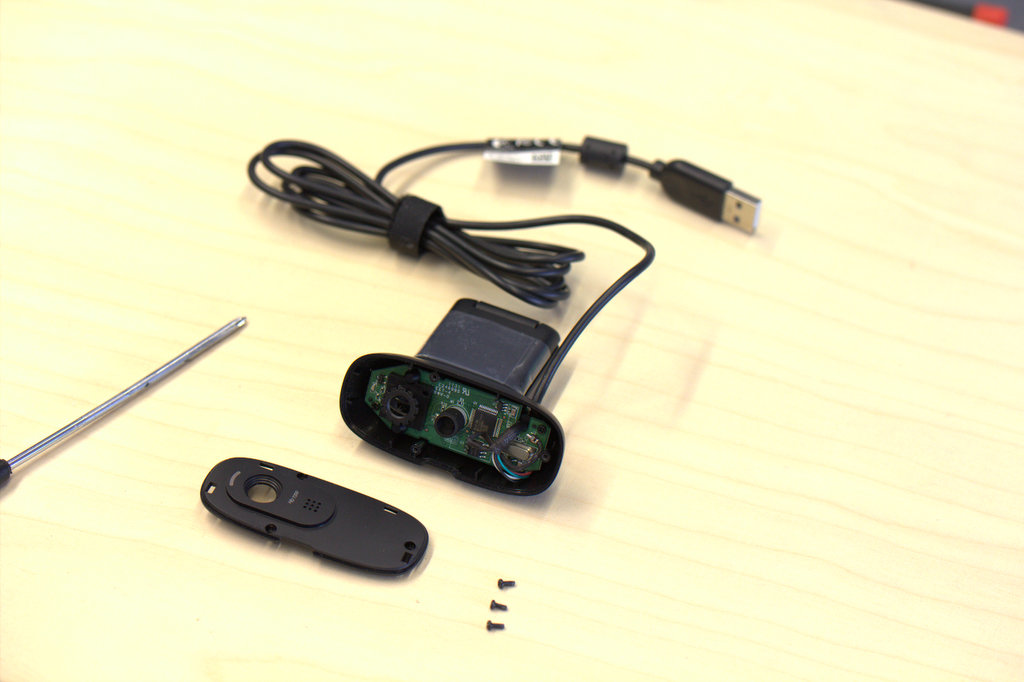
Now the PCB is visible.
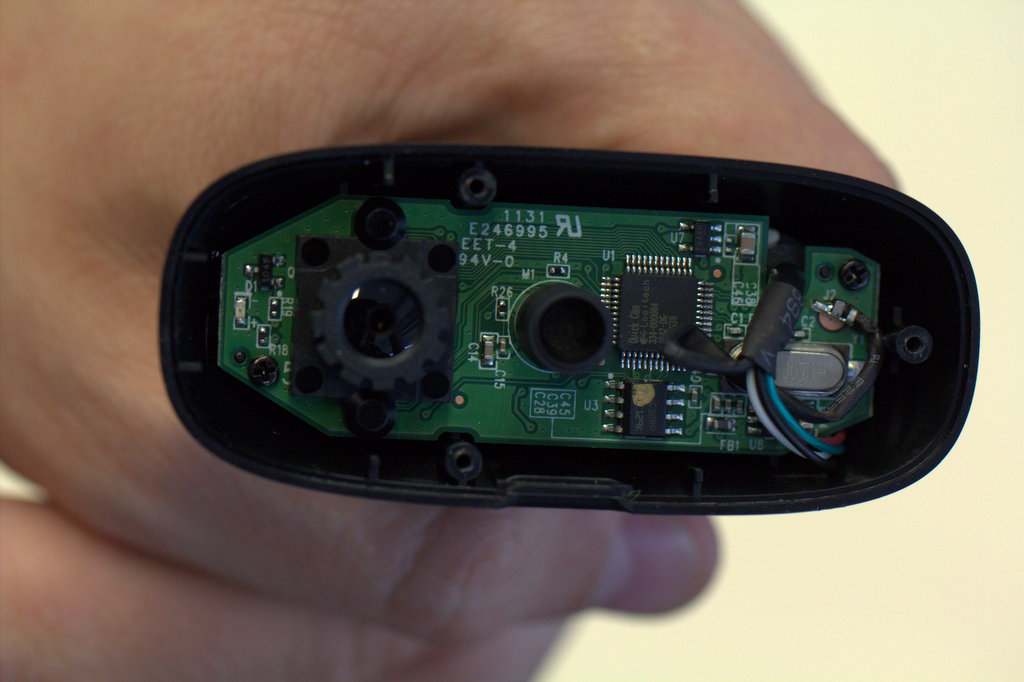
Also two more screws, unscrew them.
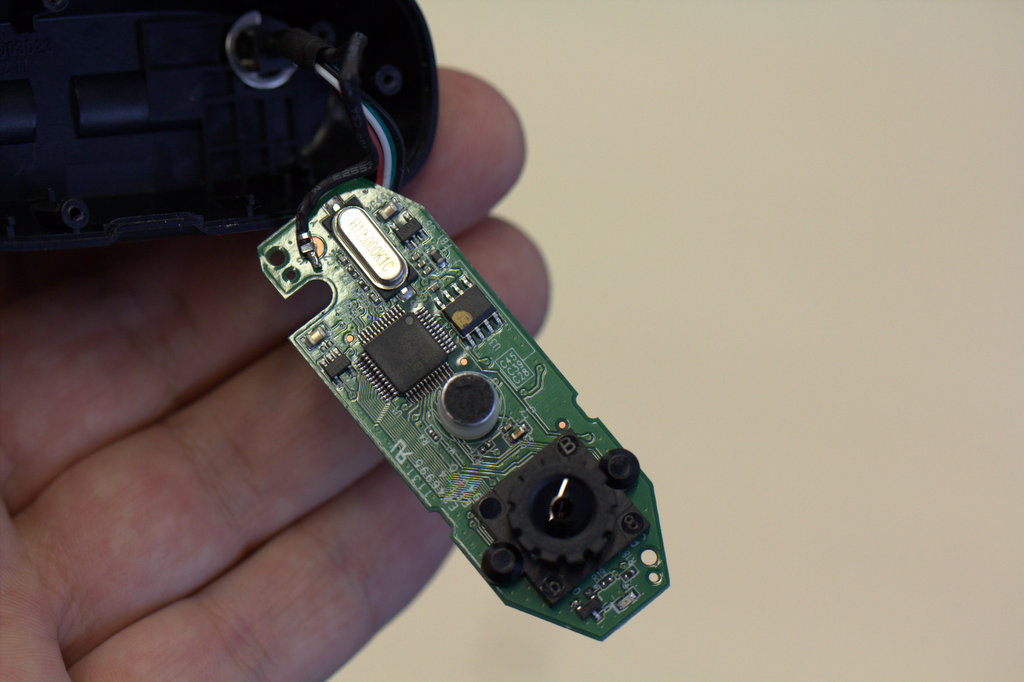
Now you hold the PCB in your hands.
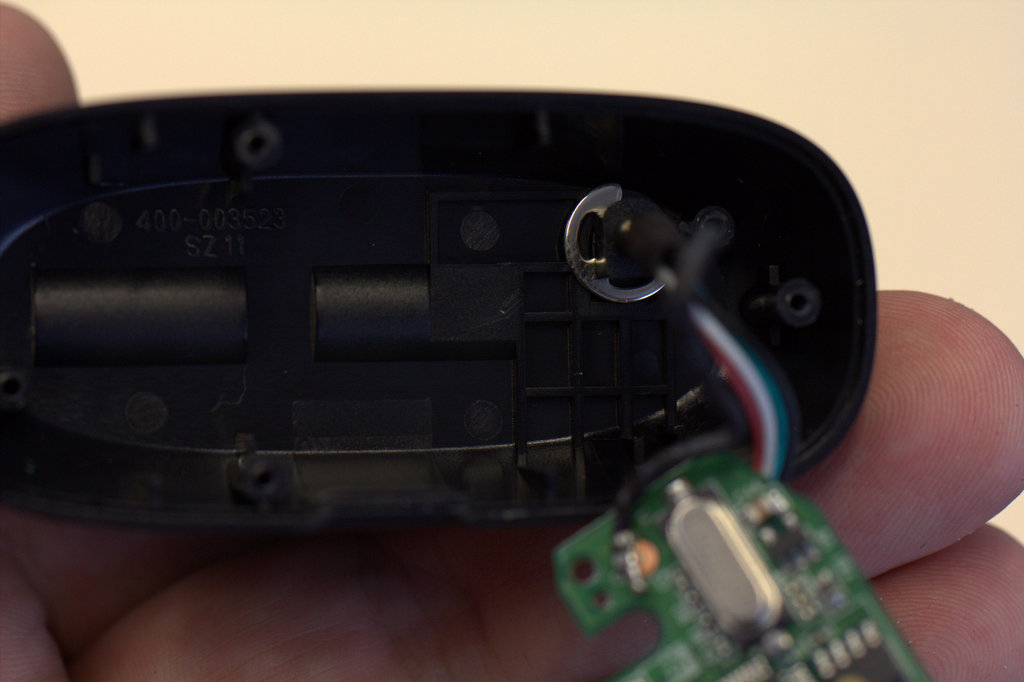
It is still attached to the cables.
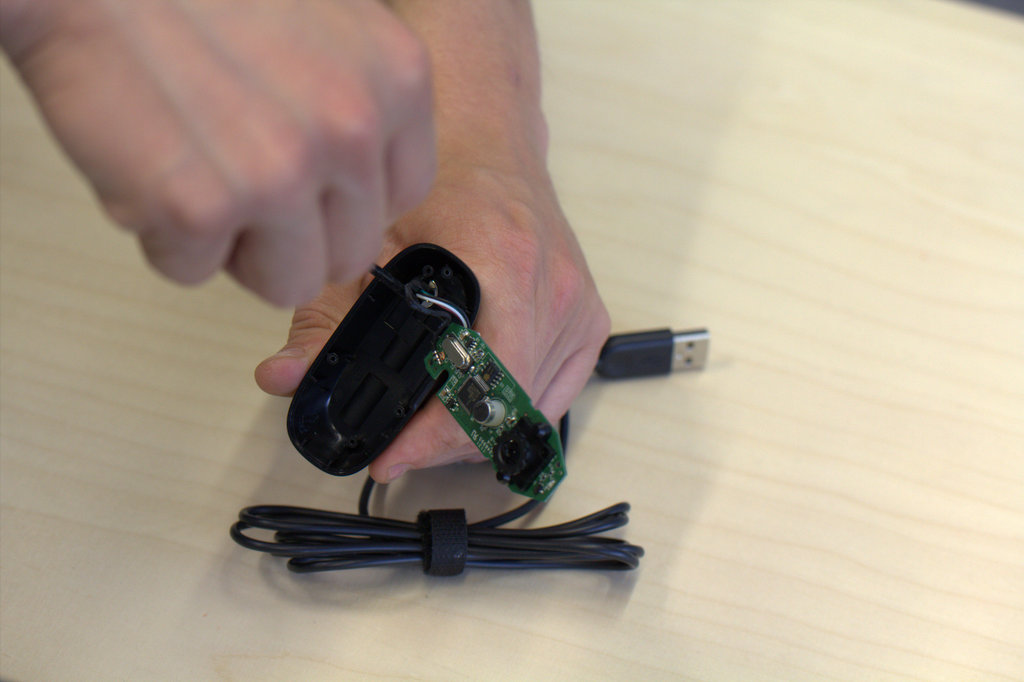
Take out the metal ring by slipping it to the side.
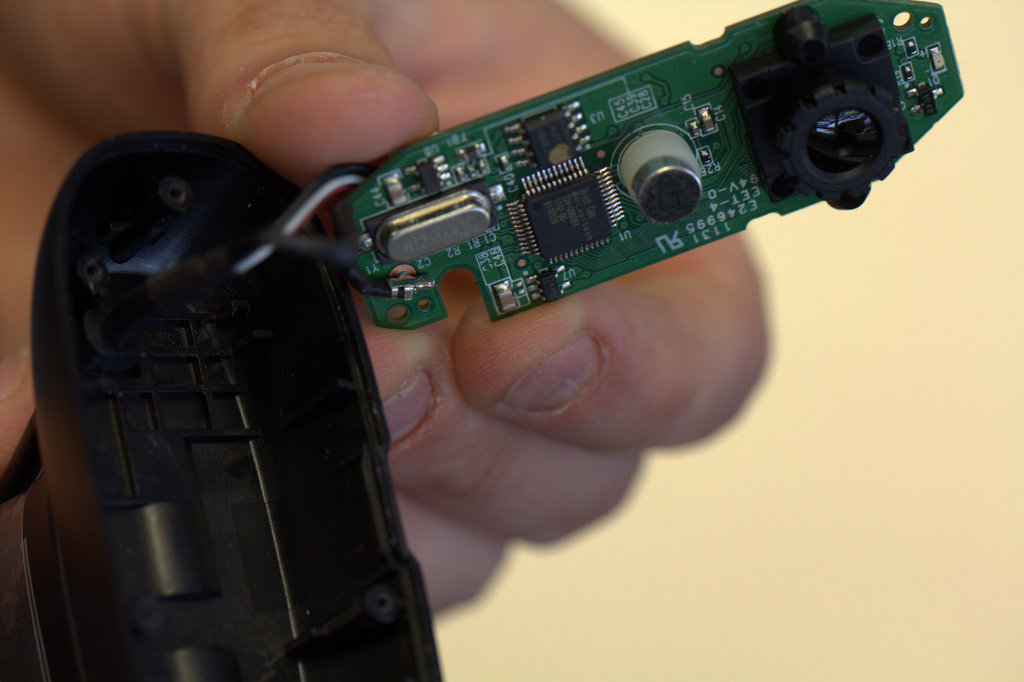
Pull everything a little out from the housing. We also want to get rid of this part, thats why we need to disconnect the cables temporarily.
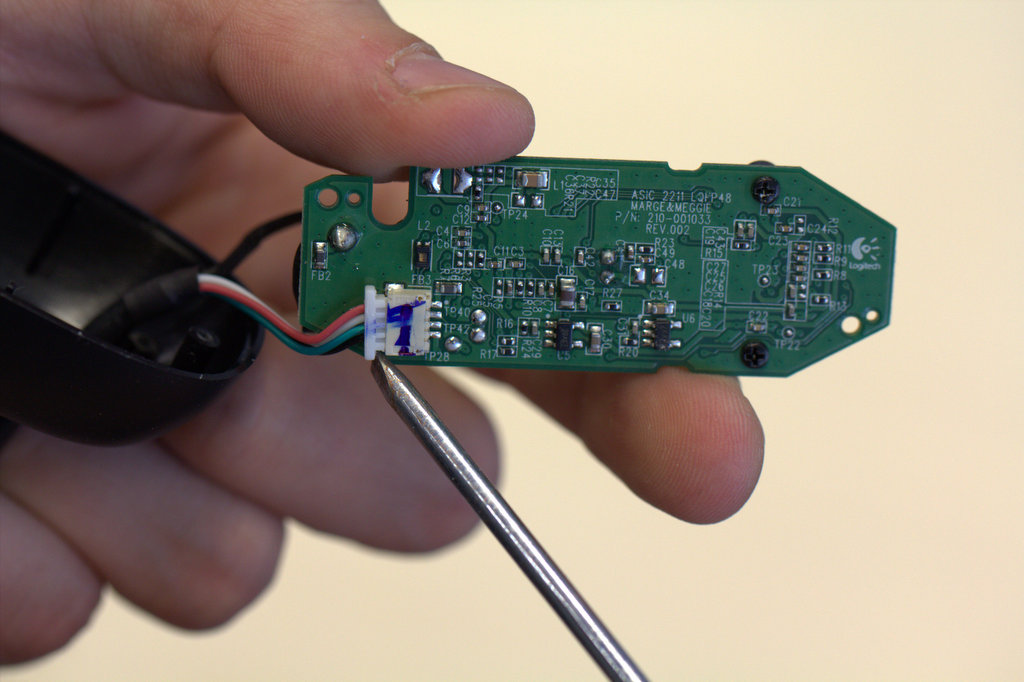
Gently detach the cables.
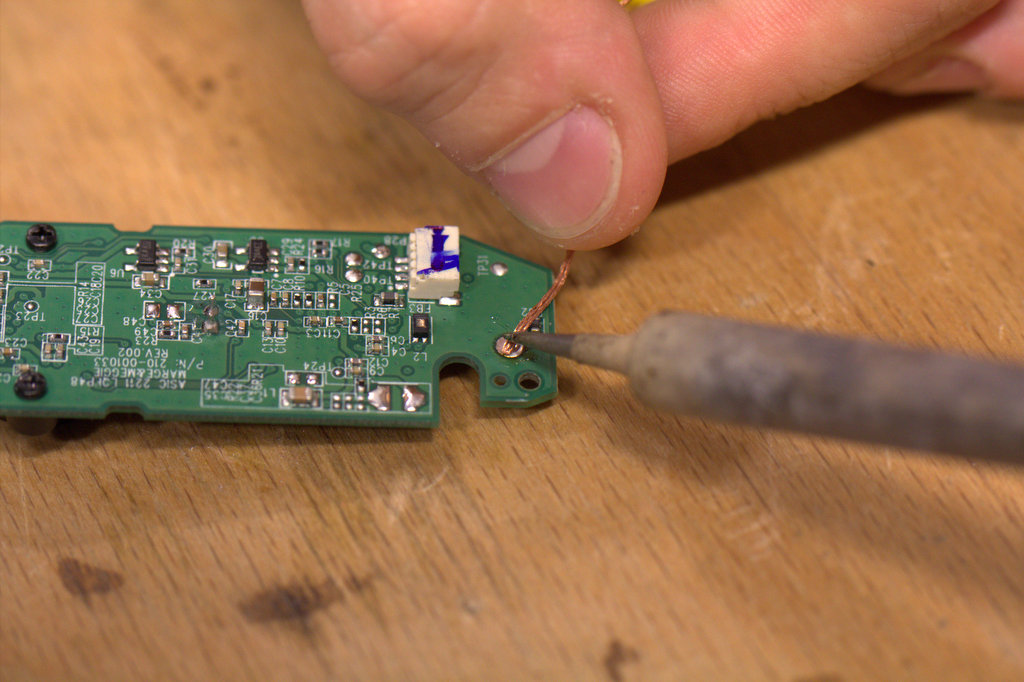
The other cable is the shield which is soldered. So we need to unsolder it. Make sure to clean the hole so we can re-solder it later.
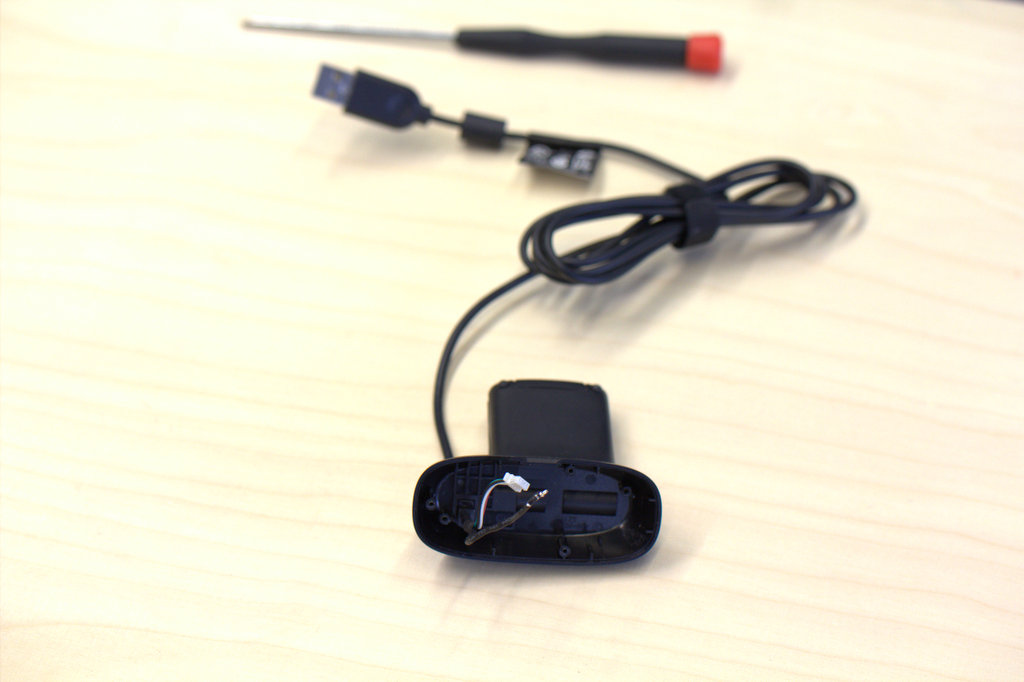
No all the cables are detached.
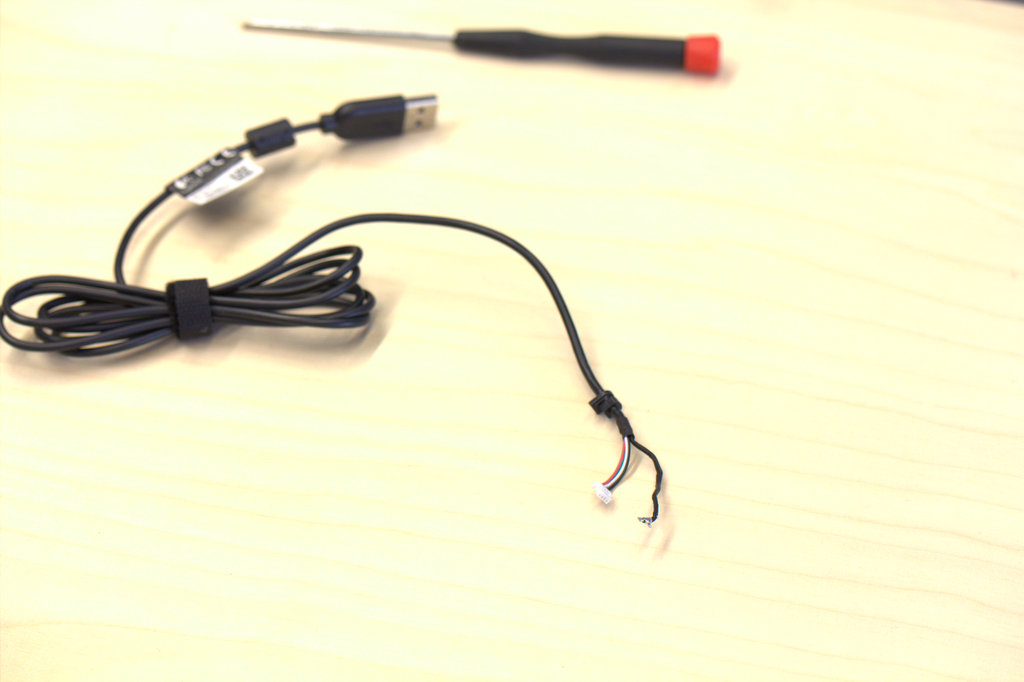
Remove the last part of the housing
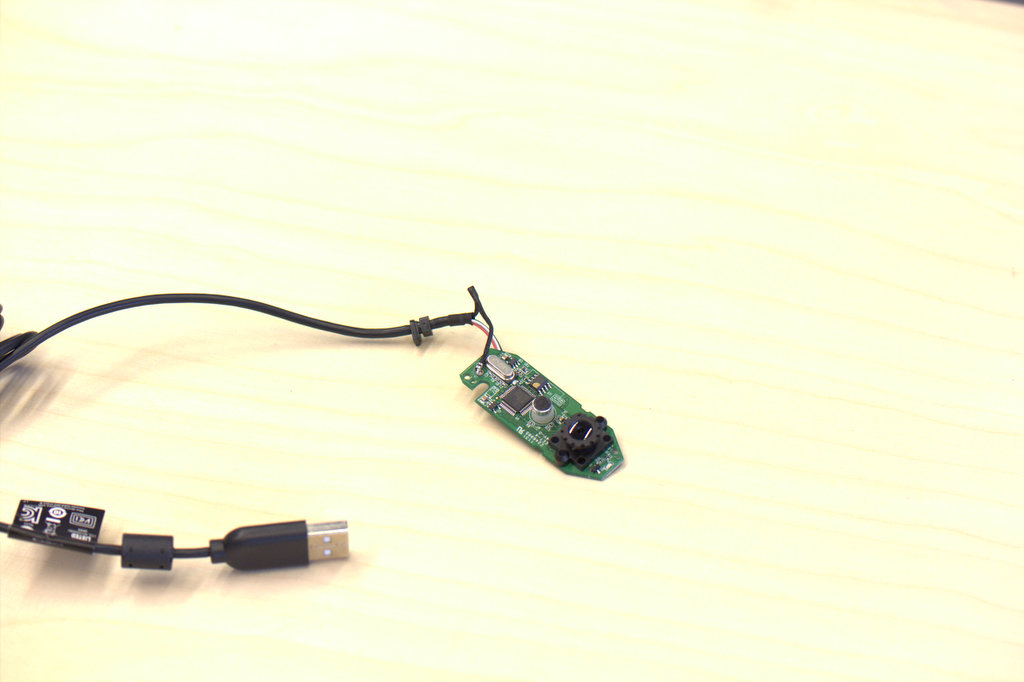
Reattach the cables and re-solder the shield.
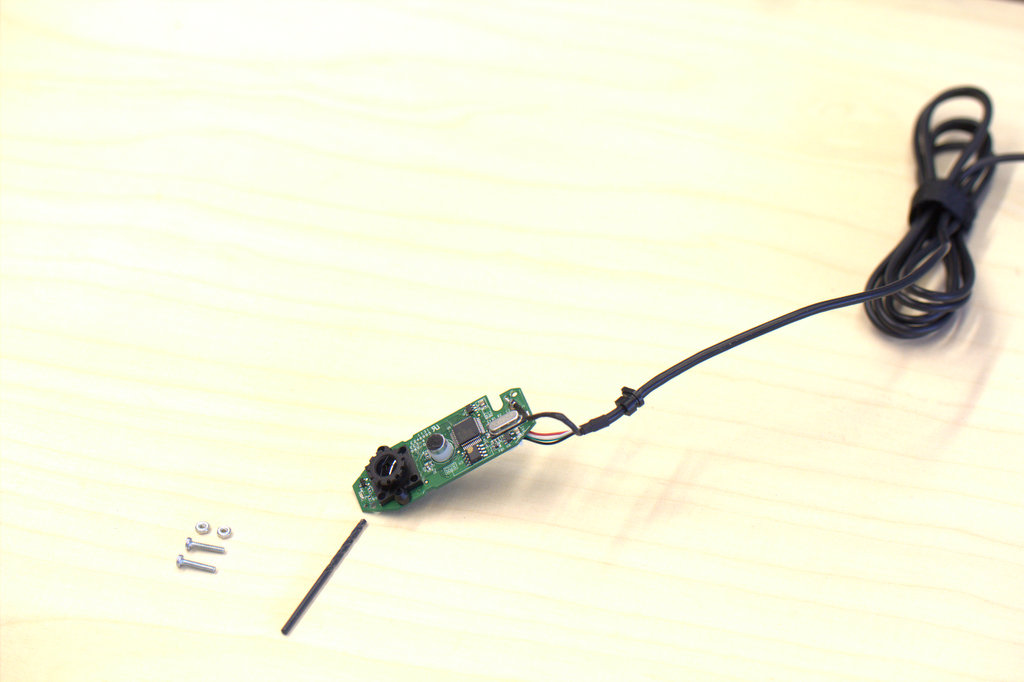
Now we need to make the holes in the PCB a little large so we can put screws through them. To do so, use a driller of 2mm and gently enlarge the holes.
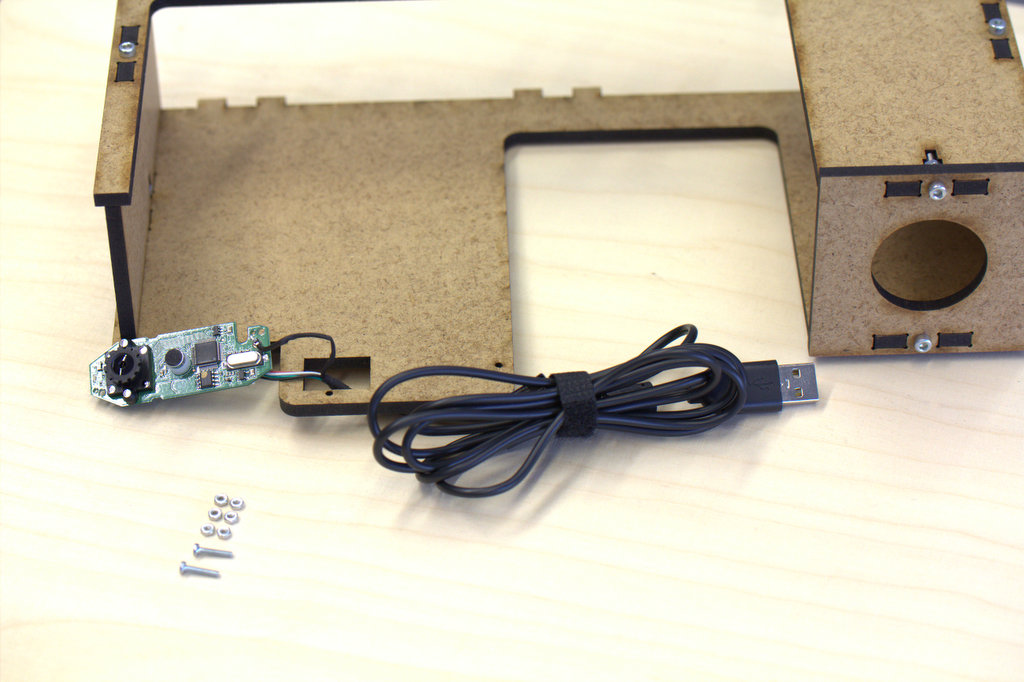
Now we can attach it to our camera holder parts. You need two M2 screws and 6 nuts.
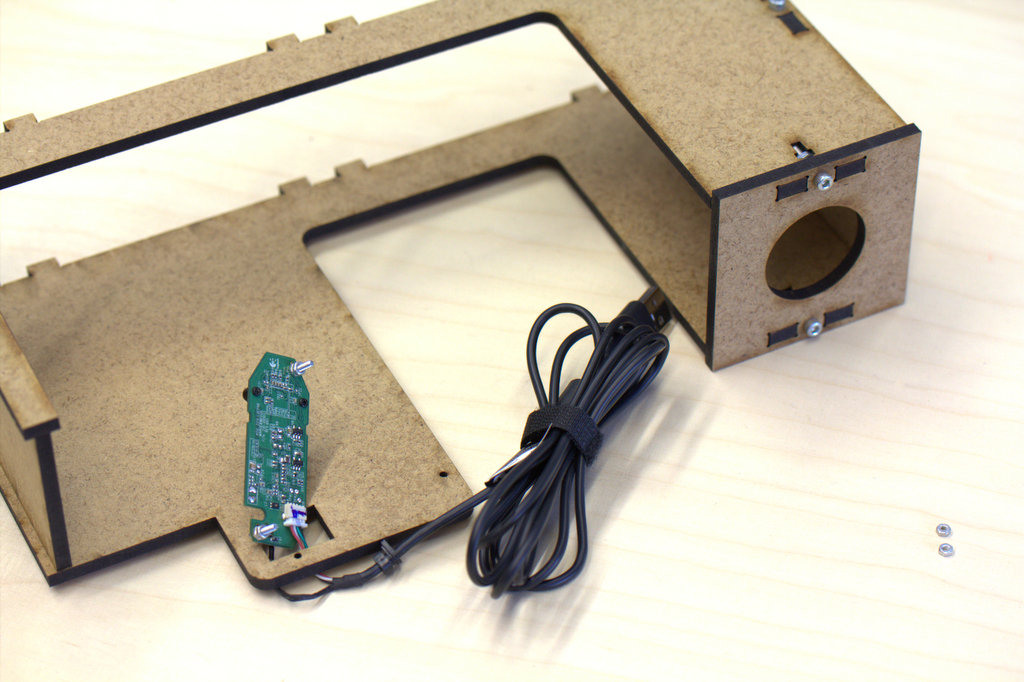
Behind each screw put 2 nuts to keep the distance.
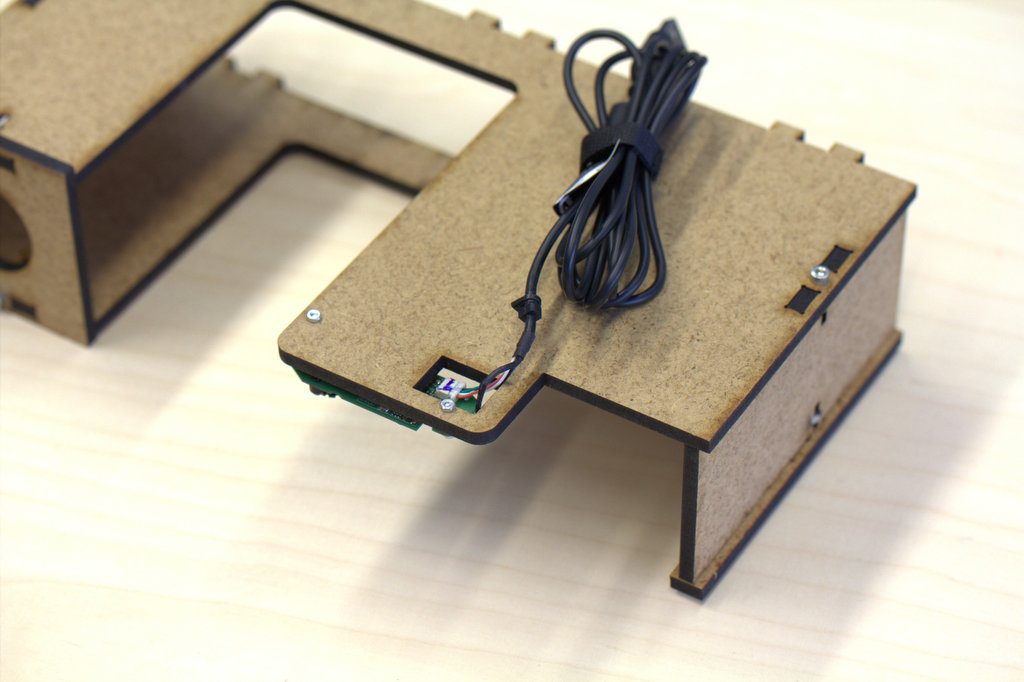
Finally use the 2 remaining screws to attach everything to the MDF.
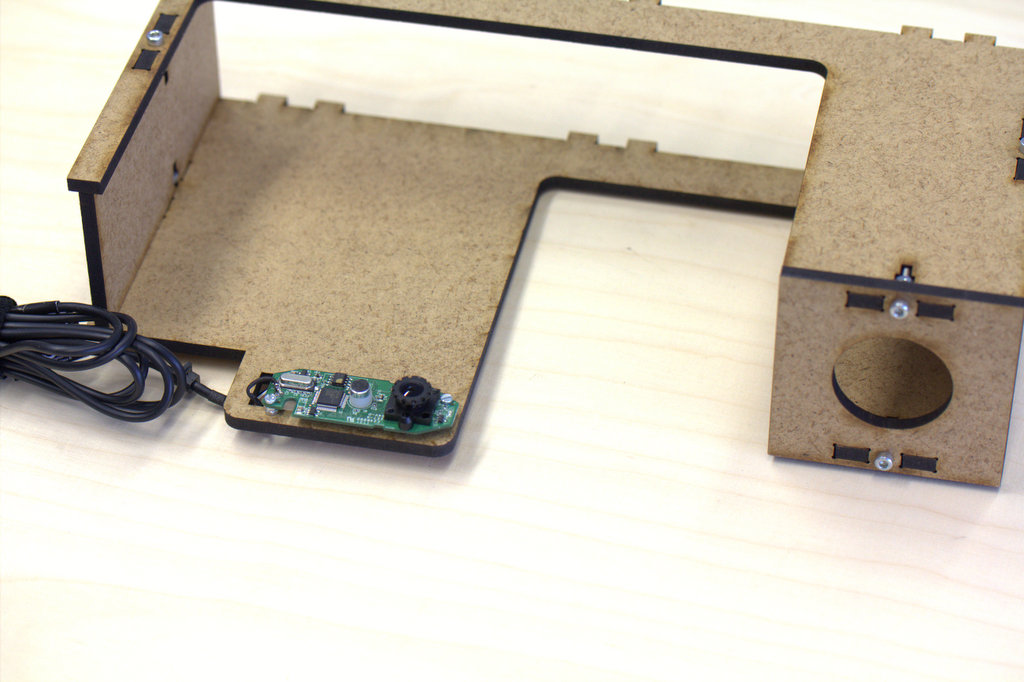
This is how it should look like from front.

Another view from the side. Here you also see that the lens is fixed with a little glue.
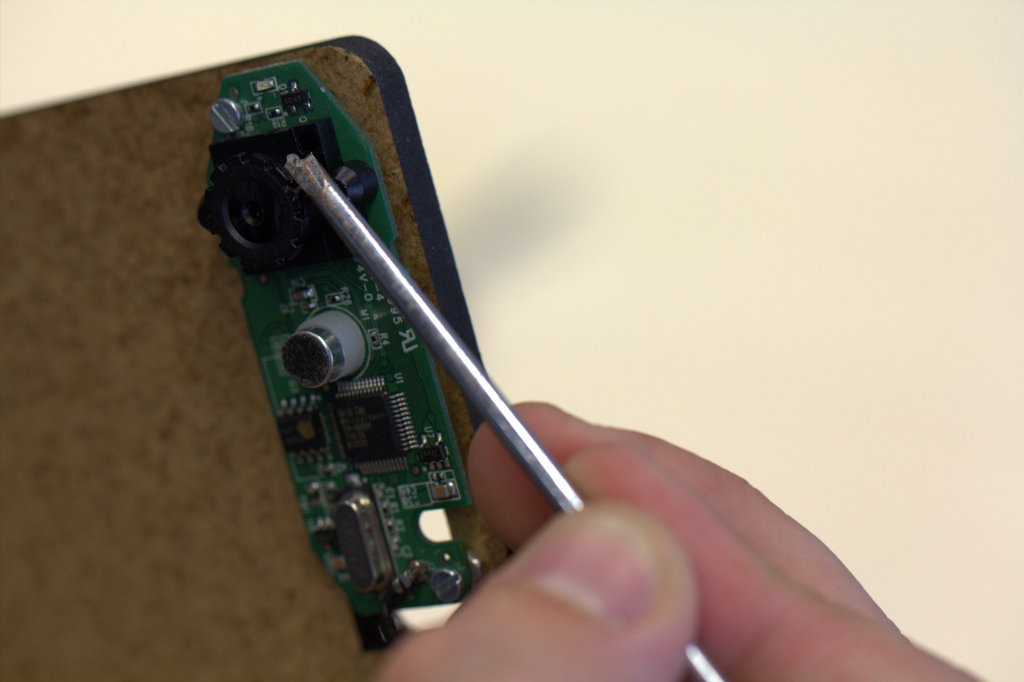
We want to manuallt set the focus of the camera so it fits the needs of the scanner. Hence we need to remove the glue. This works best with a flat screwdriver or a knife. As soon as the glue is removed you can turn the lens and by this adjusting the focus.
There is no need to do that now, we will set the focus later when the camera is inside the scanner and attached to the computer so we can see when the image is sharp.

