EggBot


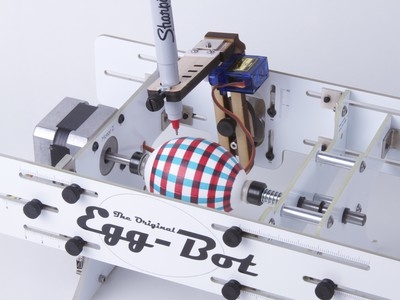
We have an Original EggBot computer-controlled plotter to draw on eggs and other spherical objects. It works best with ultra-fine Sharpie permanent markers. Quick start guide:
- If you are on macOS 10.15 (Catalina) or above, follow these installation instructions. These use Inkscape v1 beta (no need for XQuartz anymore) because earlier versions of Inkscape no longer work under Catalina. (There's also software for Linux and Windows, but we won't cover that here).
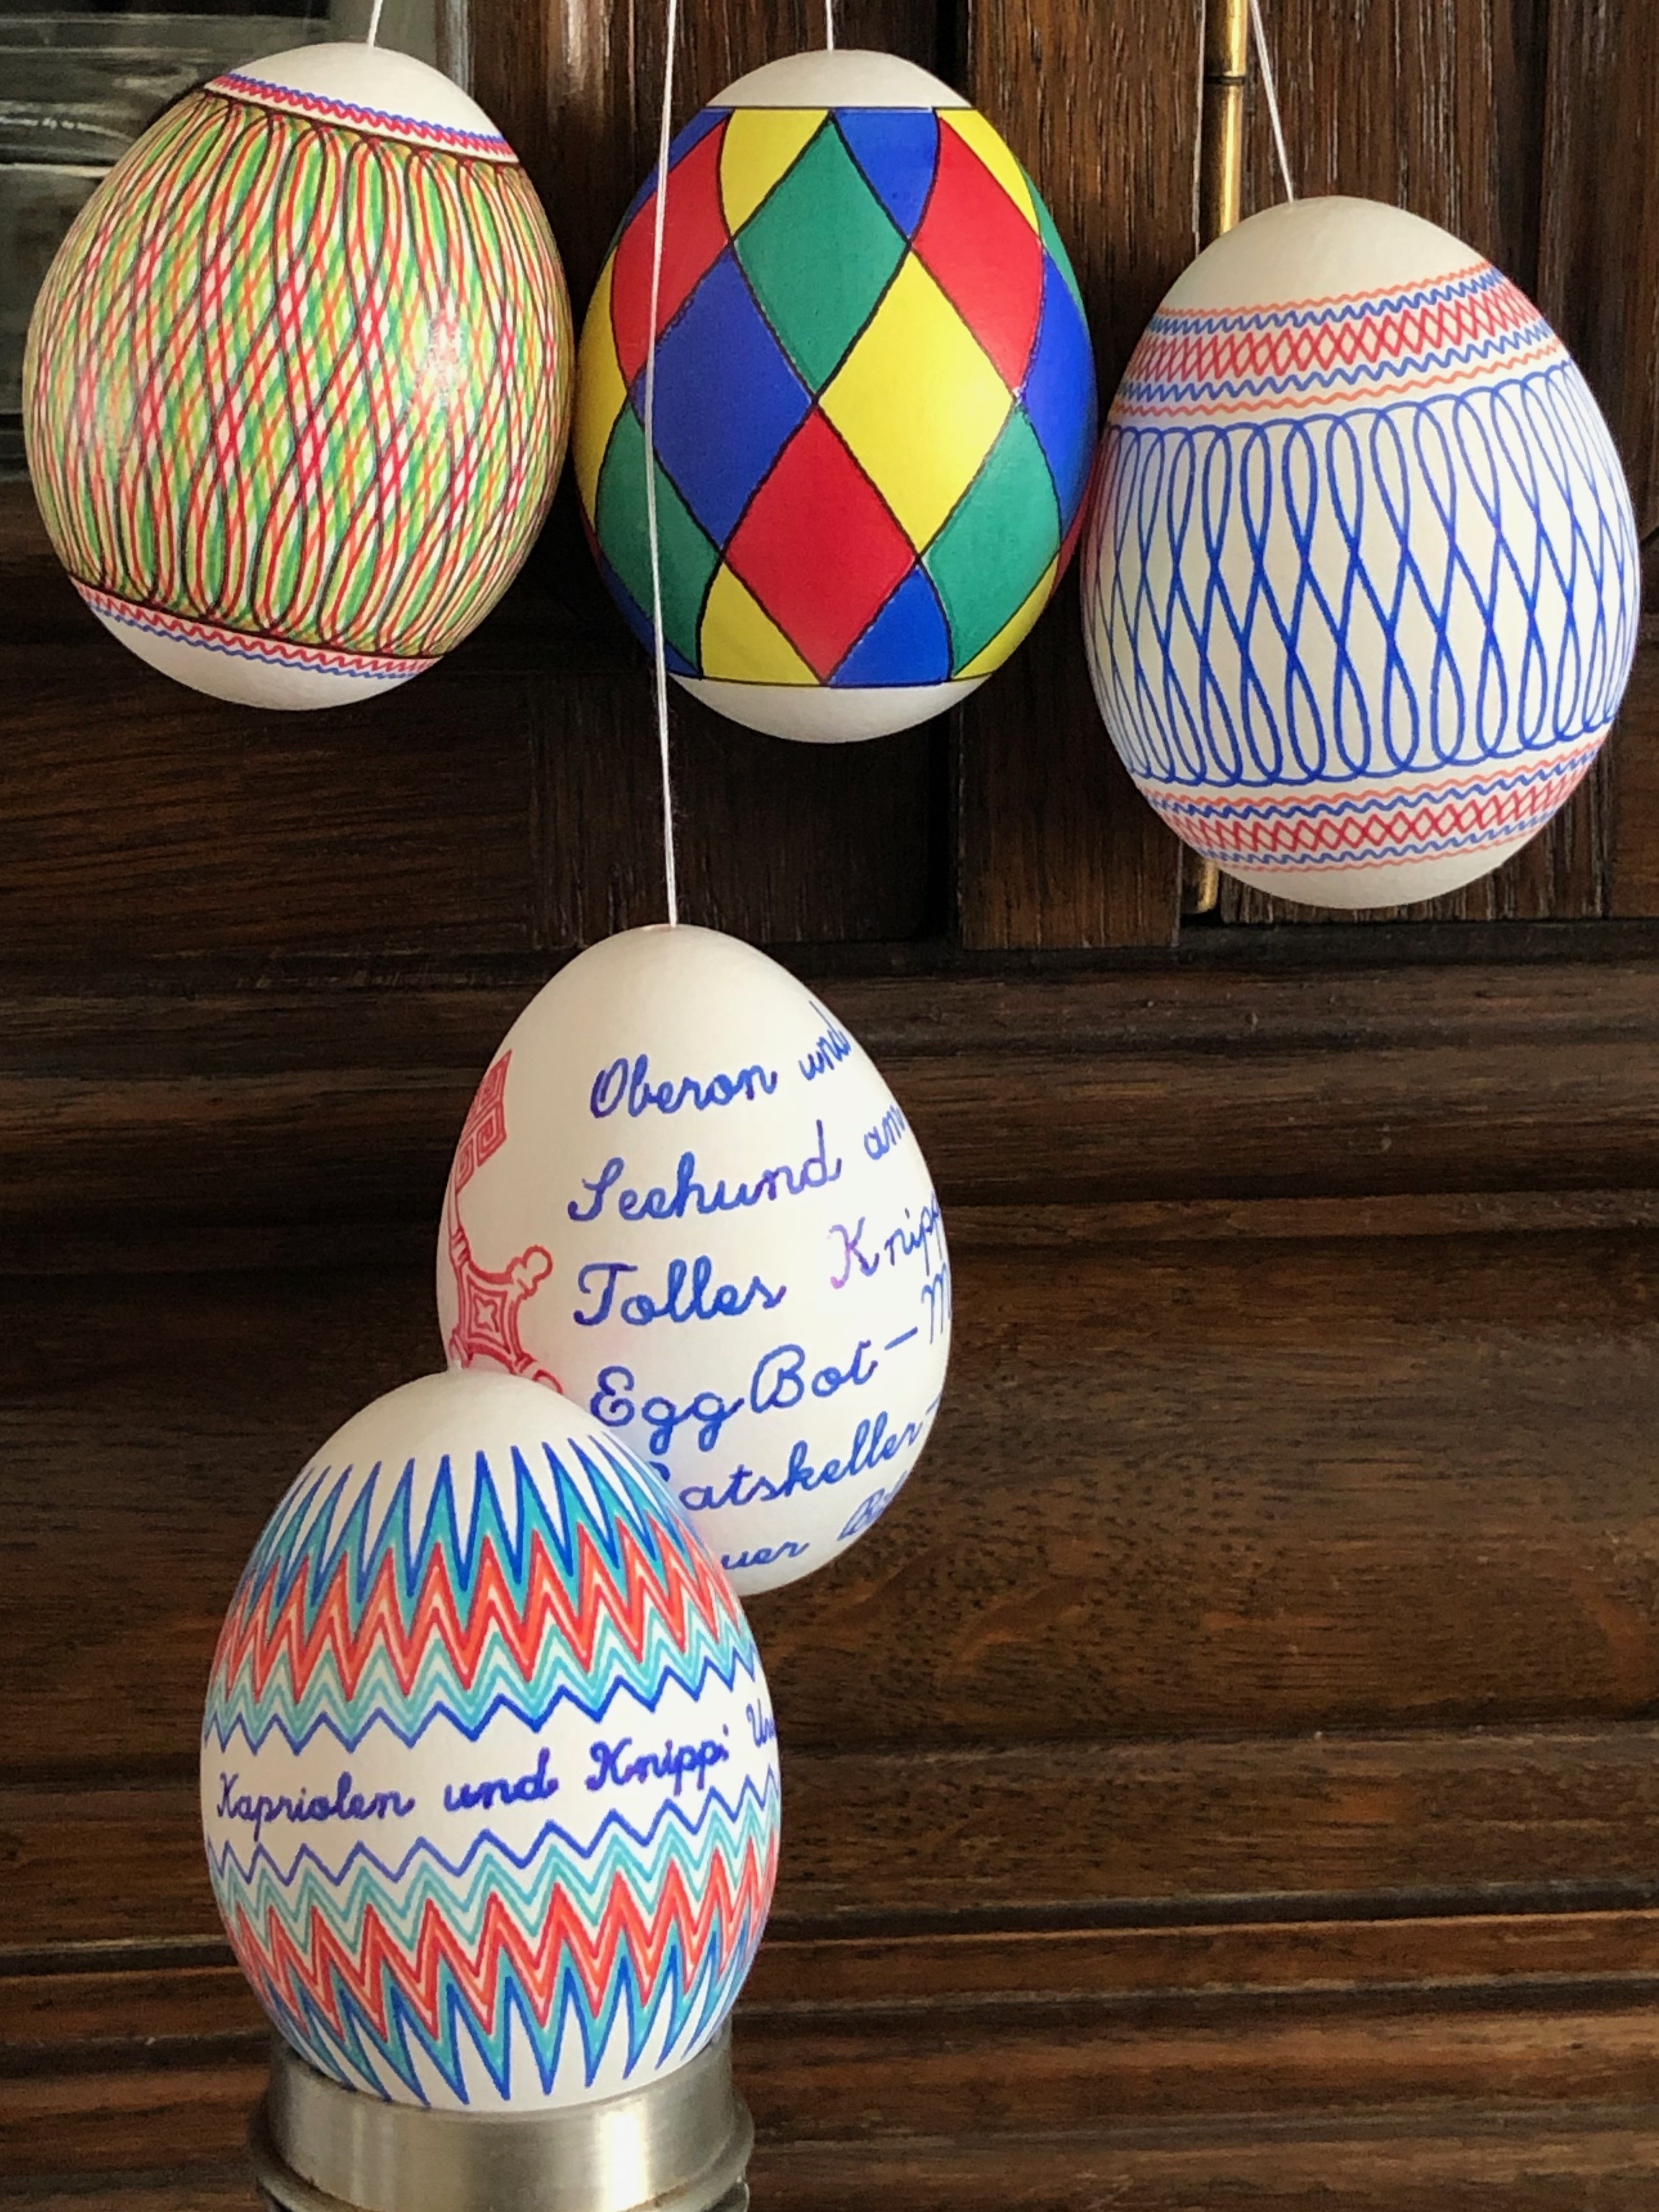
- Start from the provided examples to get an idea for how the EggBot works, or use File:Templates:EggBot in Inkscape for your own art
- Connect the EggBot to its power supply (9 V, minimum 1 A, center-positive) and to your Mac via Micro-USB cable
- Put an egg into the EggBot, correct its position until it has hardly any wobble (turn both motor axes simultaneously with two hands to check)
- Put a light Sharpie into the EggBot pen holder for testing (draw a short line on a tissue right before inserting it to make sure the ink flows)
- In Inkscape, Open Extensions:EggBot:EggBot Control.... You'll spend most of your time controlling the EggBot from this panel.
- Go to the Setup tab, and test that the pen moves up and down (you need to click the Apply button after each command)
- With the pen up, move the arm across your egg to check that it's about 5 mm away from the surface everywhere.
- When you're happy, move the arm vertically upright, then go to the Manual tab, select Enable Motors, and click Apply
- For a monochrome painting, go to the Plot tab and click Apply
- For multiple colors, put them on Inkscape layers named 1-yellow, 2-orange, etc. (or similar), then in the EggBot Control Panel, go to the Layers tab, select the number of each layer, insert the matching color pen, and click Apply. Plot lighter colors first to avoid smudging your pen tips.
- Sharpie color dries immediately, but still keep the servo cable away from the egg so it doesn't smear the drawing while the egg rotates
- Immediately after plotting, remove the pen and replace the cap to keep it from drying out
For a correct aspect ratio, stretch everything you draw by 178% horizontally.
The most useful Inkscape extensions that are already installed with the EggBot:
- Extensions:Render:Hershey Text... for setting text (use Script 1-stroke or Sans 1-stroke for quick and easy-to-read text; run it twice in a row if the pen doesn't draw the beginning of all letters the first time). Text isn't editable once rendered, but the dialog remembers the last text you typed in. Remember to stretch the text afterwards. Umlauts don't work; use aou and add the dots by hand afterwards.
- Extensions:EggBot Contributed:Hatch fill... for filling areas by cross-hatching (use 45 degrees, 6 steps, 0 length, 0.1 tolerance, and check Crosshatch for very solid, but slow fills)
StippleGen is a separate application that translates color photographs into black-on-white dot pictures that the EggBot can render in "pointillism" style. When using it, pick photos with clear contrast and not too much detail, and stretch the resulting dot SVG file, not the original photo, when plotting on eggs.
To import artwork from Adobe Illustrator, put different colors into different layers in Illustrator, then export as SVG. Inkscape won't recreate the layers, but it will put each layer into a group. Move these groups back into layers in Inkscape.
Inkscape is fairly powerful, but its UI is buggy and not Mac-like, so be prepared for some frustration.
We bought our EggBot Original Kit from Watterott in March 2018.

