How to use VisiCut with Inkscape
back to VisiCut pageThis tutorial explains how to create SVG files with Inkscape that have different layers. The files are optimized for lasercutting with VisiCut.
You can skip the first step if you download this template file and jump to the last step (Draw and Save):
Inkscape Template for VisiCut (five layers)
Prepare Inkscape
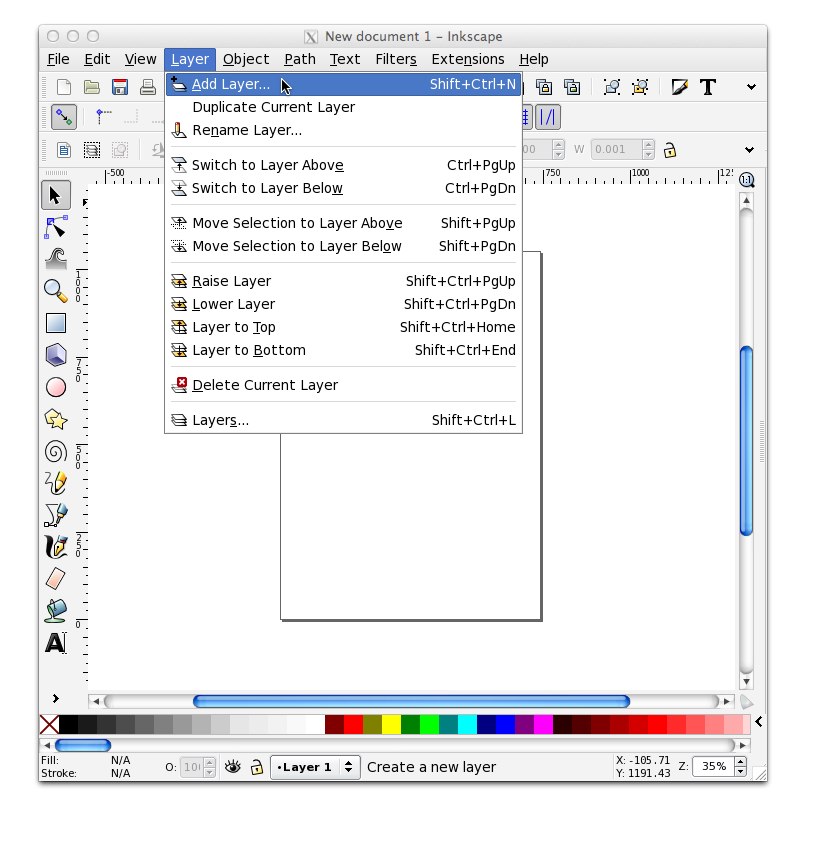
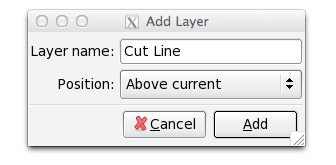
- Create a new document. Add five new layers by using the menu entry Layer->Add Layer

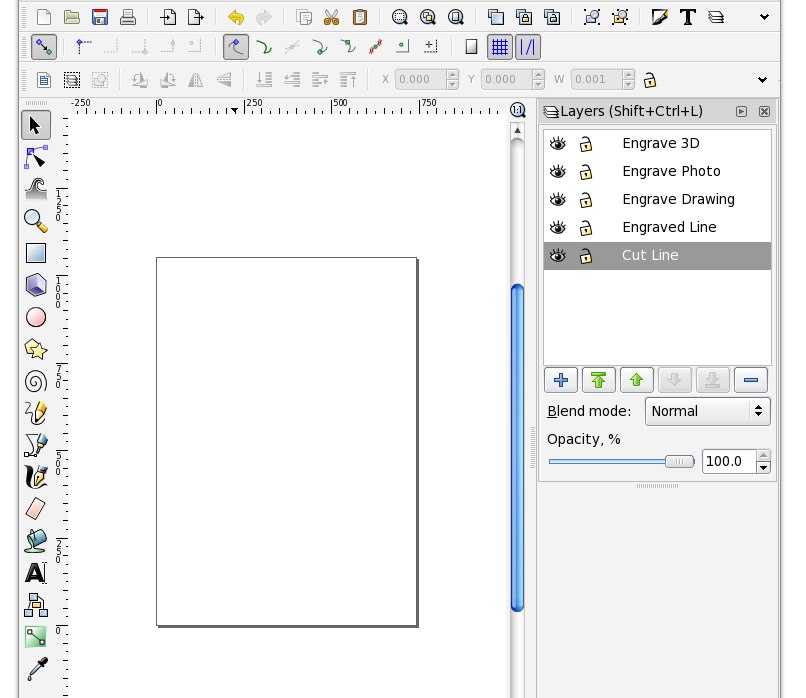
- One layer has to be called Cut Line, the second one has to be called Engraved Line and the others: Engrave Drawing, Engrave Photo, and Engrave 3D

- If you want to see all available layers, use the menu entry Layer->Layers

Draw and Save
- Now you can draw any objects to the five layers. Objects that are supposed to be cut have to be drawn on the Cut Line layer. If you want to engrave a line, using the vector mode of the laser (quick movement, good for lines, bad for filled areas), put it in the layer Engraved Line. If you want to engrave a drawing, a photo, or a 3D shape, put the object in the corresponding Engrave Drawing, Engrave Photo, or Engrave 3D layer. Keep in mind: Cut Line and Engraved Line are for vector paths only! They should only be used with shapes that have a stroke color and no fill. The "Engrave" modes need to have shapes with no stroke, but a dark fill color. "Engrave Photo" is perfect for jpg or bmp pictures.
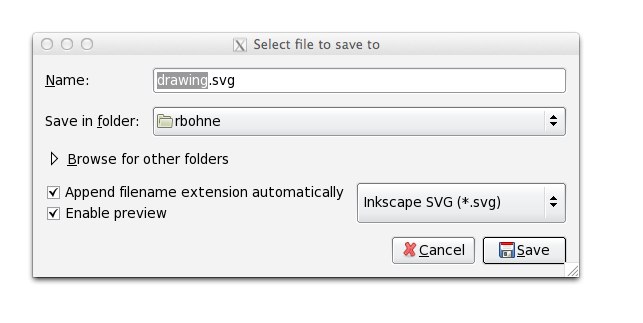
- Save the file in the Inkscape SVG file format


