Maintenance
The Printer has to undergo regular maintenance. Otherwise, ink residue will dry up and clog the printer!
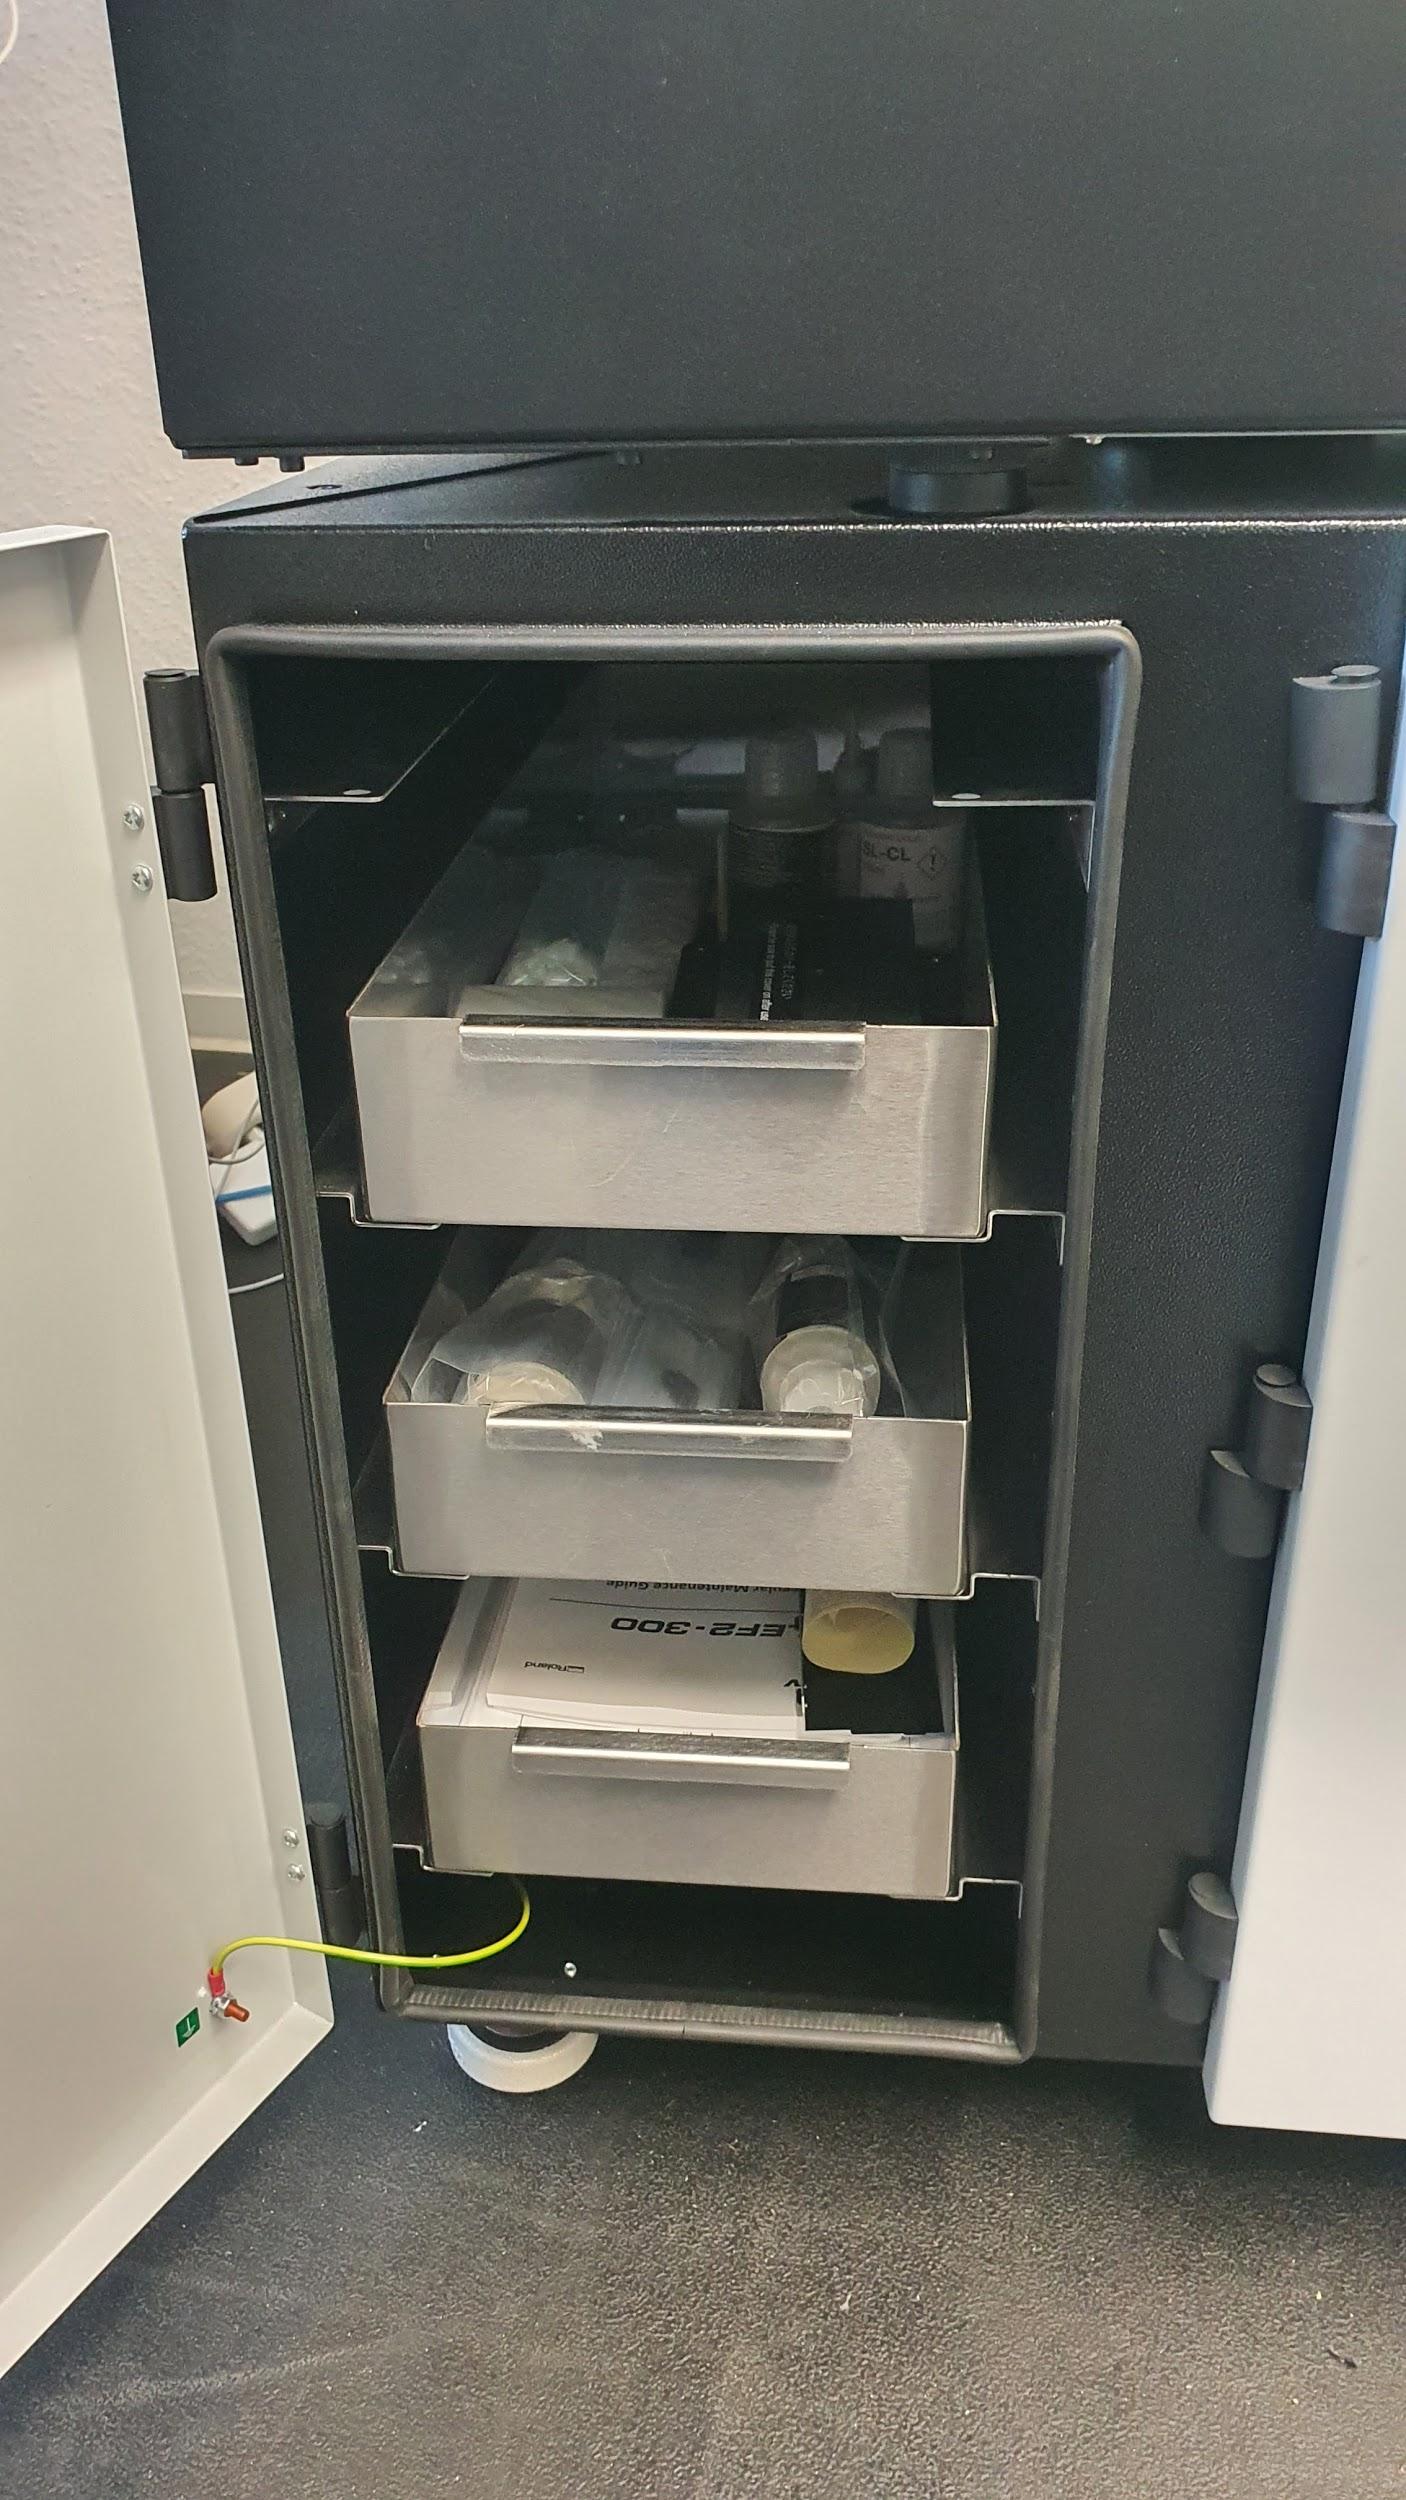
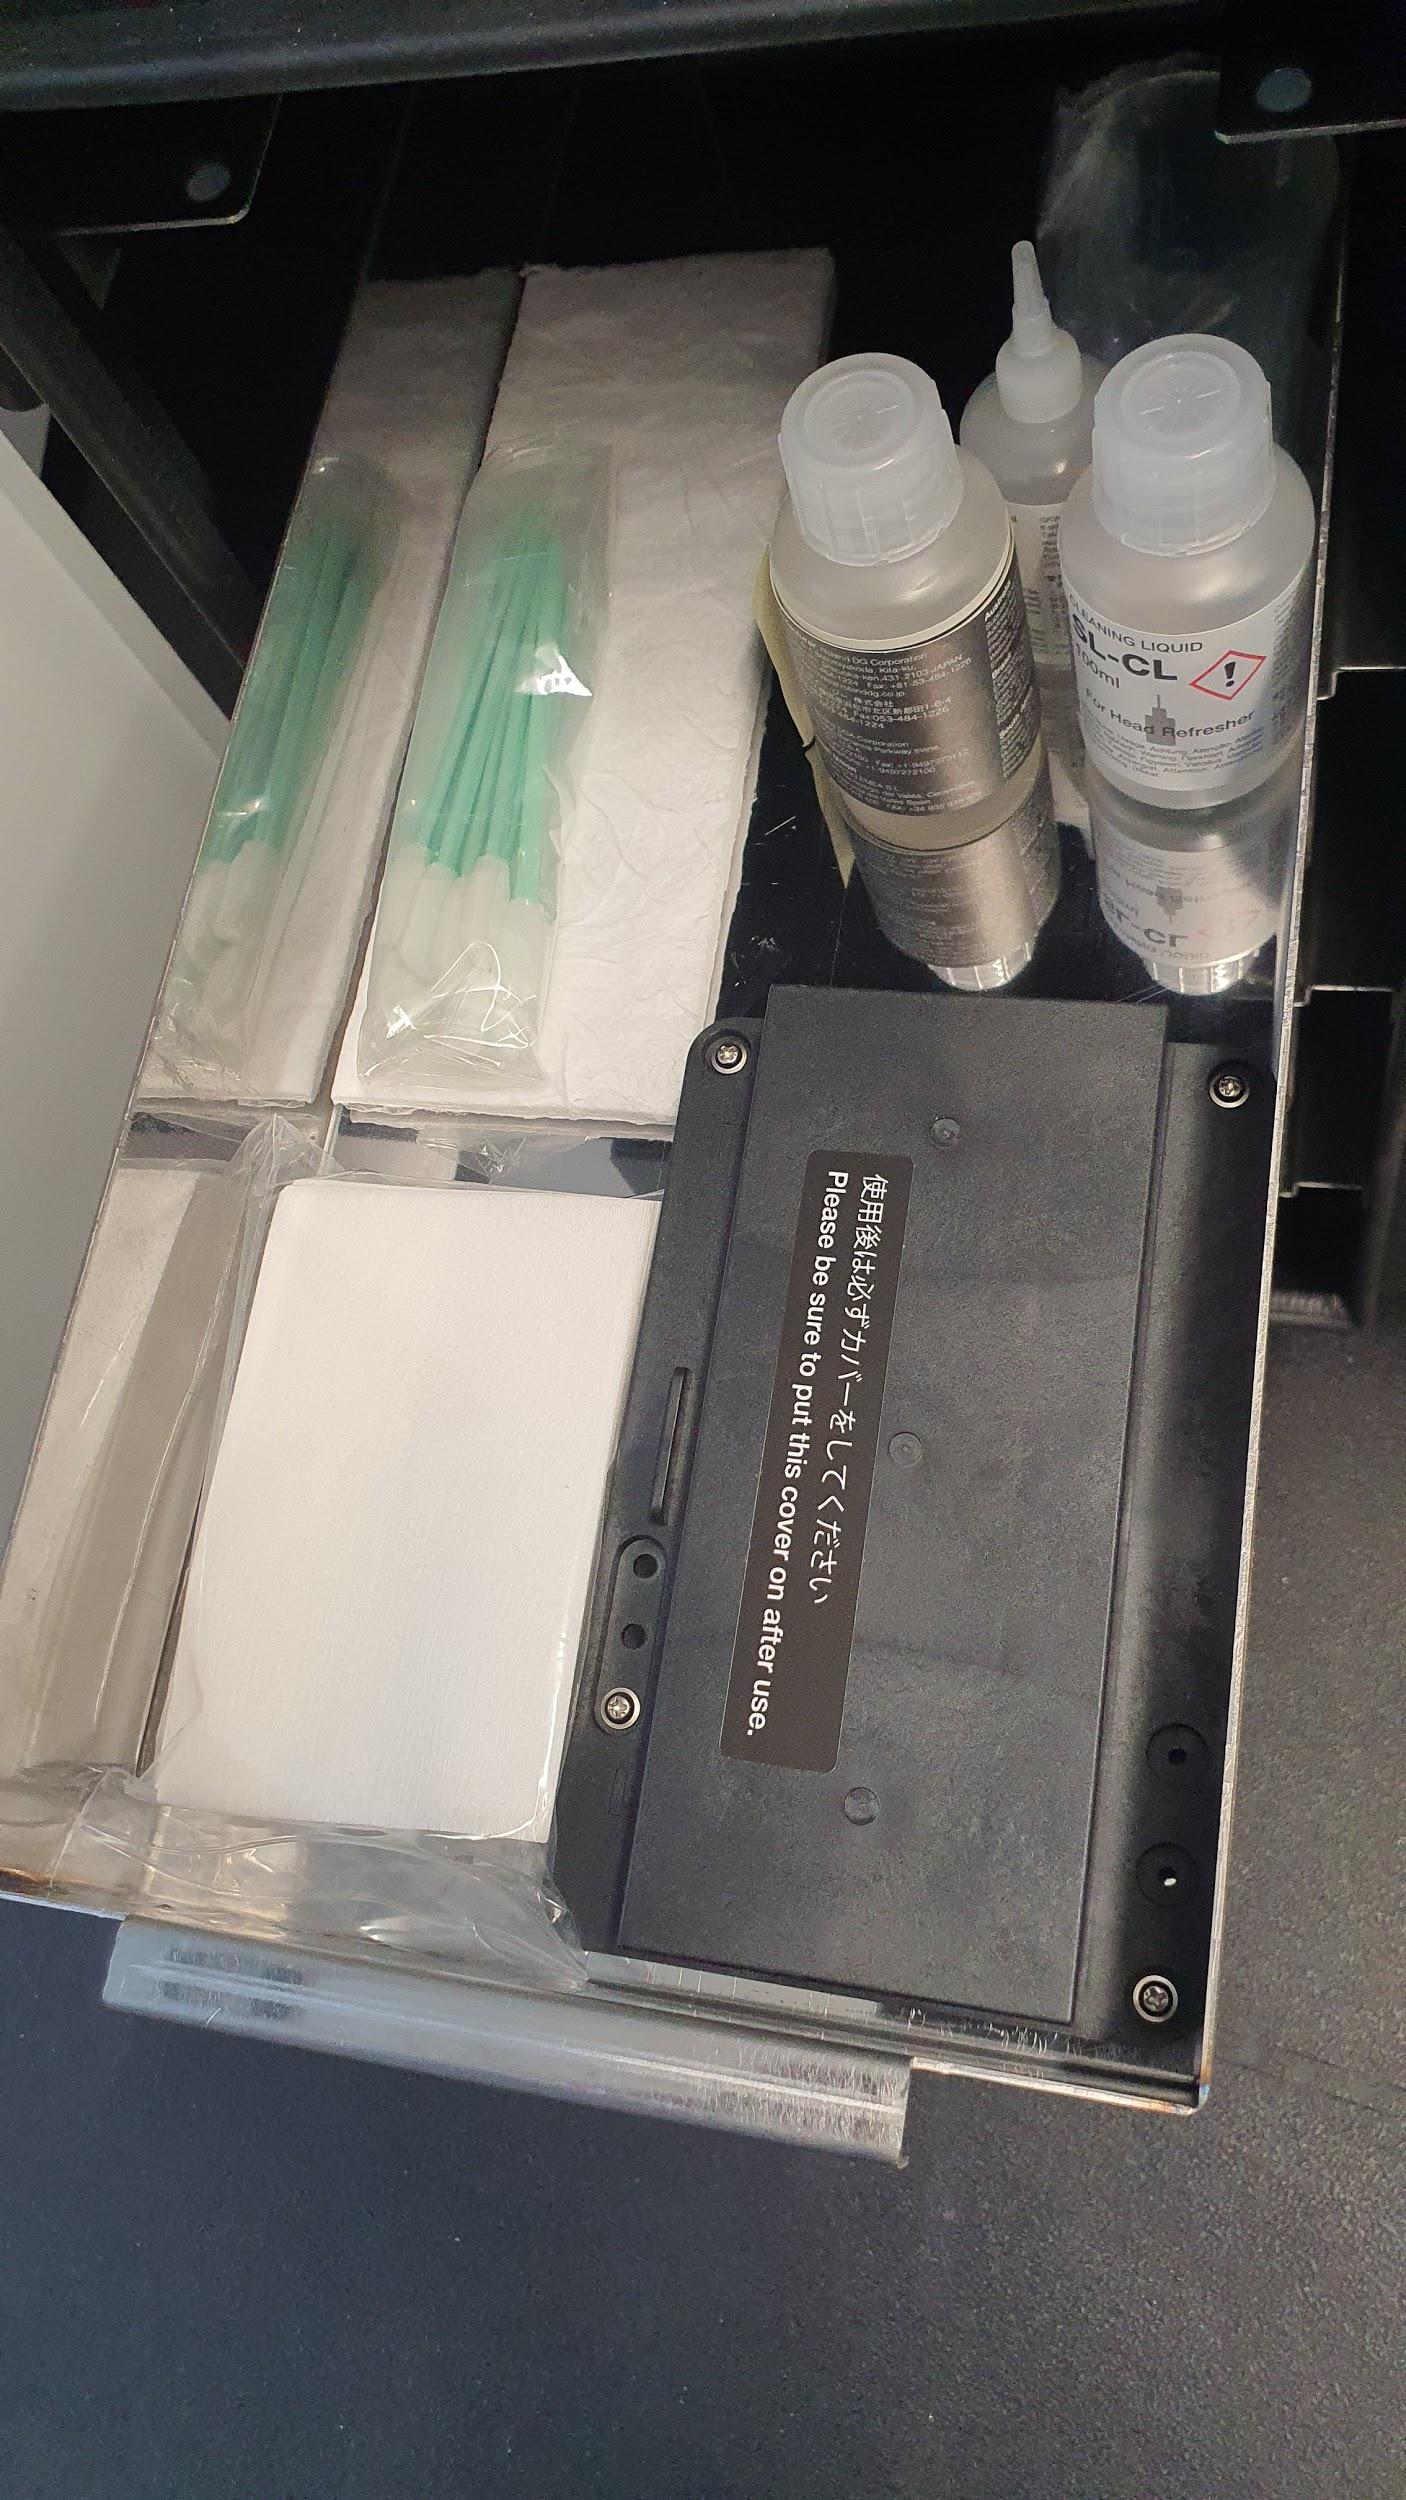
The accessoiries for performing the maintenance tasks can be found in a drawer in the machine housing:
Maintenance Tasks
These tasks have to be performed twice a week. Whenever you work with the machine, make sure to turn on the air filter! Also, as always before starting the machine for the first time for the day, shake the white ink Cartridge.
TODO: Image of Filter button
Test Print
The machine has to print with all inks twice a week. It can print test pages on its own without using VersaWorks. To perform a test print:
- Mount an A4 sheet of paper on the machine and perform the material setup (link)
- Go to 'Function->Cleaning->Test print 2' (Test page 1 doesn't use black ink)
Self Cleaning
The machine can perform a self-cleaning routine. Go to 'Function->Cleaning->Normal Cleaning->AB'
Manual Cleaning
Some parts of the machine have to be cleaned manually. Wear nitrile-gloves while doing this!:
- Go to 'Menu->Submenu->Maintenance->Cleaning'
- Take a foam swab and dip the front into the ESL5 cleaning liquid. Do not use the SL-CL here! It will be used for a different operation!
- Unscrew the screw that holds the left maintenance cover in place and remove the cover:
- Reach into the machine and rub the swab along the outer rim of the marked parts to remove ink residues and dust.
Avoid touching the bottom side of that part as that can damage the machine: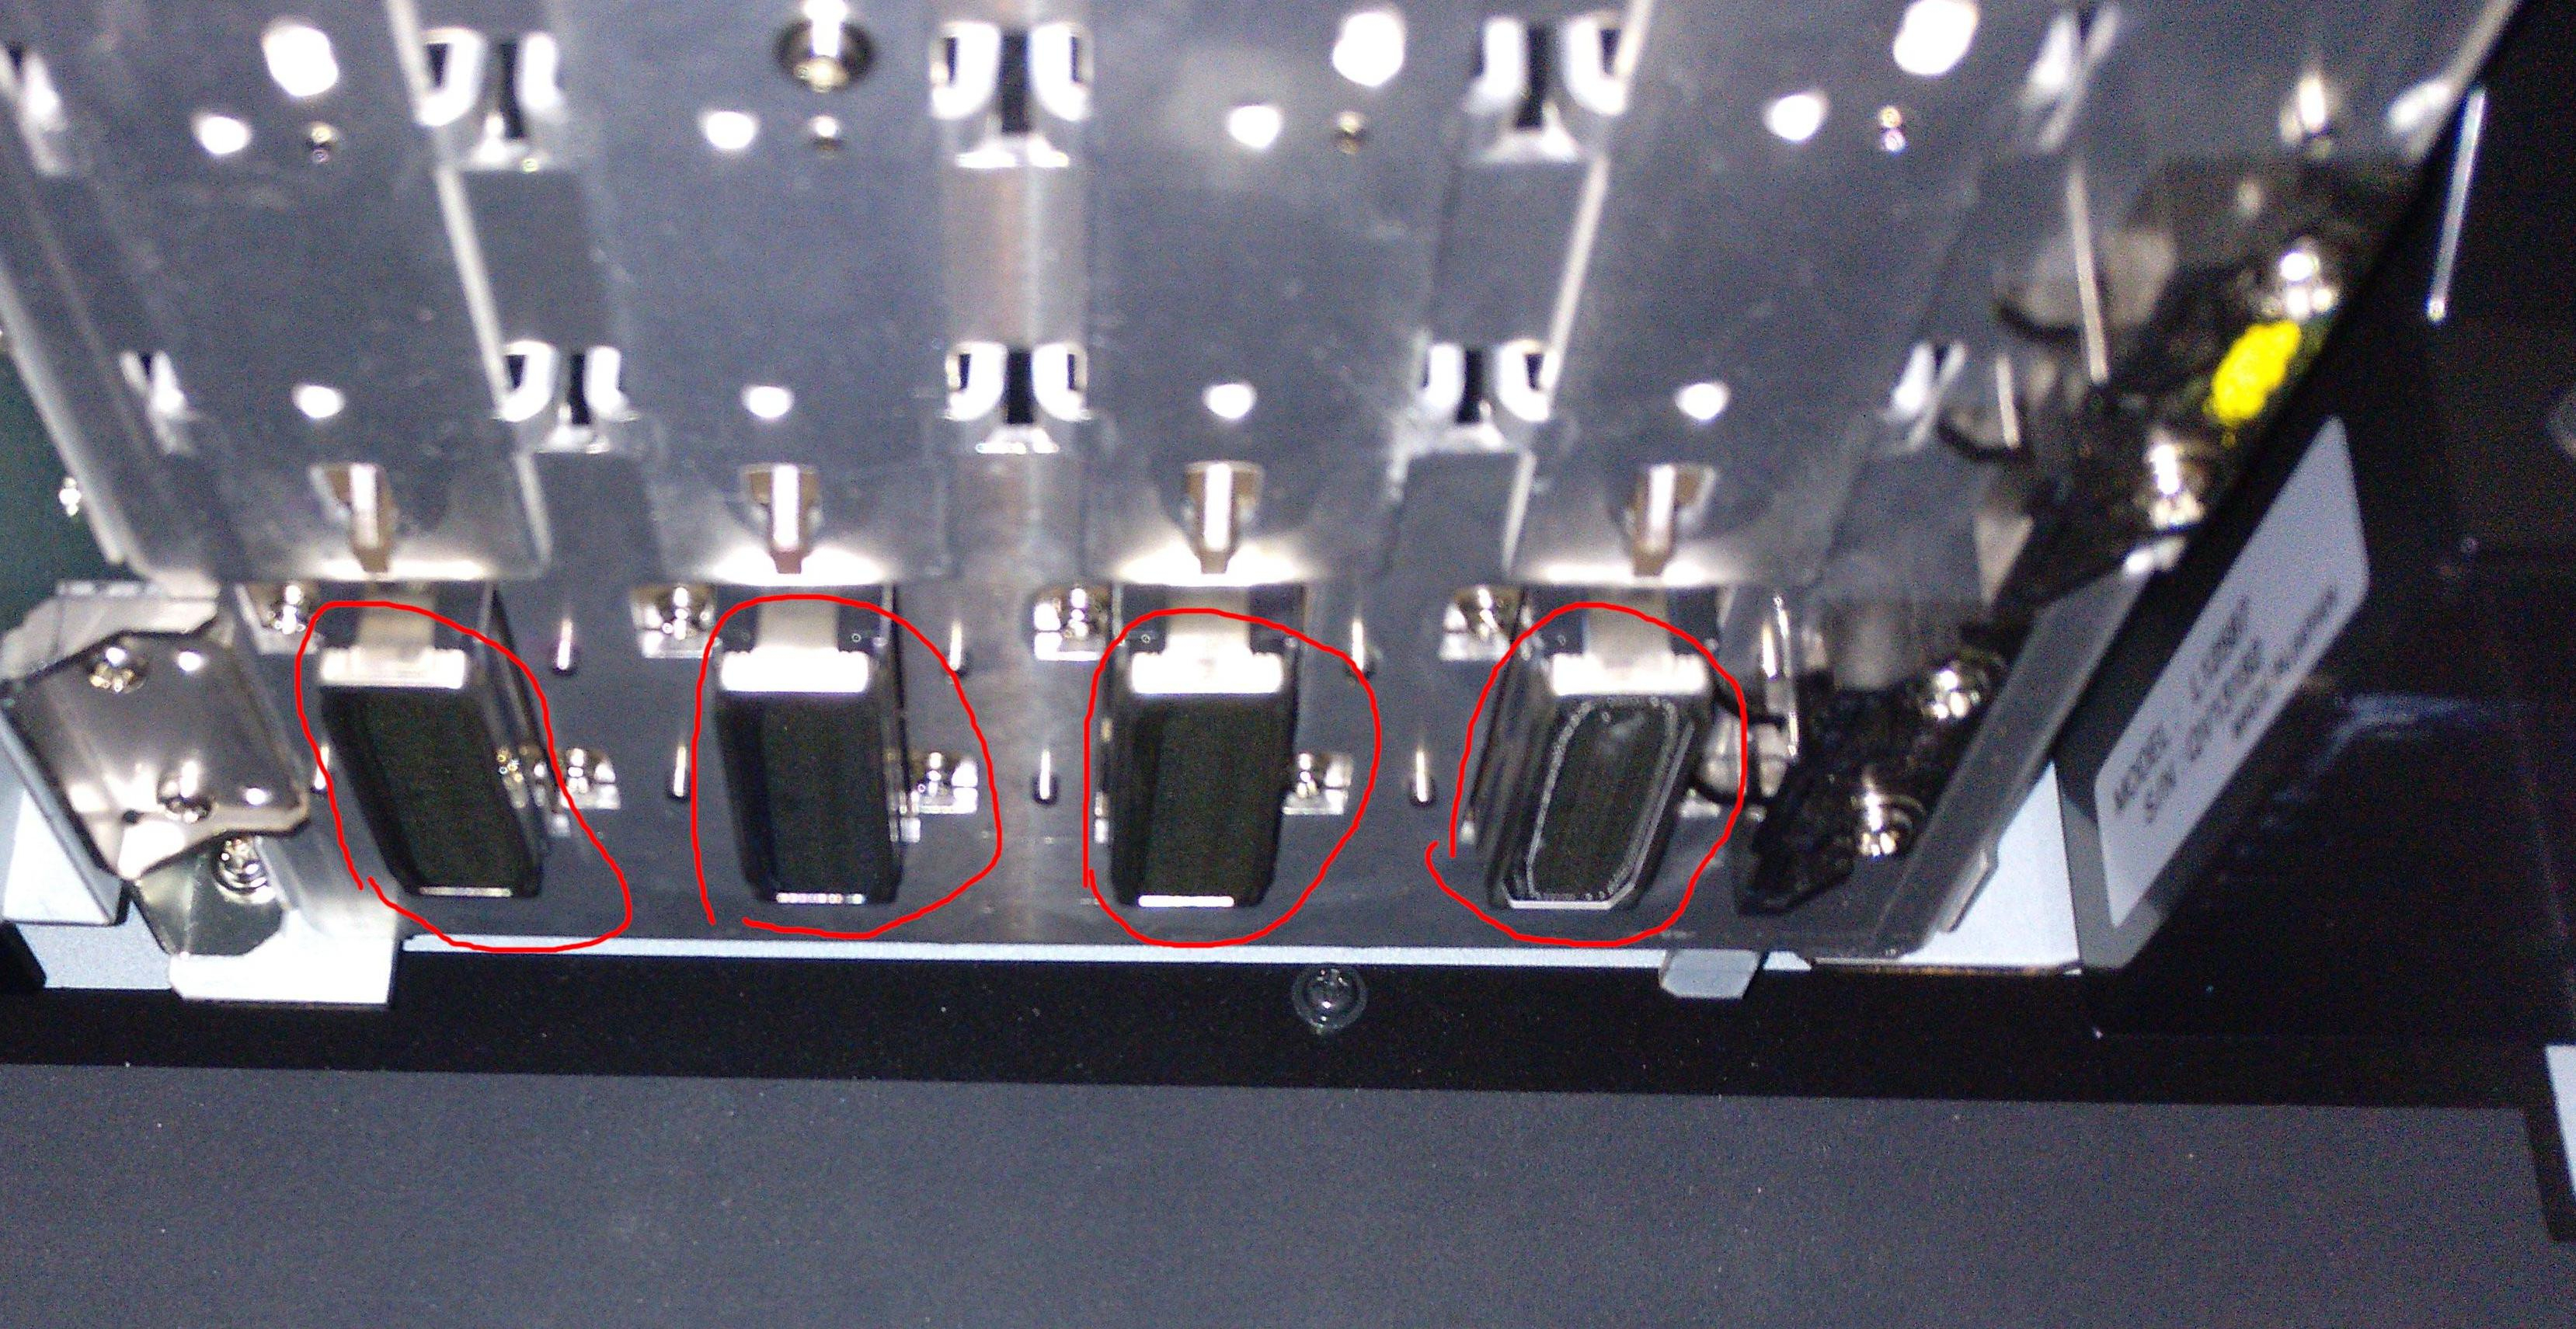
- Close the maintenance cover and secure it with the screw.
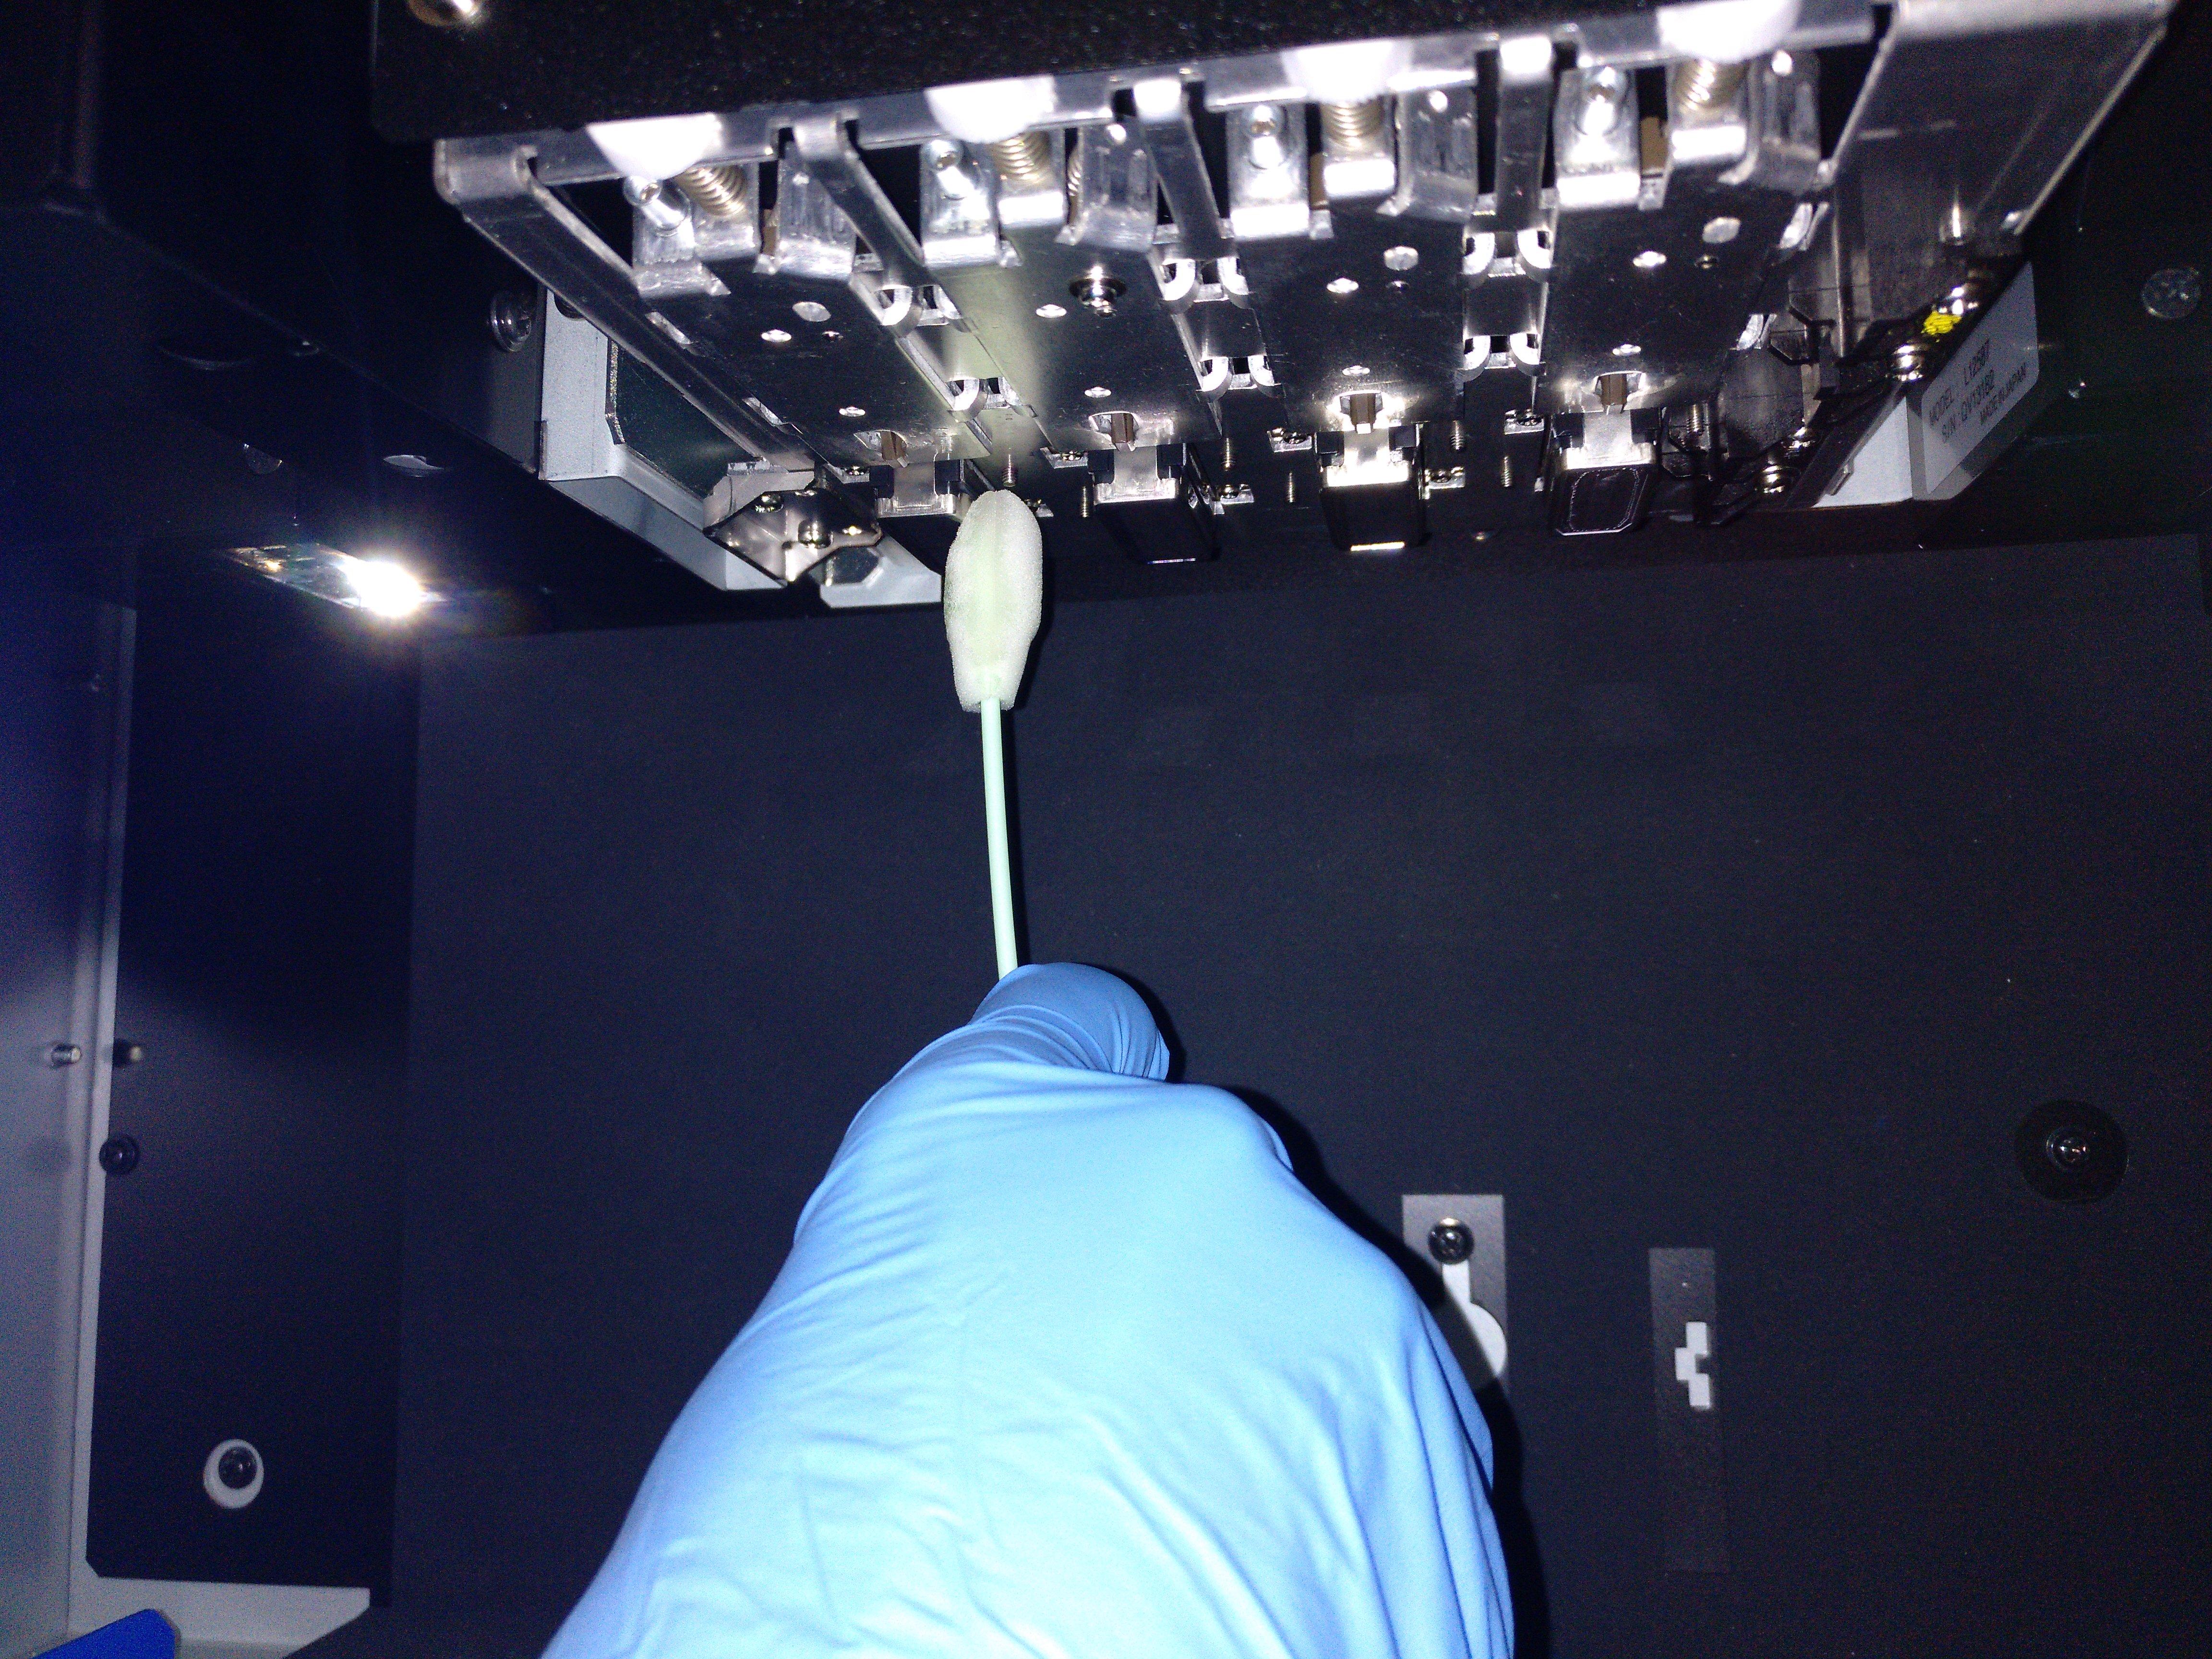
- Open the print area door, reach in to the right side of the machine and rub the swab along the rubber seals :
- Dispose of the swab, close the print area and press 'Enter' when the machine asks you "Finished?"
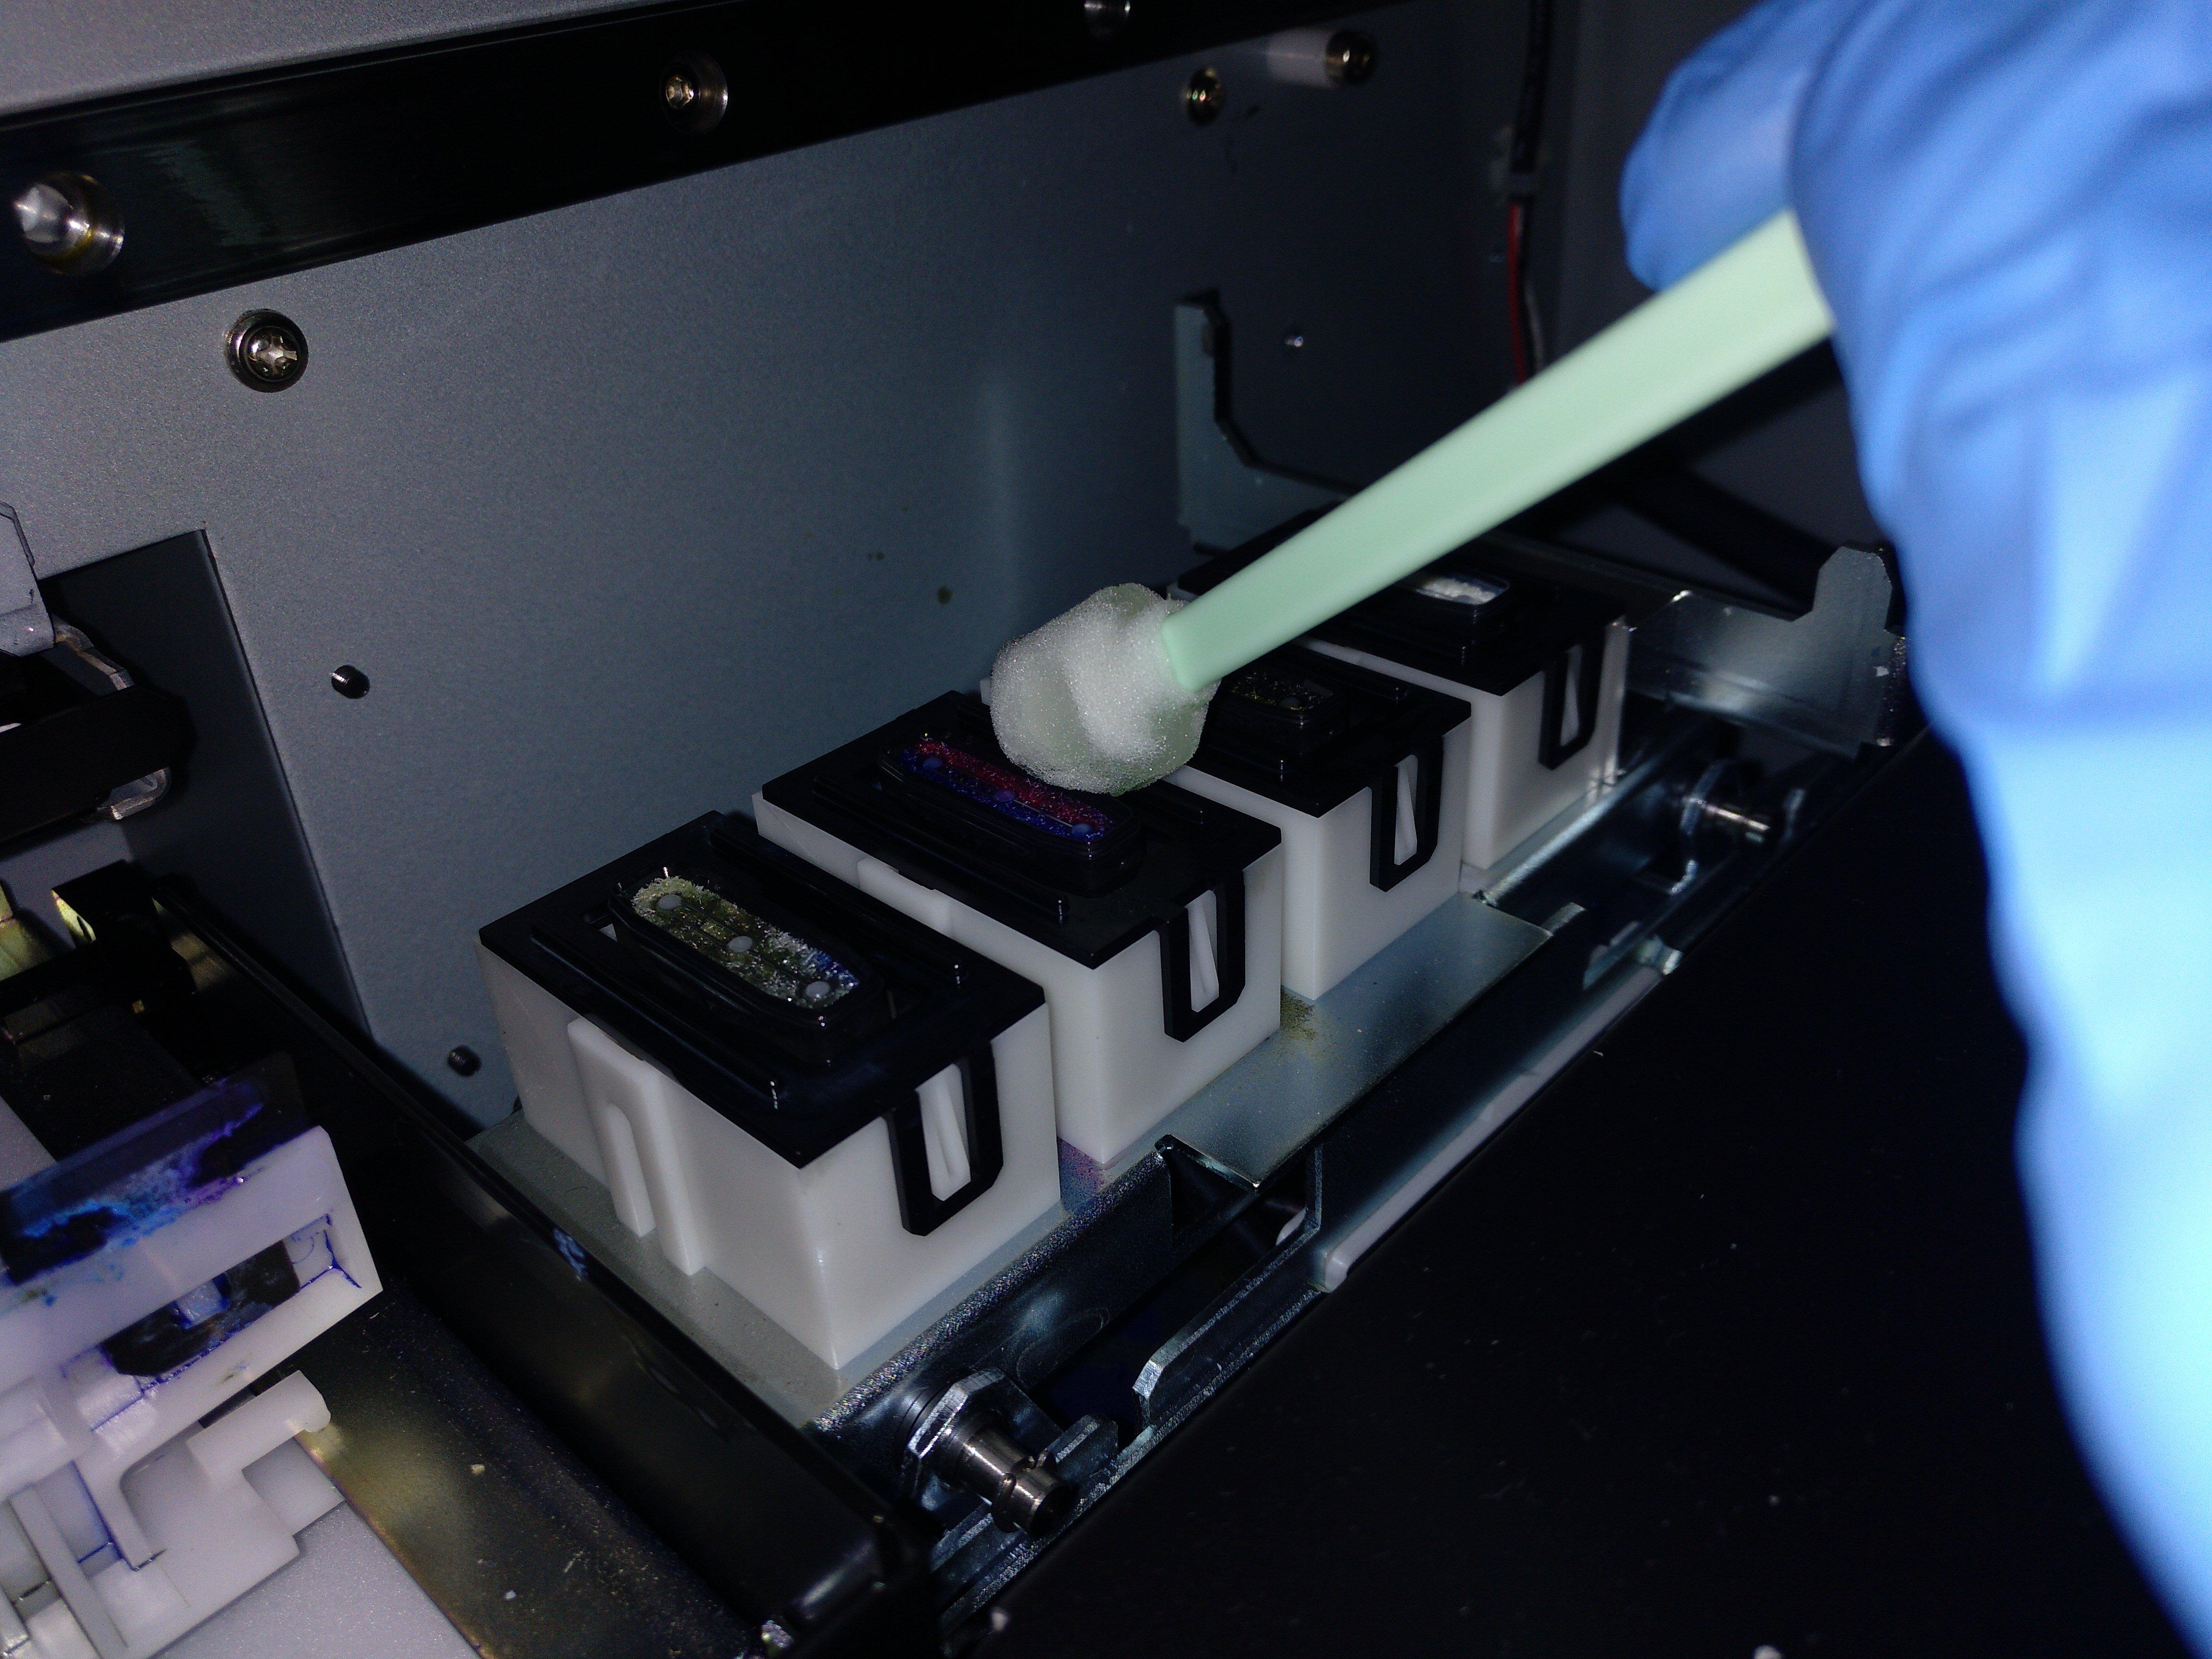
- Choose "Yes" when asked if you want to perform a head refresh.
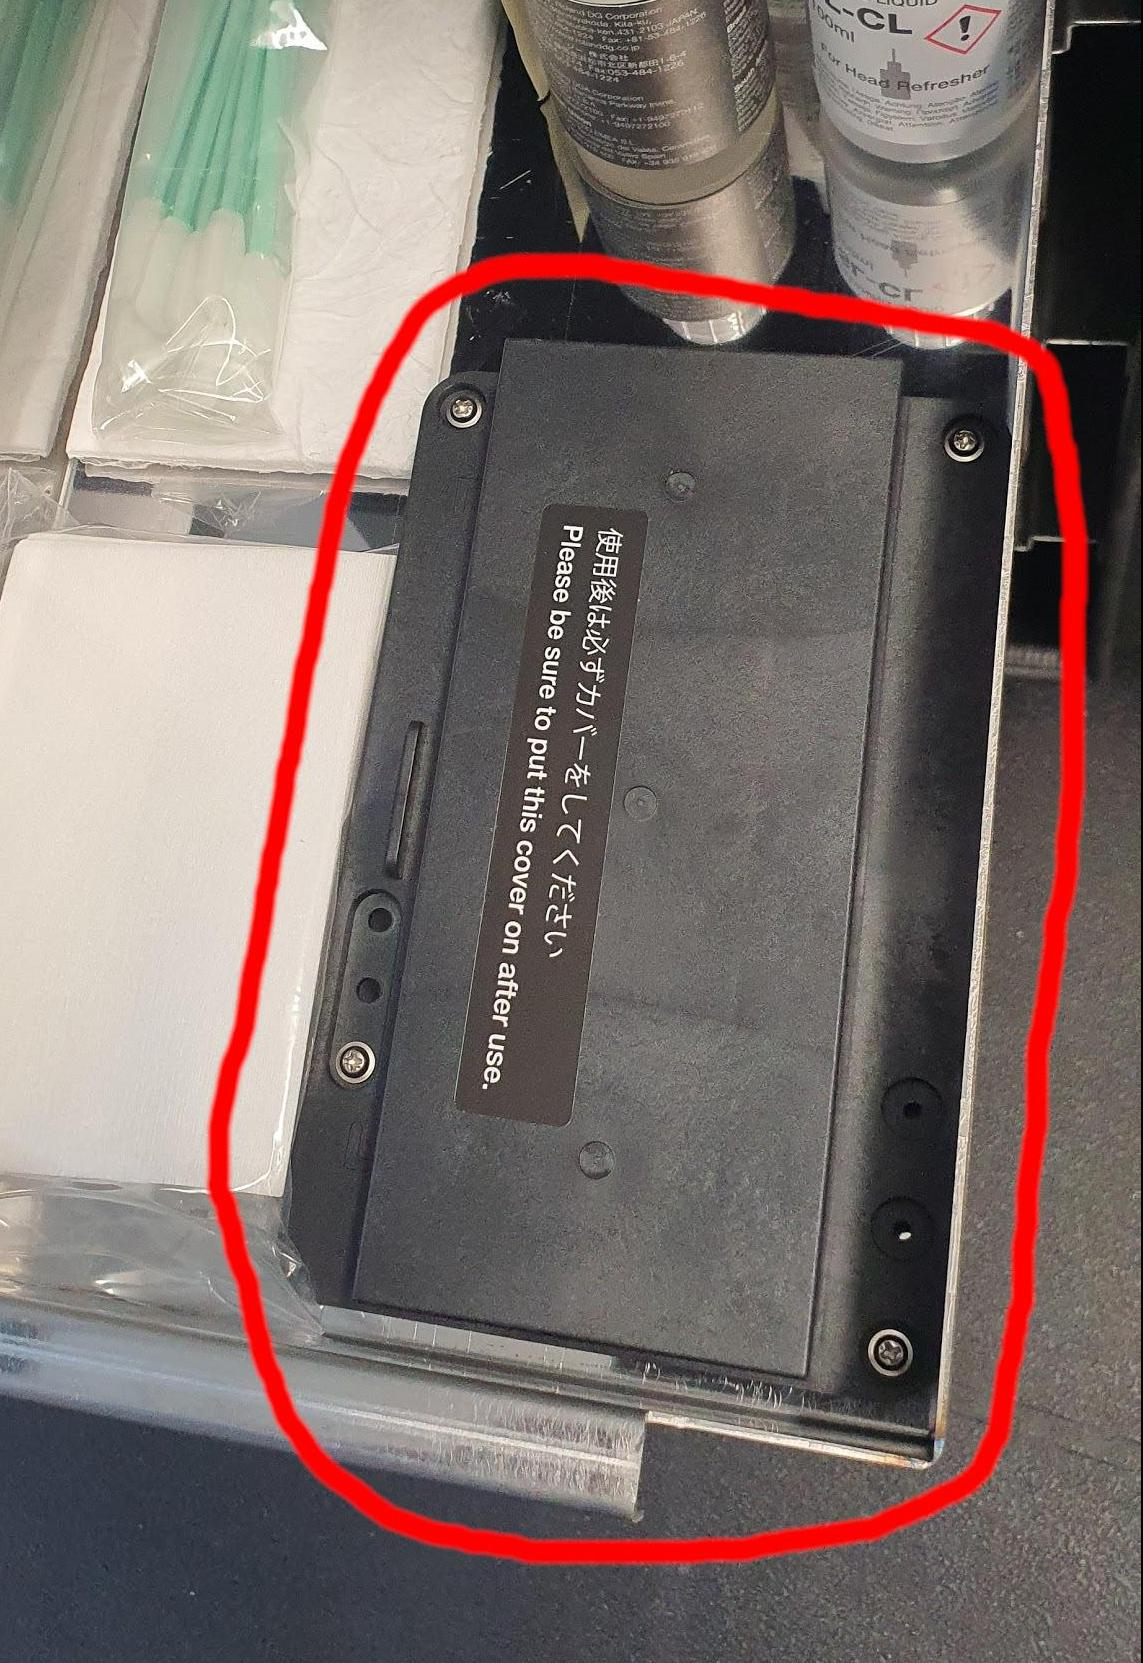
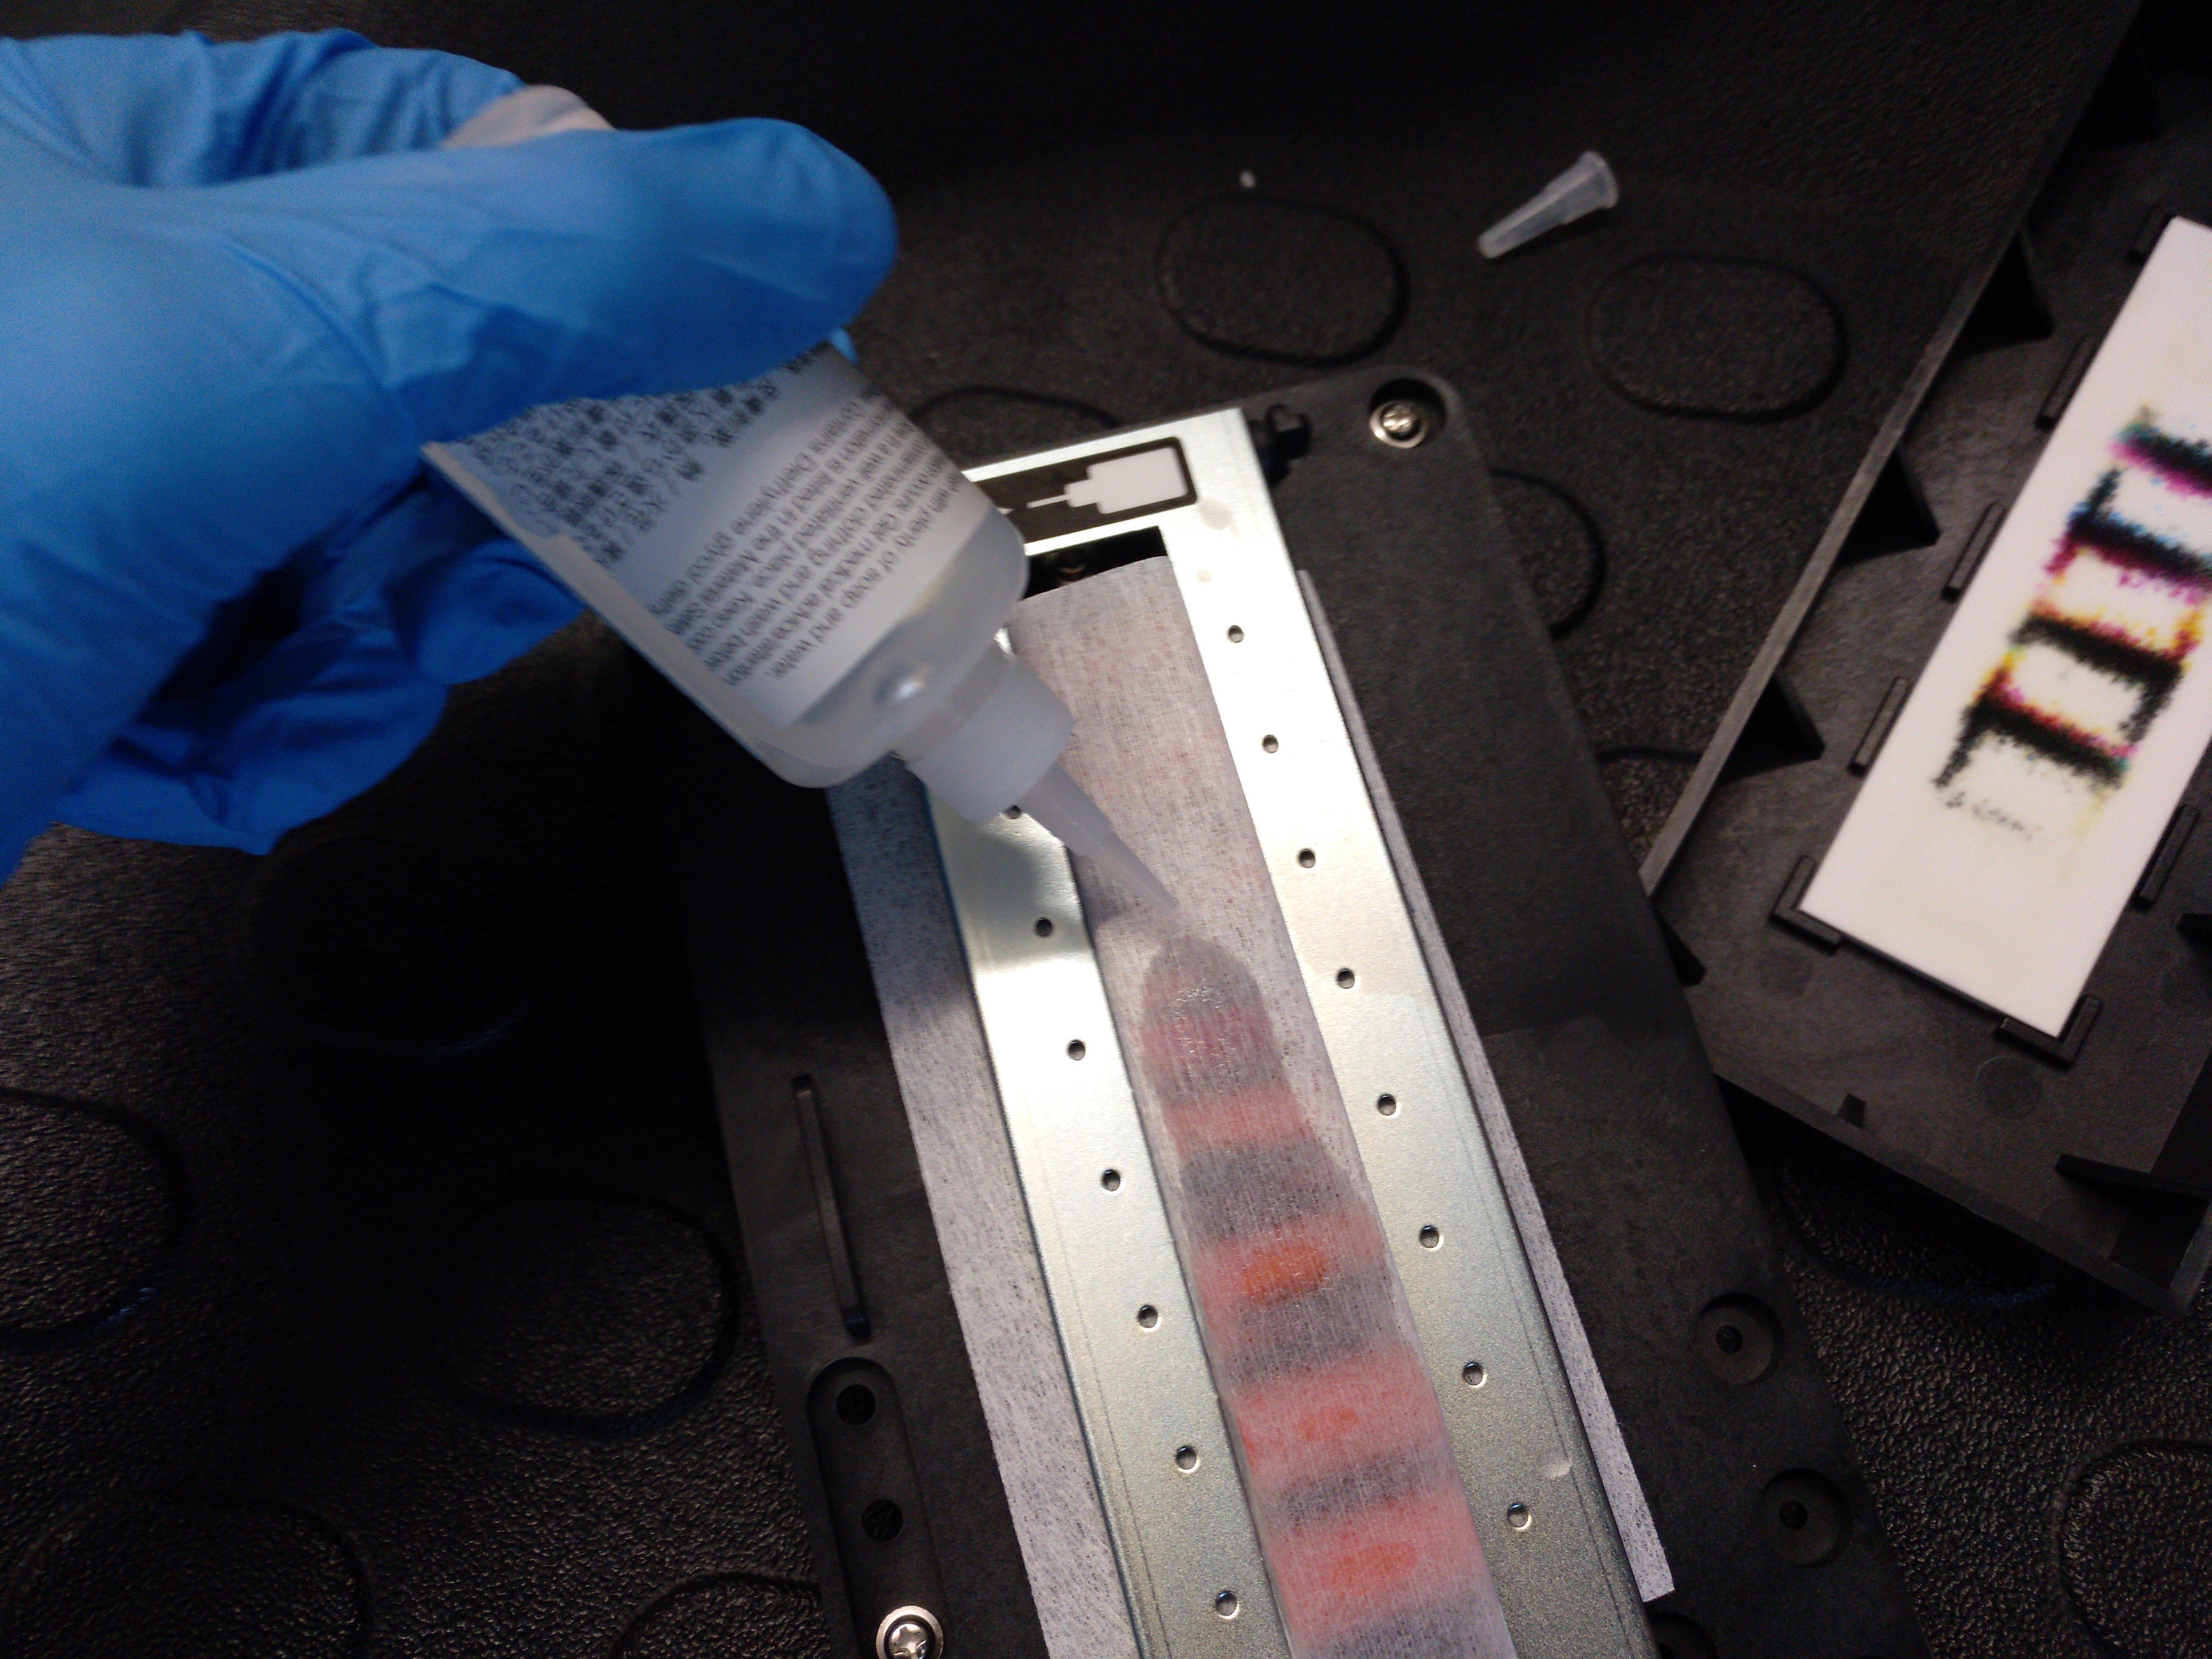
- Take out the head refresher, remove the cover, open the metal clamping frame and dispose of the old tissue. Then insert a fresh tissue from the plastic bag to the head refresher.
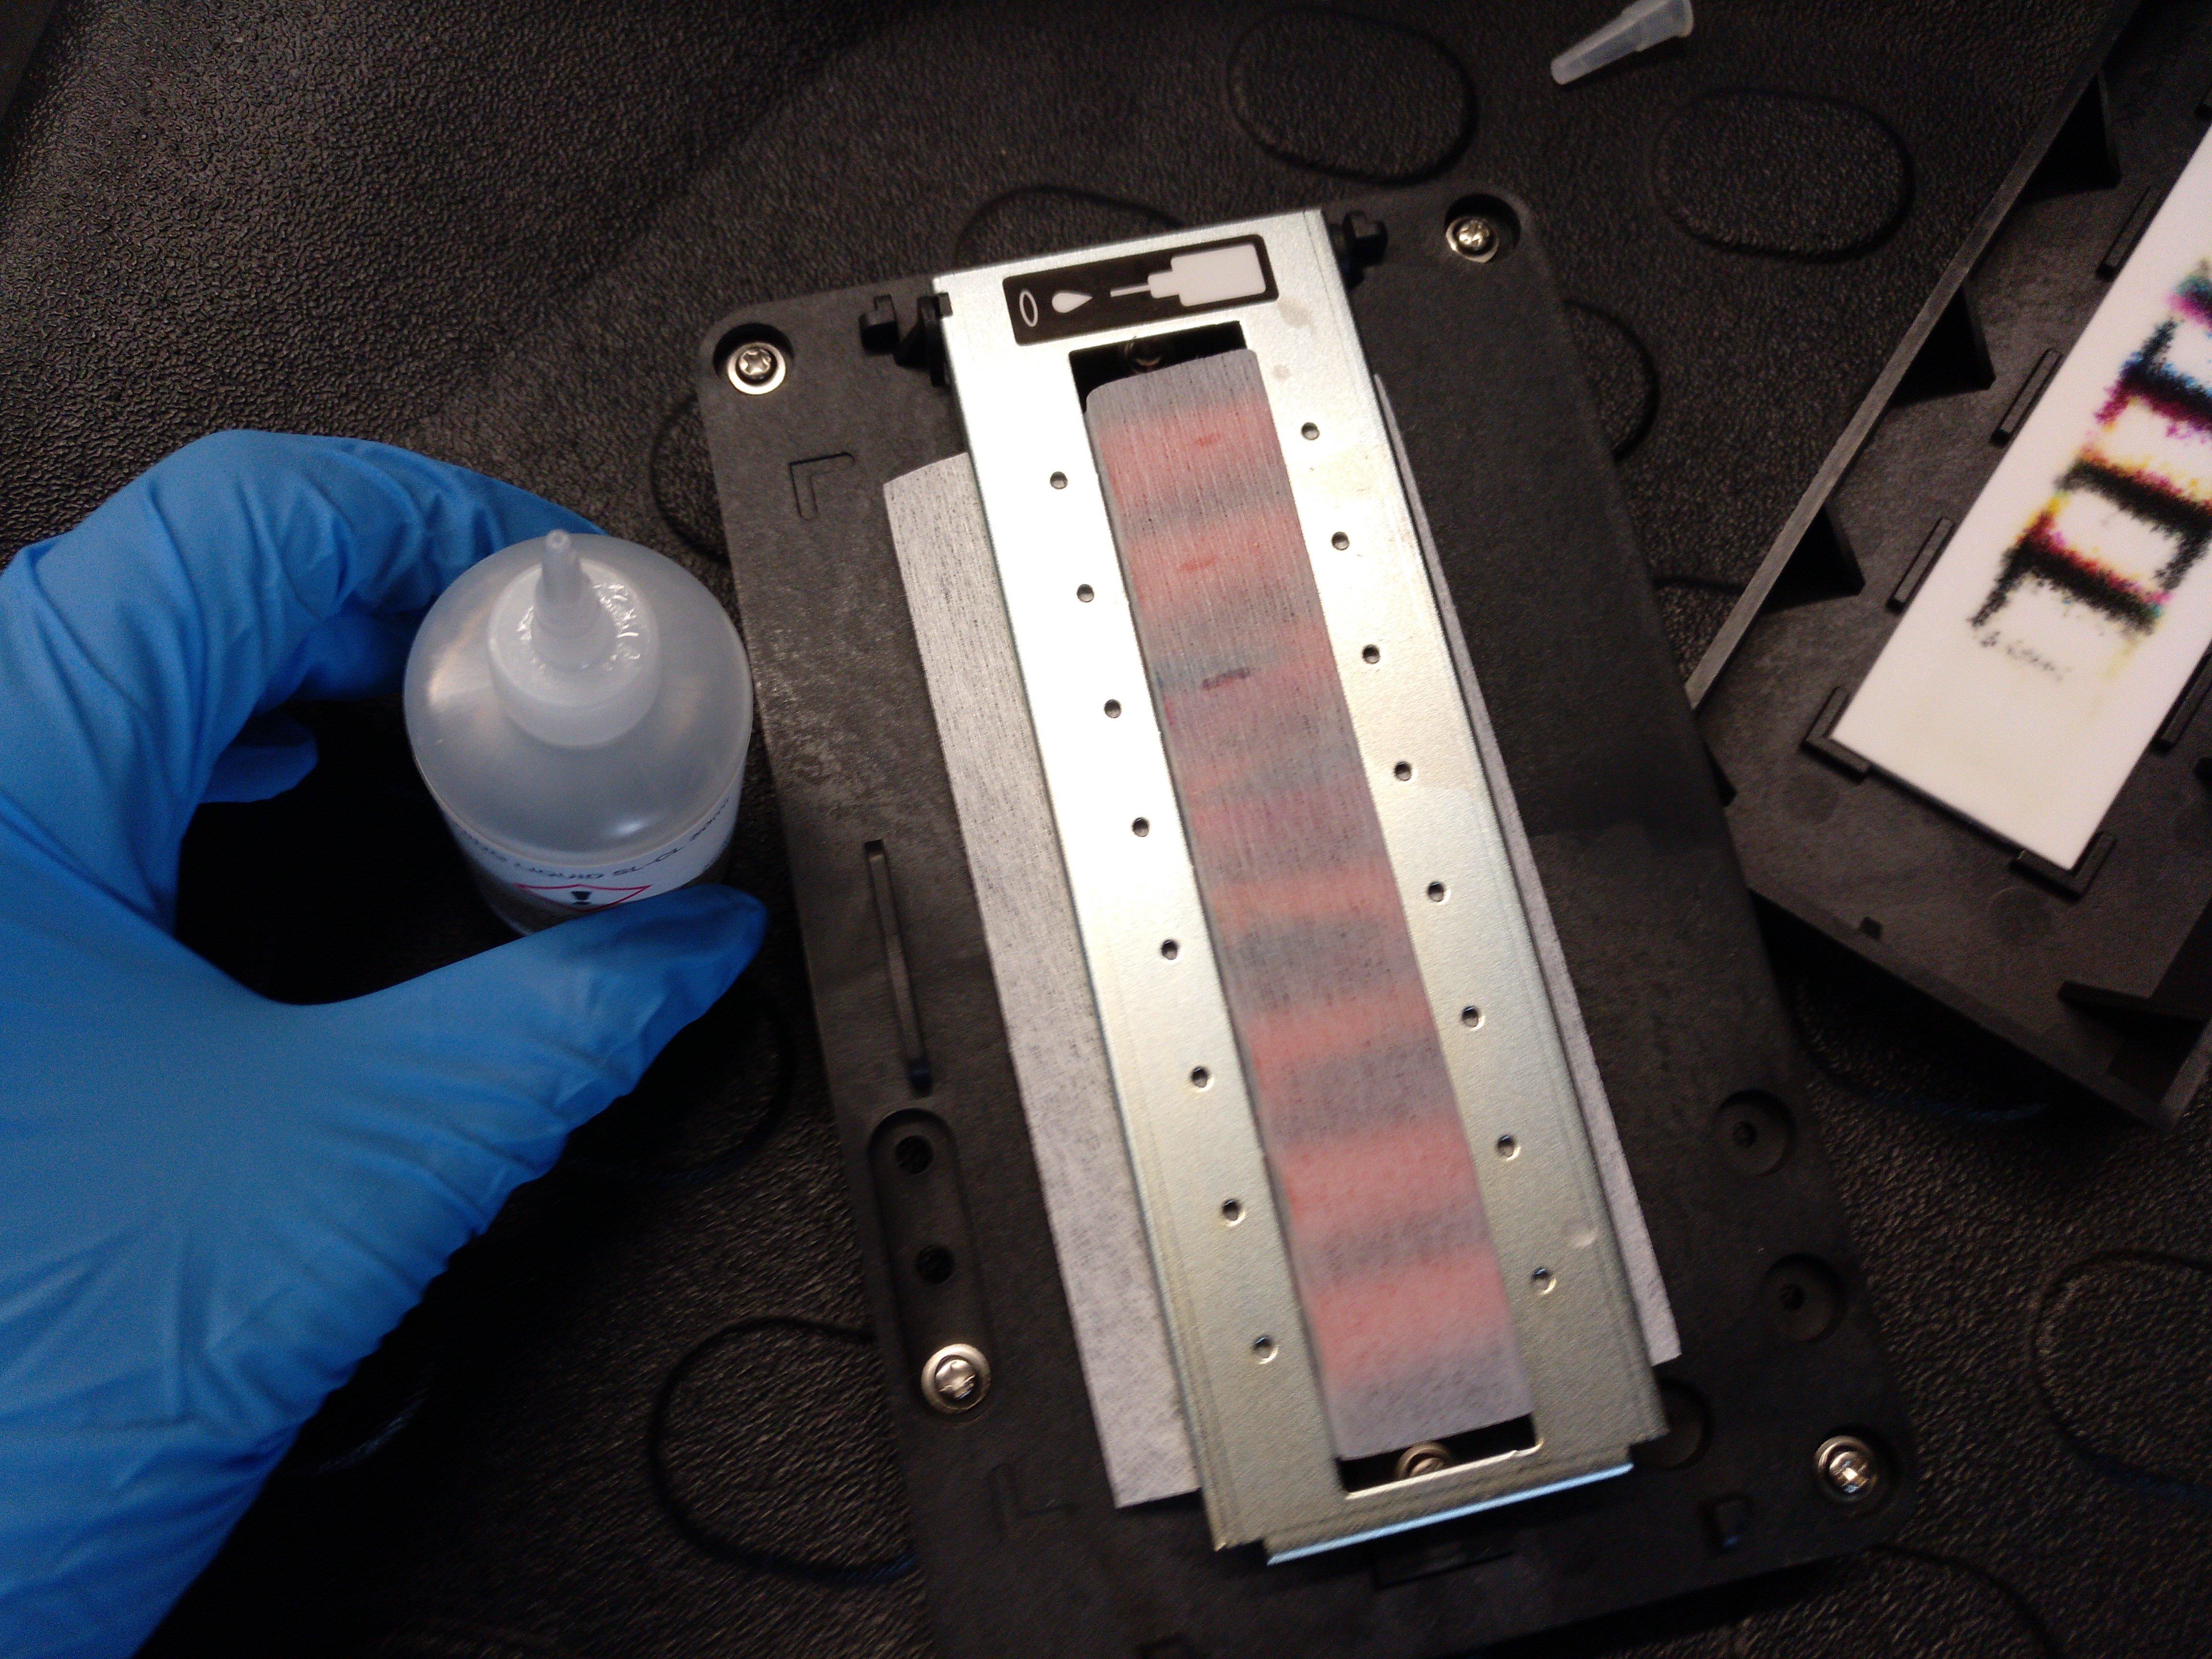
- Apply the SL-CL liquid to the new tissue using the pointy application bottle. Make sure that the liquid covers the whole top area of the tissue. Do not use the ESL5 here!:
- When the machine tells you to insert the head refresher, do that. It should lock in place via the screws that protude from its bottom side:
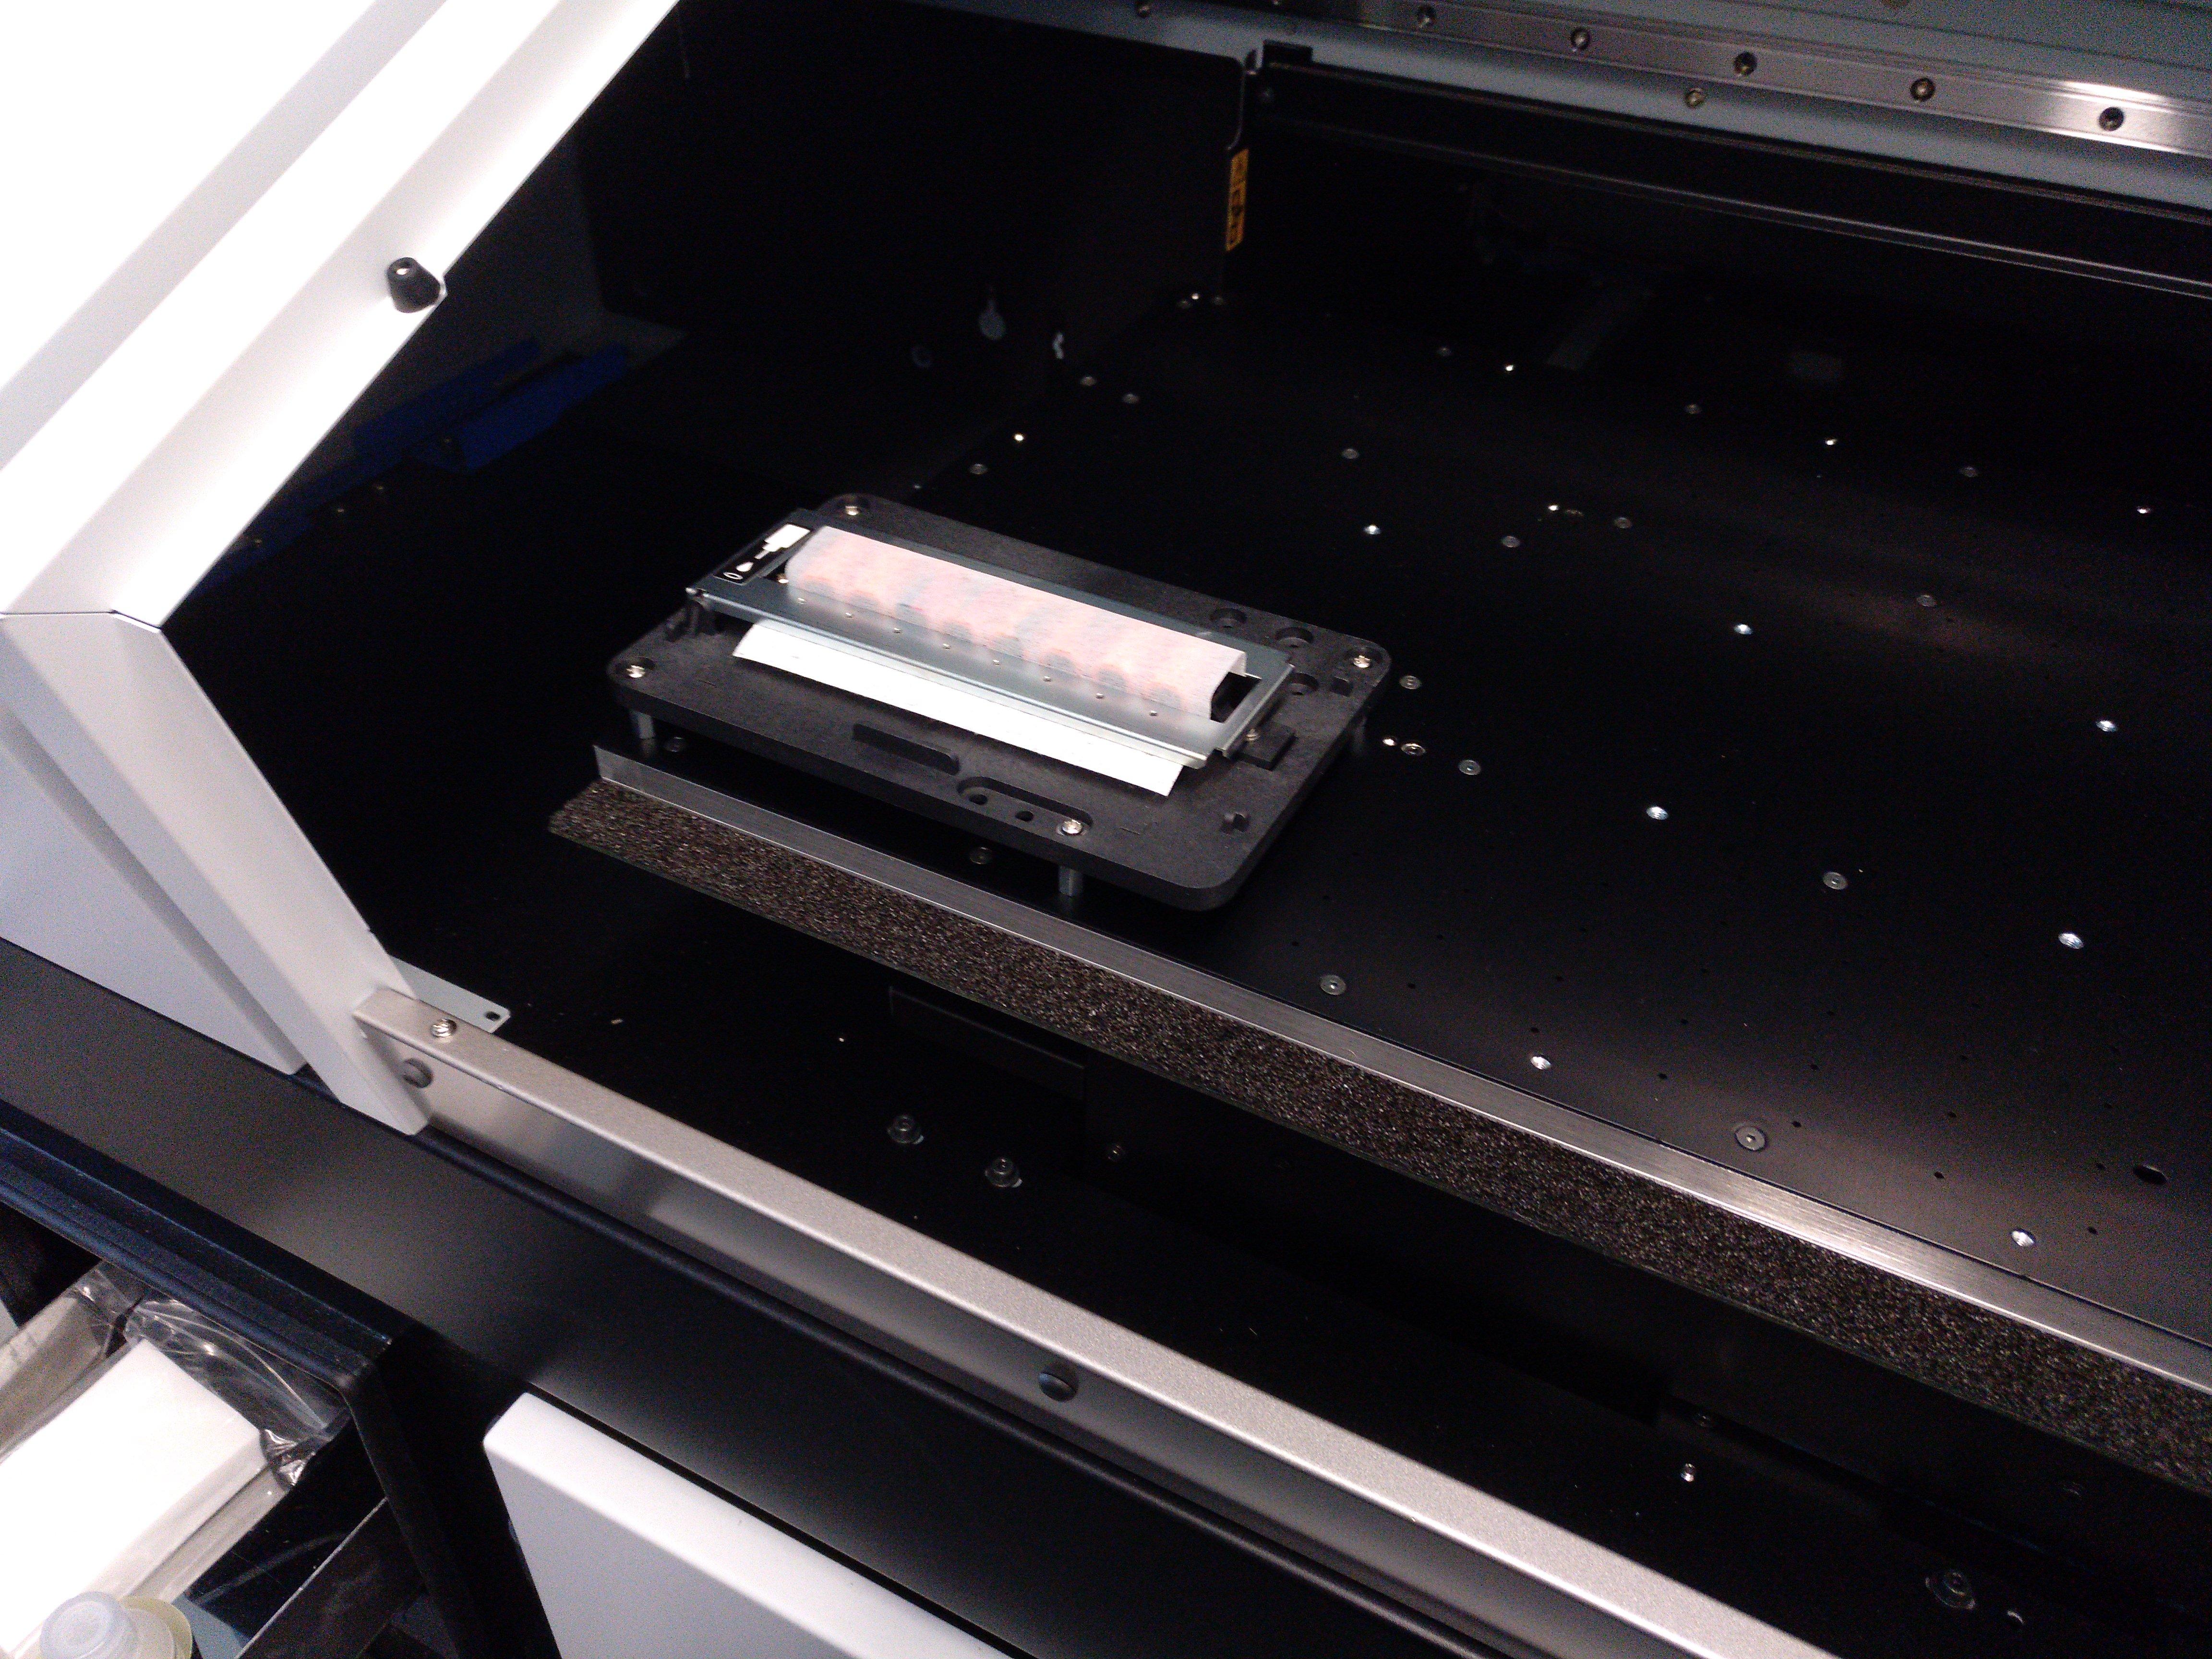
- Then close the print area door and press enter upon both "insert head refresher" and "apply SL-CL".
- The machine should now perform a head refresh. When it's done, remove the head refresher, put the cover back onto the head refresher and store all maintenance tools back in the drawer.
- Profit