Prusa i3 MK2 — DIY FDM 3D Printer
Machine status: Retired
Remote Control
This printer is now connected via Octoprint to the network.
It's new IP adress is: 137.226.73.57. Please refer to the Octoprint guide, on how to connect cura to the printer.
How to Use
If the printer is not already turned on, flip the switch at the right side of the printer and wait until the printer is booted.
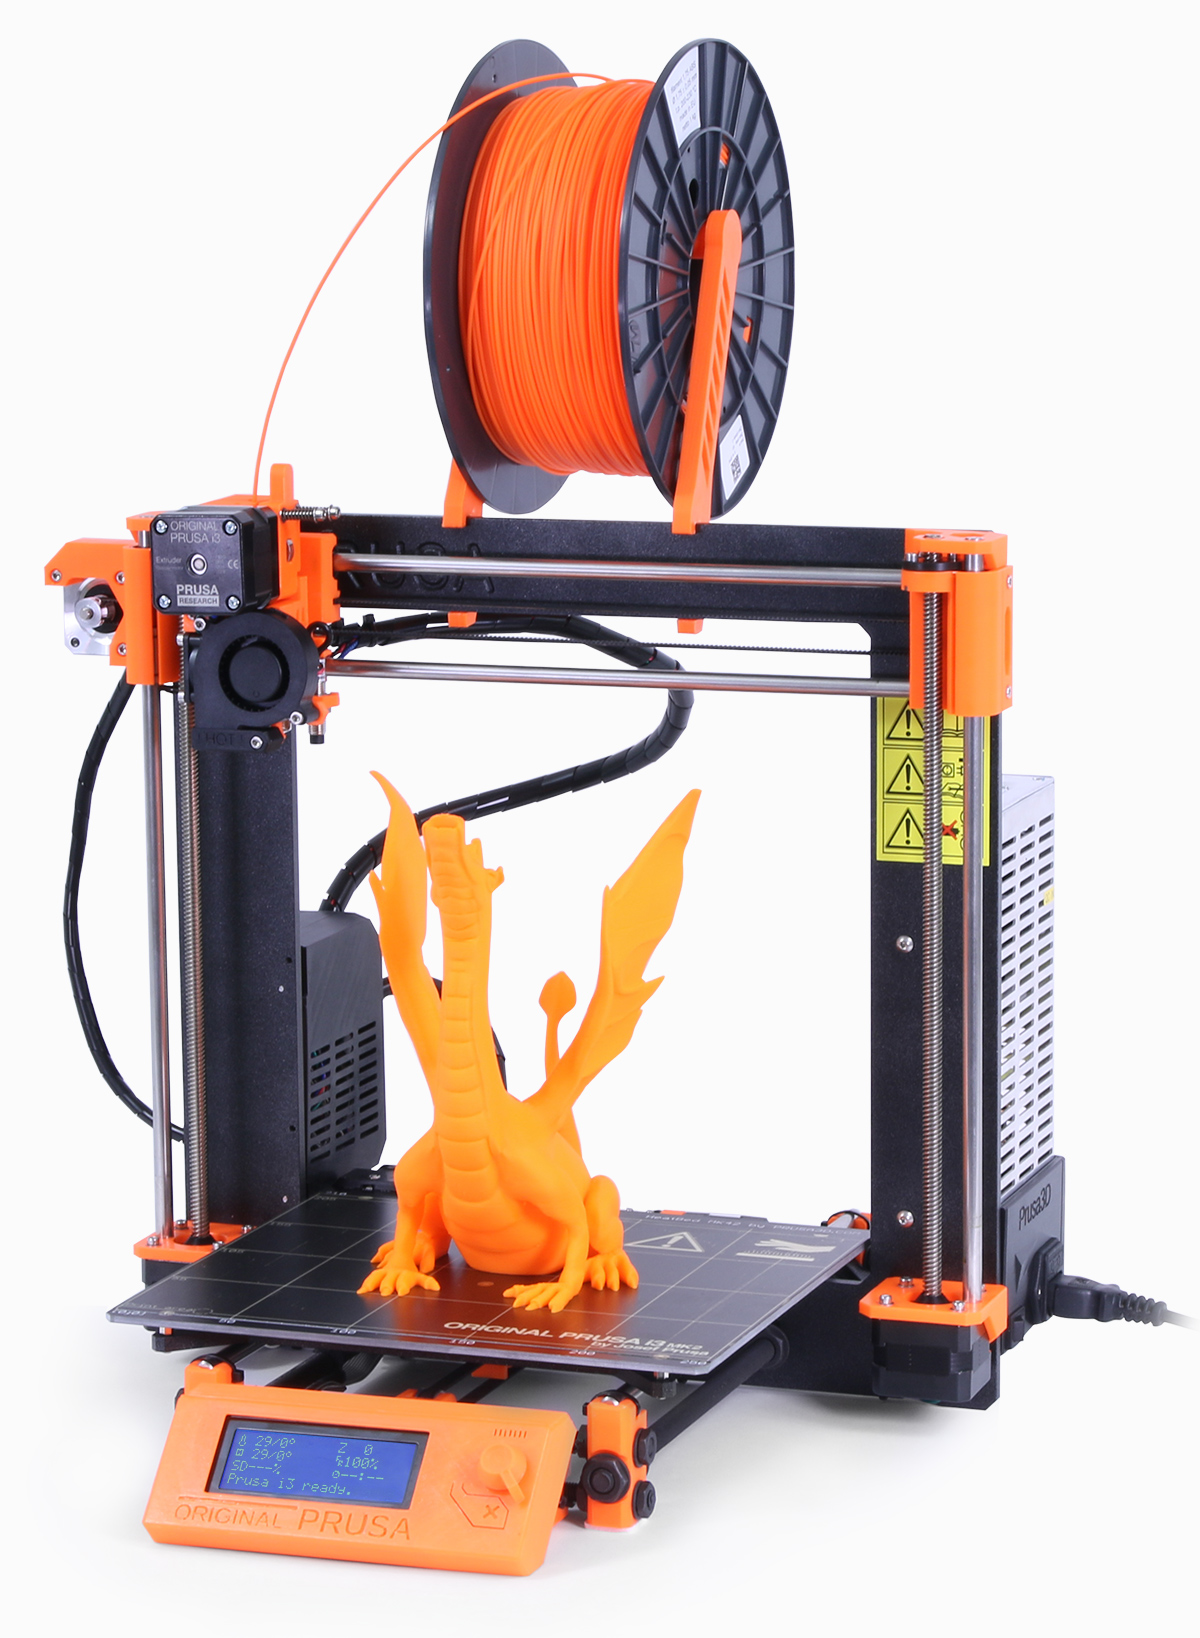
Load the filament Check the top of the printer to see which filament is currently loaded or if there is no filament loaded at all (have a look if a spool is sitting at the top of the printer and filament is inserted in the extruder). Also make sure that there is enough filament on the spool for your print. If you suspect the printer might run out of material during the print change the spool as well.
If you are fine with the color of the filament that is loaded (or the color does not matter at all) skip ahead to the next section Start the print.
If you want to print with a different color, take the corresponding spool from the 3d printer filament stash. Make sure that you take a spool with 1.75mm diameter filament (and not 3mm). In general the 3mm filaments should be located in the top row of the stash and the 1.75mm in the bottom two rows.
If one of the standard colors (red, green, blue, yellow, white, black, grey, silver, gold) for printing is not available or you used up the last bit of a color, inform Christian or Lukas to replace it.
If you really need a special color for a research project (that is not provided in the stash) and painting the print is no option, ask your supervisor to order the filament for the project.
If there is no material loaded in the printer take a spool from the stash you want to use and skip the unloading in the next part.
Changing the filament After starting the printer or finishing a print the display should show the info screen. Press the turnable dial once to go to the main menu.
In the main menu select Preheat by turning the dial and pressing it down to confirm. Now choose PLA.
Wait until the extruder is heated (top left corner of the info screen shows 215/215) then go back to the main menu and select Unload filament Push the orange lever to the side and pull the filament out of the extruder. If the filament is stuck check the side of the extruder and try to cut off and remove the part that is stuck.
-Remove the old spool from the holder and place the new spool.
-Cut off any uneven parts at the end of the filament so that there is a straight edge (and throw the cut off part in the trash).
-Insert the end of the filament in the pulling mechanism of the extruder while pushing the lever to the right. Look through the hole at the left to make sure the filament goes in straight.
-If the filament is hard to insert try to straighten it a bit by hand
-Now go back to the main menu and select 'Load filament''. The extruder should pull in the filament now and it should extrude out of the nozzle. Wait until the extruder is done with loading and shows on the screen that the Prusa is ready. If the loading did not work or filament did not come out of the nozzle repeat the steps required for loading.
-You are now ready to start the print. Press the dial again do return to the main menu.
Starting the print Before starting the print make sure the build plate is clean and dry. If not clean the plate carefully and remove any stains of material or previous prints.
Select Print from SD in the menu and locate your file on the SD-Card. After selecting your file the print will start.
Wait until you can see that the first layer of your print is sticking to the build plate. If there are problems, clean the plate with a little bit of water, wipe it dry and restart the print.
Do not use hairspray or glue on the plate.
If the print is failing you can abort it by pressing the dial and selecting Stop print and confirming with Yes.
After the print is done remove your object and any remaining material from the build plate. If the print is hard to remove wait for the plate to cool down or carefully use the spatula.
For more information on the printer or problems occurring during printing check the official website or tutorials online.