Using the ARPen iOS App
The ARPen iOS app allows you to perform freehand sketching, create 3d geometries like cubes, and explore interaction techniques for menu selection and mid-air object translation. ARPen also allows you to export the created model or sketch as an *.STL file. Interested in trying it out? Follow these instructions
- Download the app on iOS App Store using the above ARPen iOS App.
- To try out the ARPen app, please print
 this document (without scaling) and fold it to create a paper ARPen. ARPen can detect the marker on this document and you can use this for sketching or modeling. To use all of the app's features, you need to make a fully-functional ARPen. This can be 3d printed at your local Fab Lab using simple electronics and machines. It contains physical buttons that can be used for sketching. For detailed instructions on making the fully-functional ARPen, see the ARPen GitHub repository.
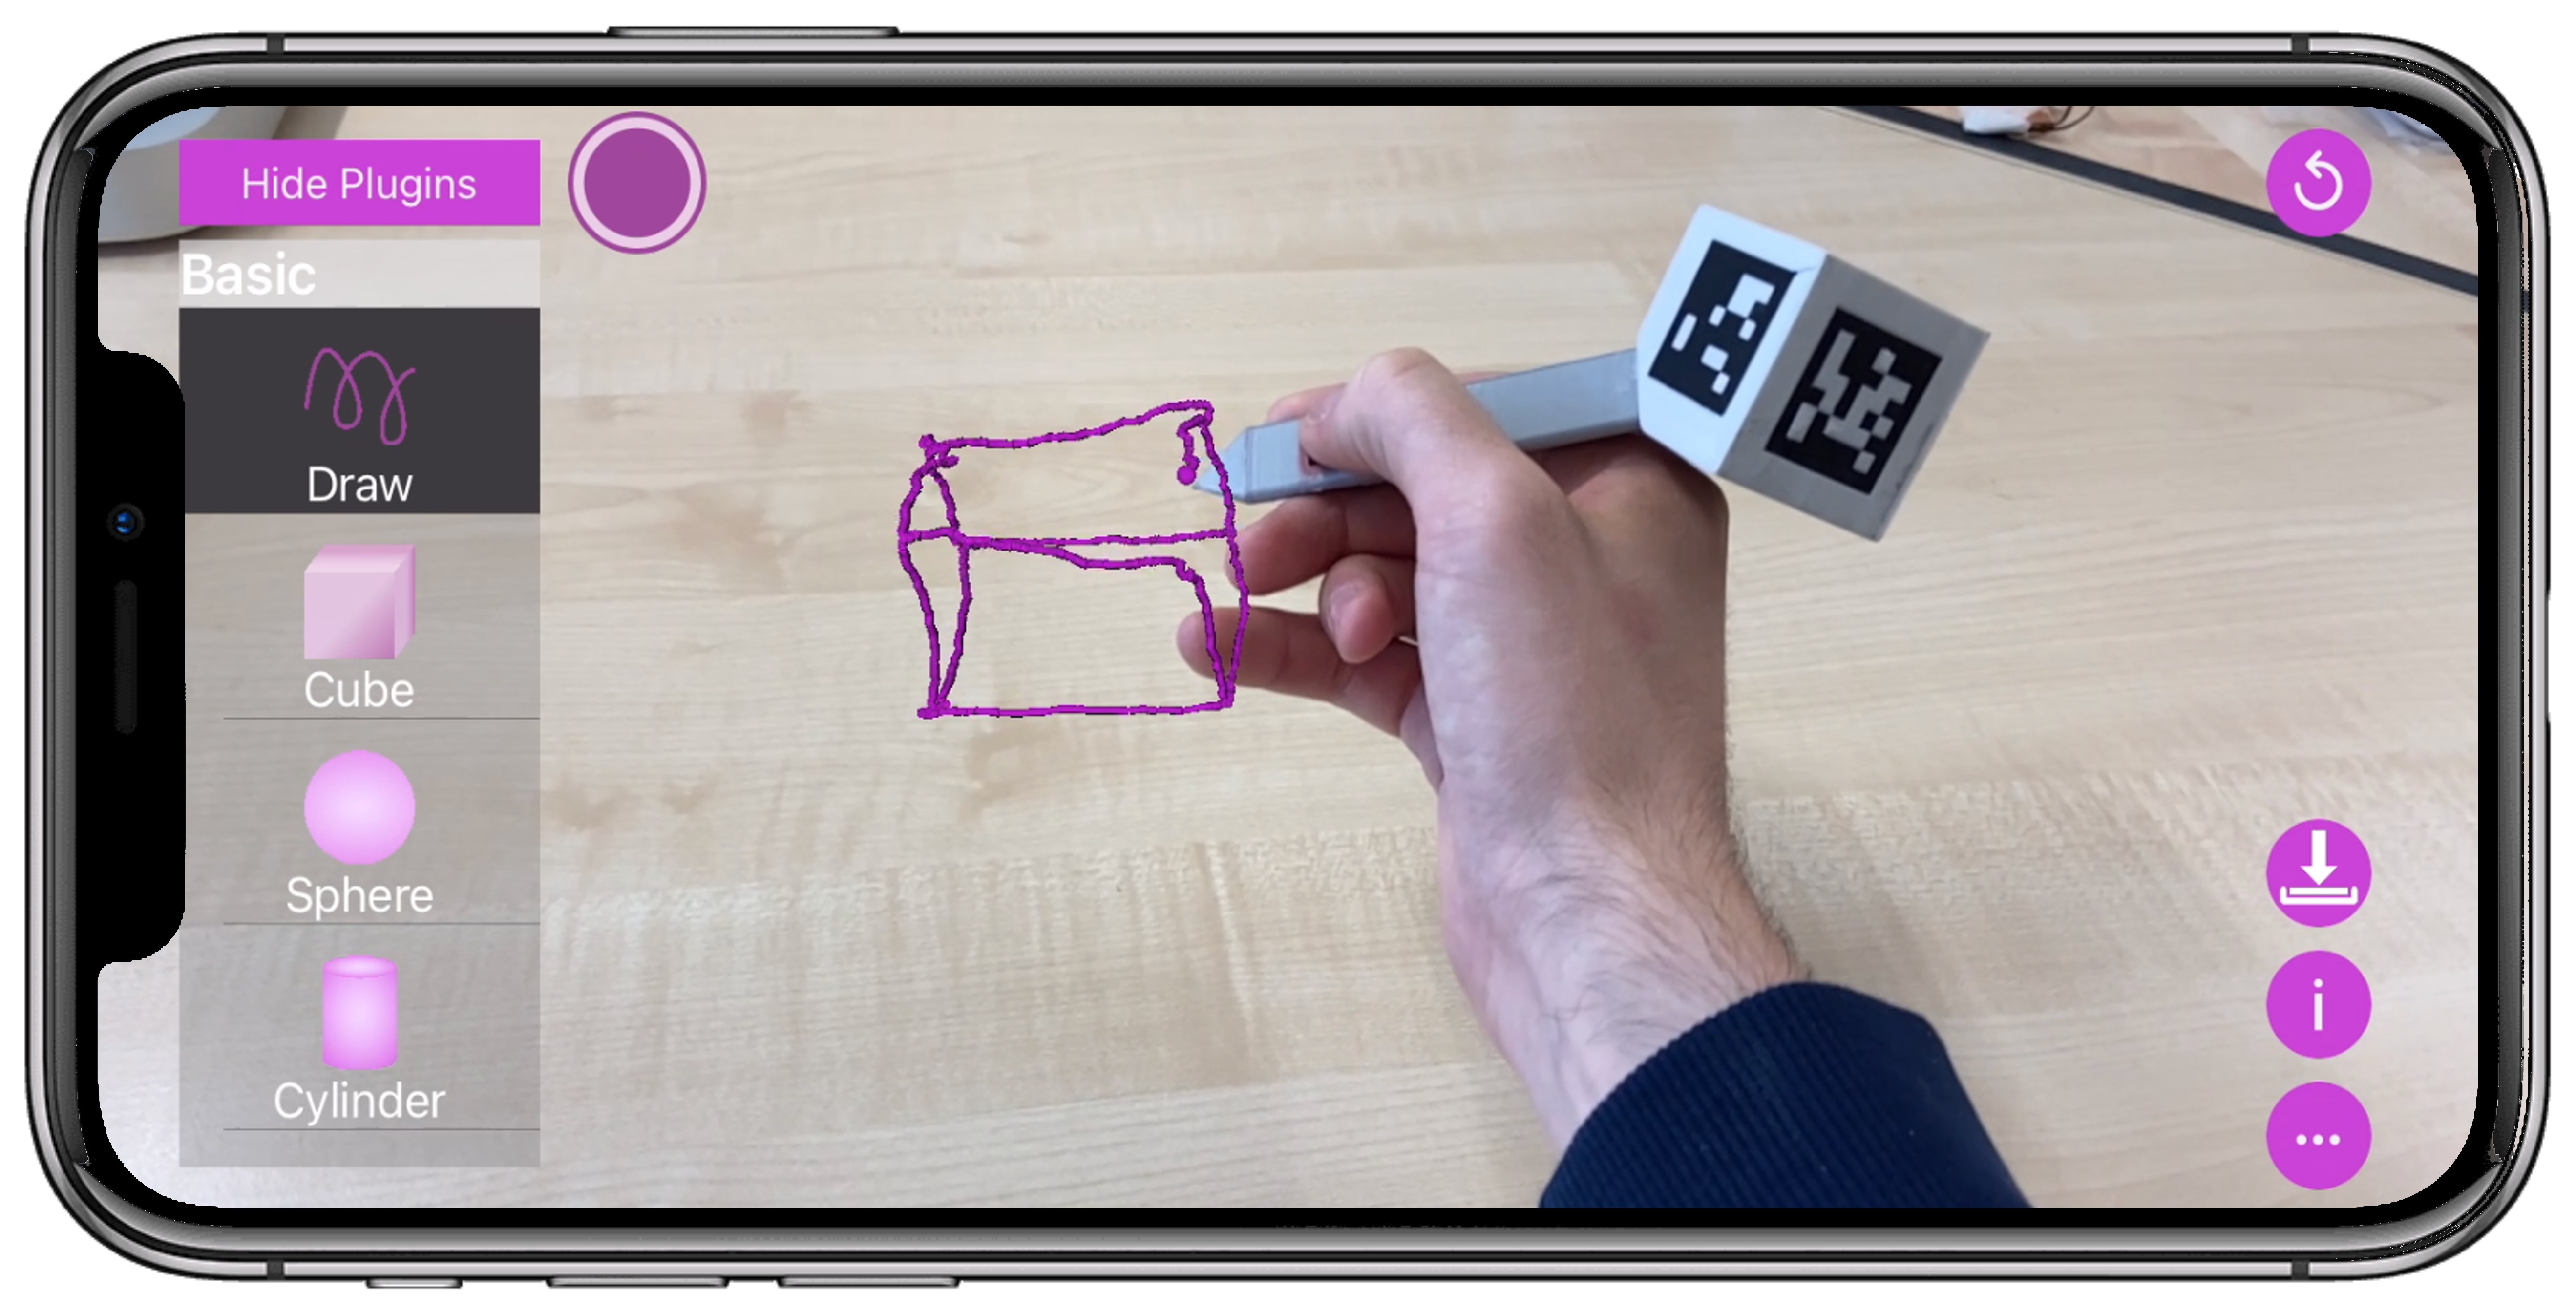
 - Once the main screen loads, you can begin sketching in AR! Hold the paper ARPen or the Bluetooth ARPen in front of your camera so that the marker is visible.

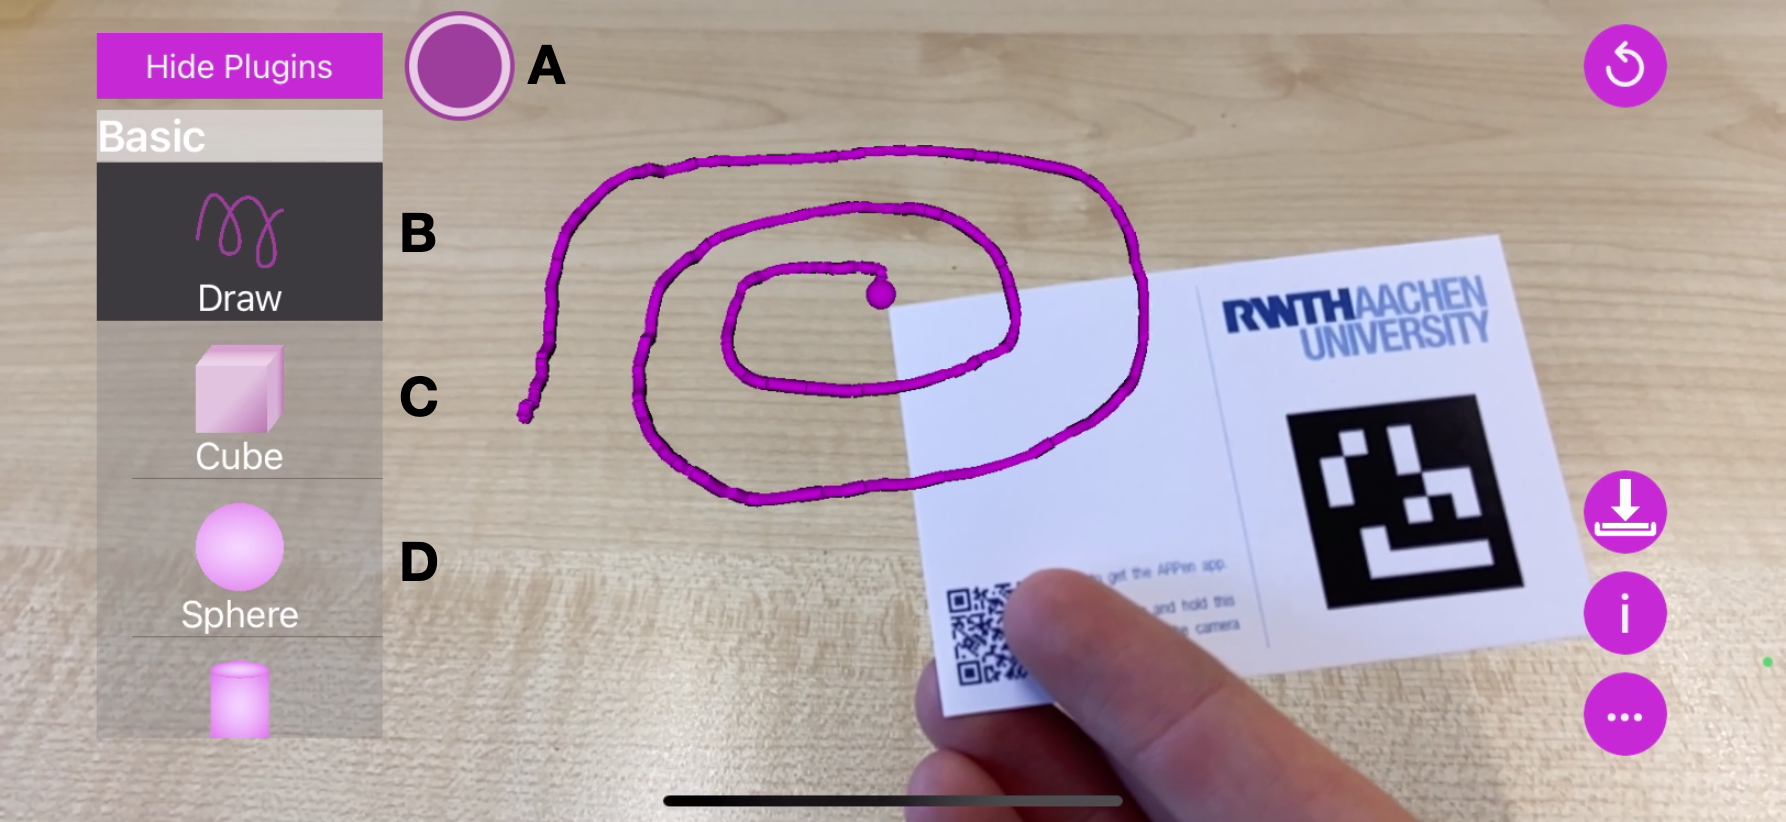
- The purple circle, shown at the top-left corner for the ARPen card, indicates your pen tip. To sketch, make sure the draw button (B) is selected, and move the ARPen in mid-air! If you are using the ARPen card or paper ARPen, you need to press and hold the software button (A) while sketching. If you are using a fully-functional ARPen, you can use the push button on the side near the pen tip. To create shapes like cubes (C) or spheres (D) simply select the respective button in the menu. There are even more plugins to explore. Just take a look at the menu on the left.
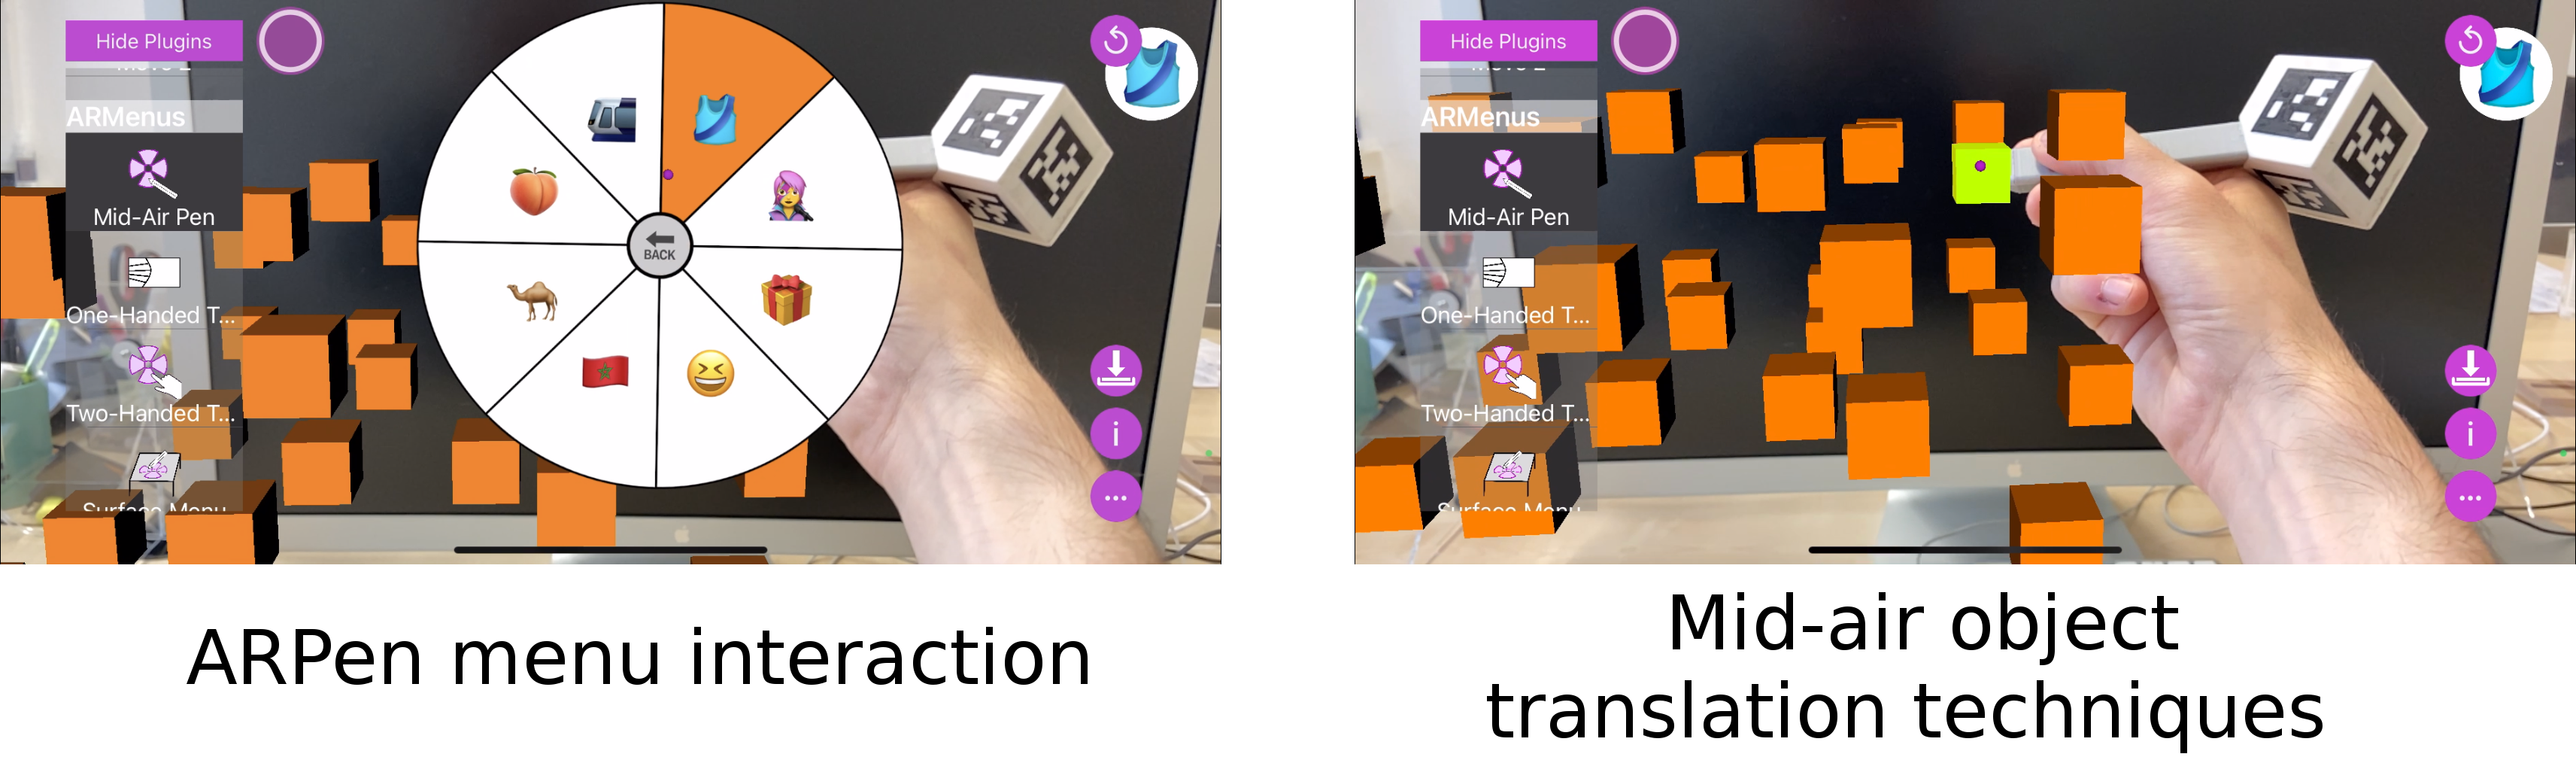
- You can try other features of the ARPen app by clicking on the corresponding buttons on the main screen: Use button C to create a cube, button D to try out various designs for AR menus, and button E to try out different interaction techniques for mid-air object translation! Remember that, for all features, the purple circle can be used to point in mid-air and either the software button (A) (in case of ARPen card or paper ARPen) or the push buttons (in case of fully-functional ARPen) to initiate action (e.g., place an object, select an object).
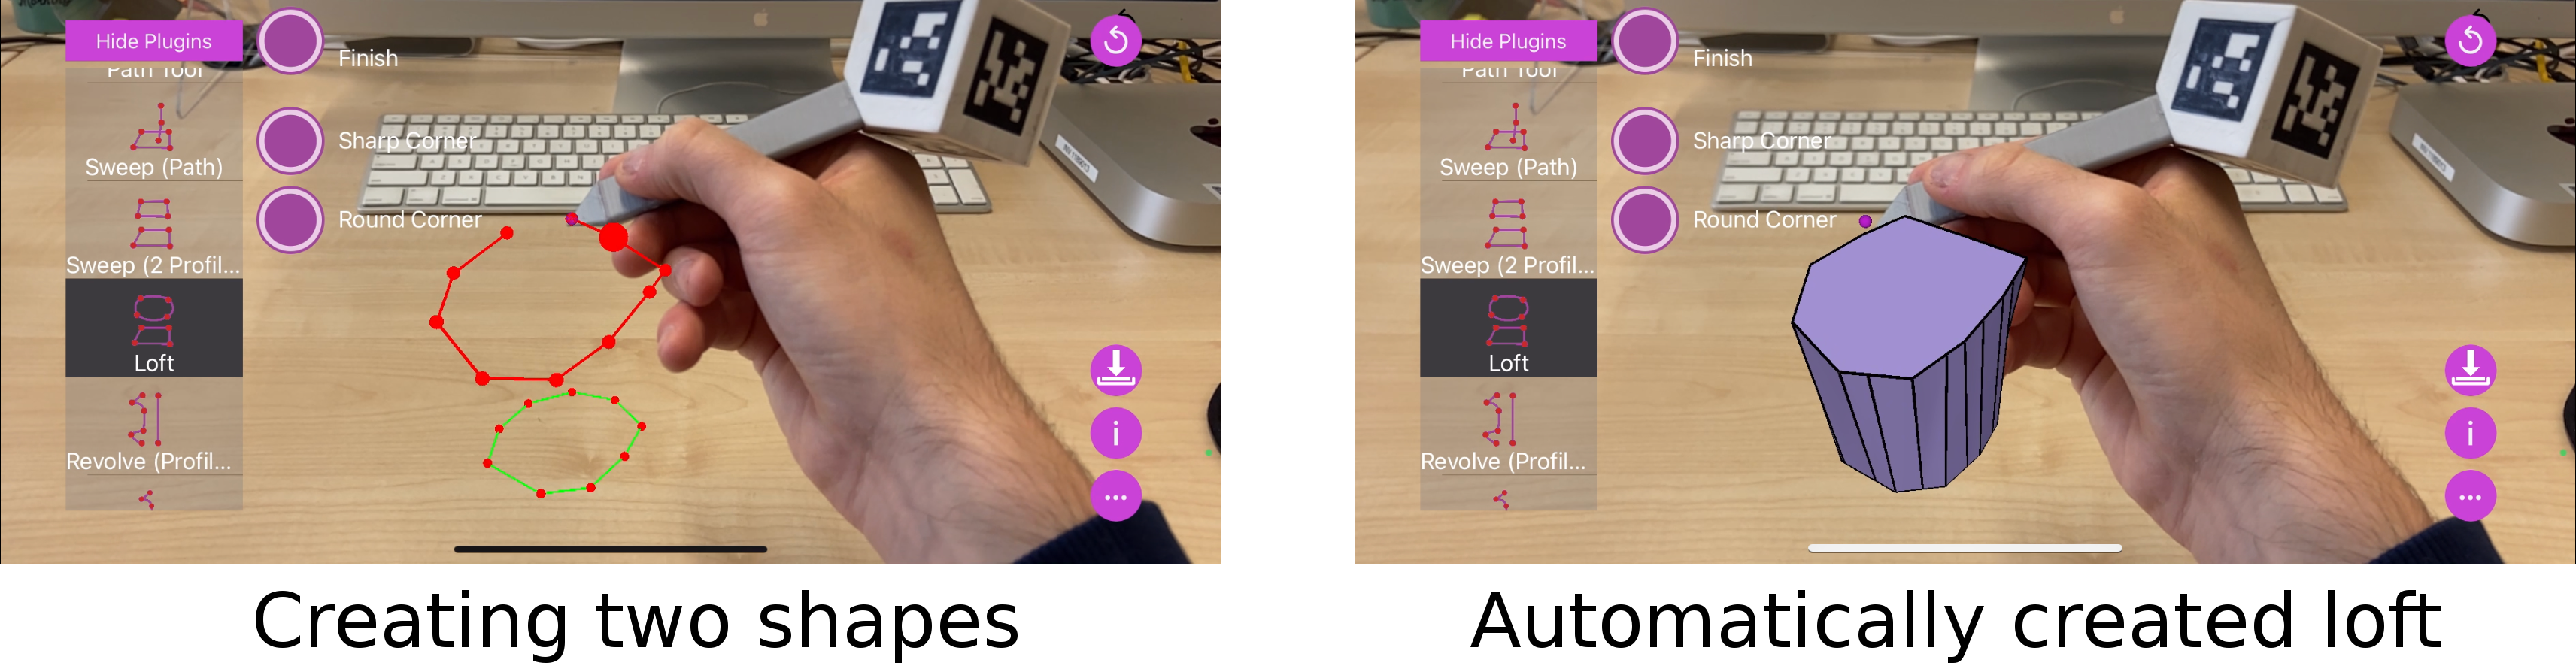
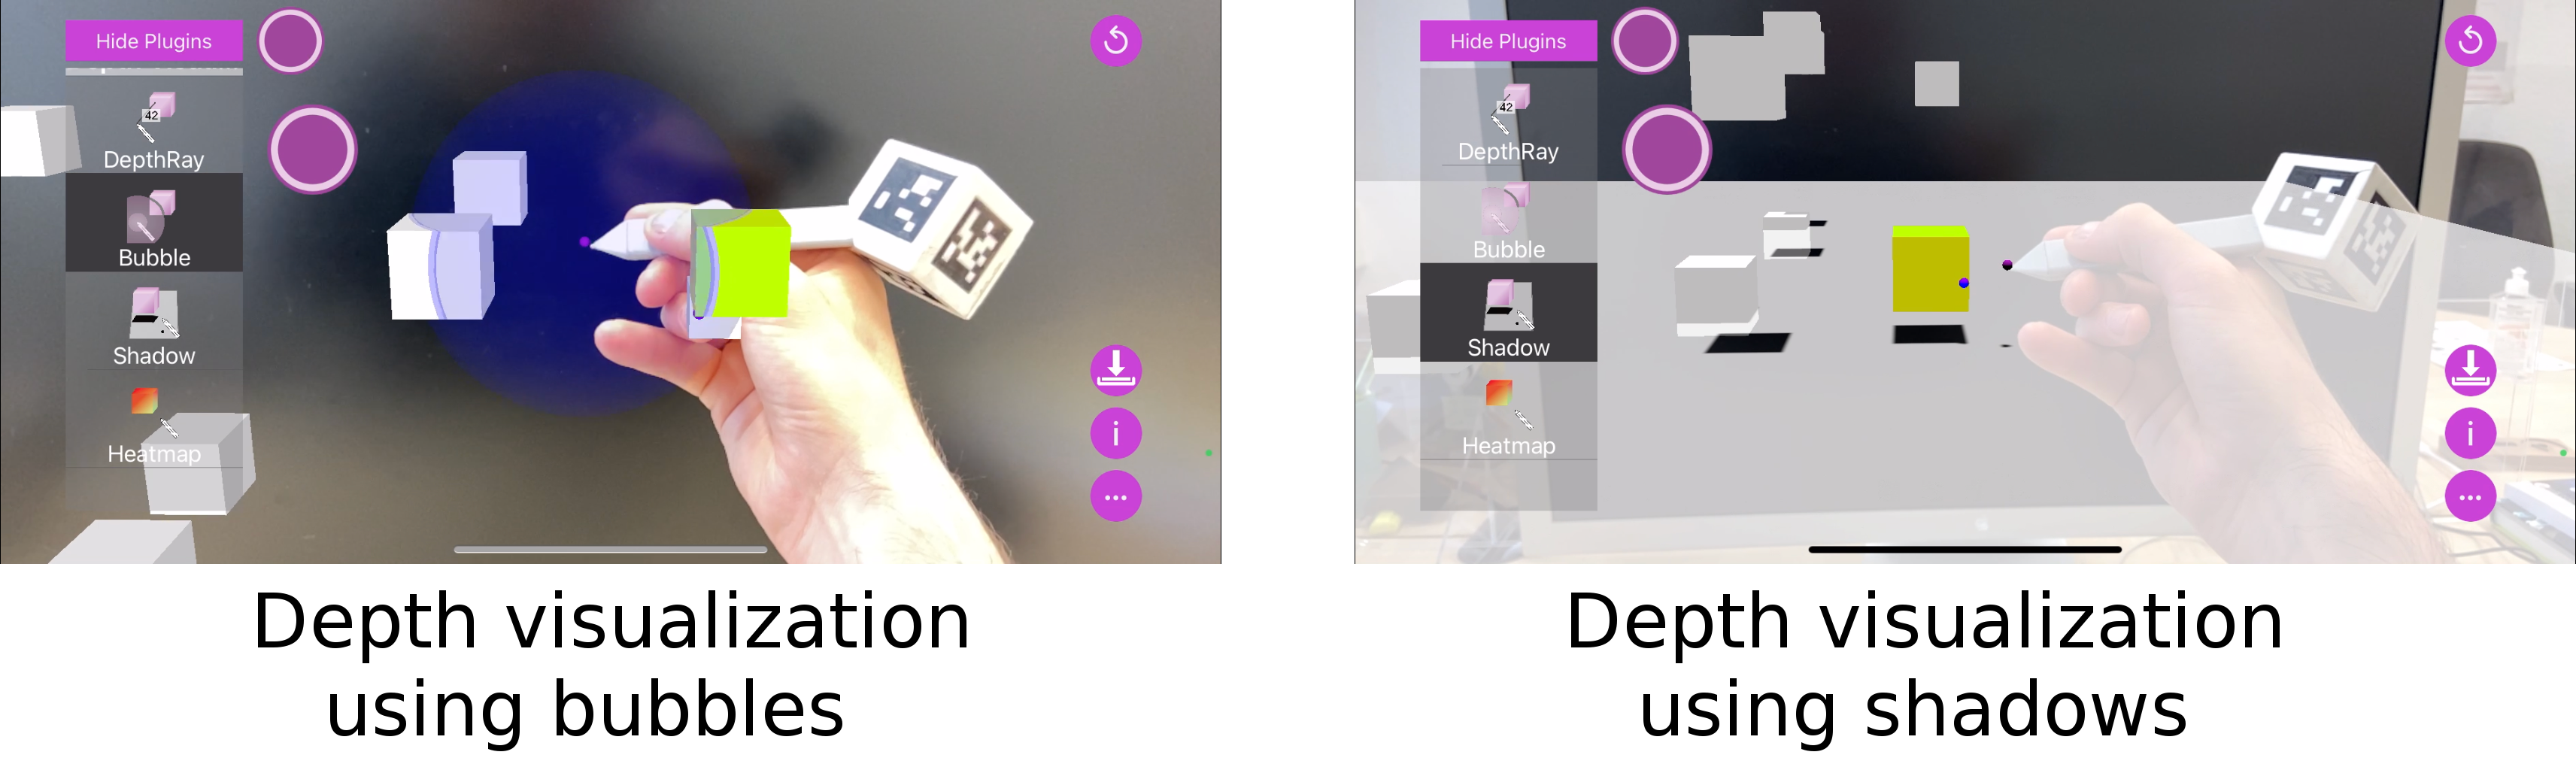
- With the last update it is now possible to create more complex shapes using sweeping techniques and to activate modes which help perceiving the position of the ARPen in relation to the virtual object you have created.
- ARPen project page, which includes details of the project, deliverables, and related publications.
- ARPen GitHub repository, which includes the source code and instructions to build a fully-functional ARPen.