How to work with DaVinci Resolve
DaVinci Resolve is primarily a tool for color grading videos. But it also has industrial standard video editing functionalities and is completely free.
Resolve was used to edit videos in home office, because it runs on Windows and macOS. I used the Version 16.2.6.005. Old DaVinci versions can be found here.
Opening an existing project
- Install DaVinci Resolve
- Download the project you want to open. Projects are .dra files that have subfolders.
- Each .dra should contain a "Cache"-folder, a "MediaFiles"-folder and a "project.drp"-file. Double-clicking on the "project.drp"-file will open the project in Resolve.
Creating a new project
- Install DaVinci Resolve
- Start DaVinci > New Project > Create
Editing videos
Warning: Resolve tends to crash and has a bad recovery system. Save frequently!
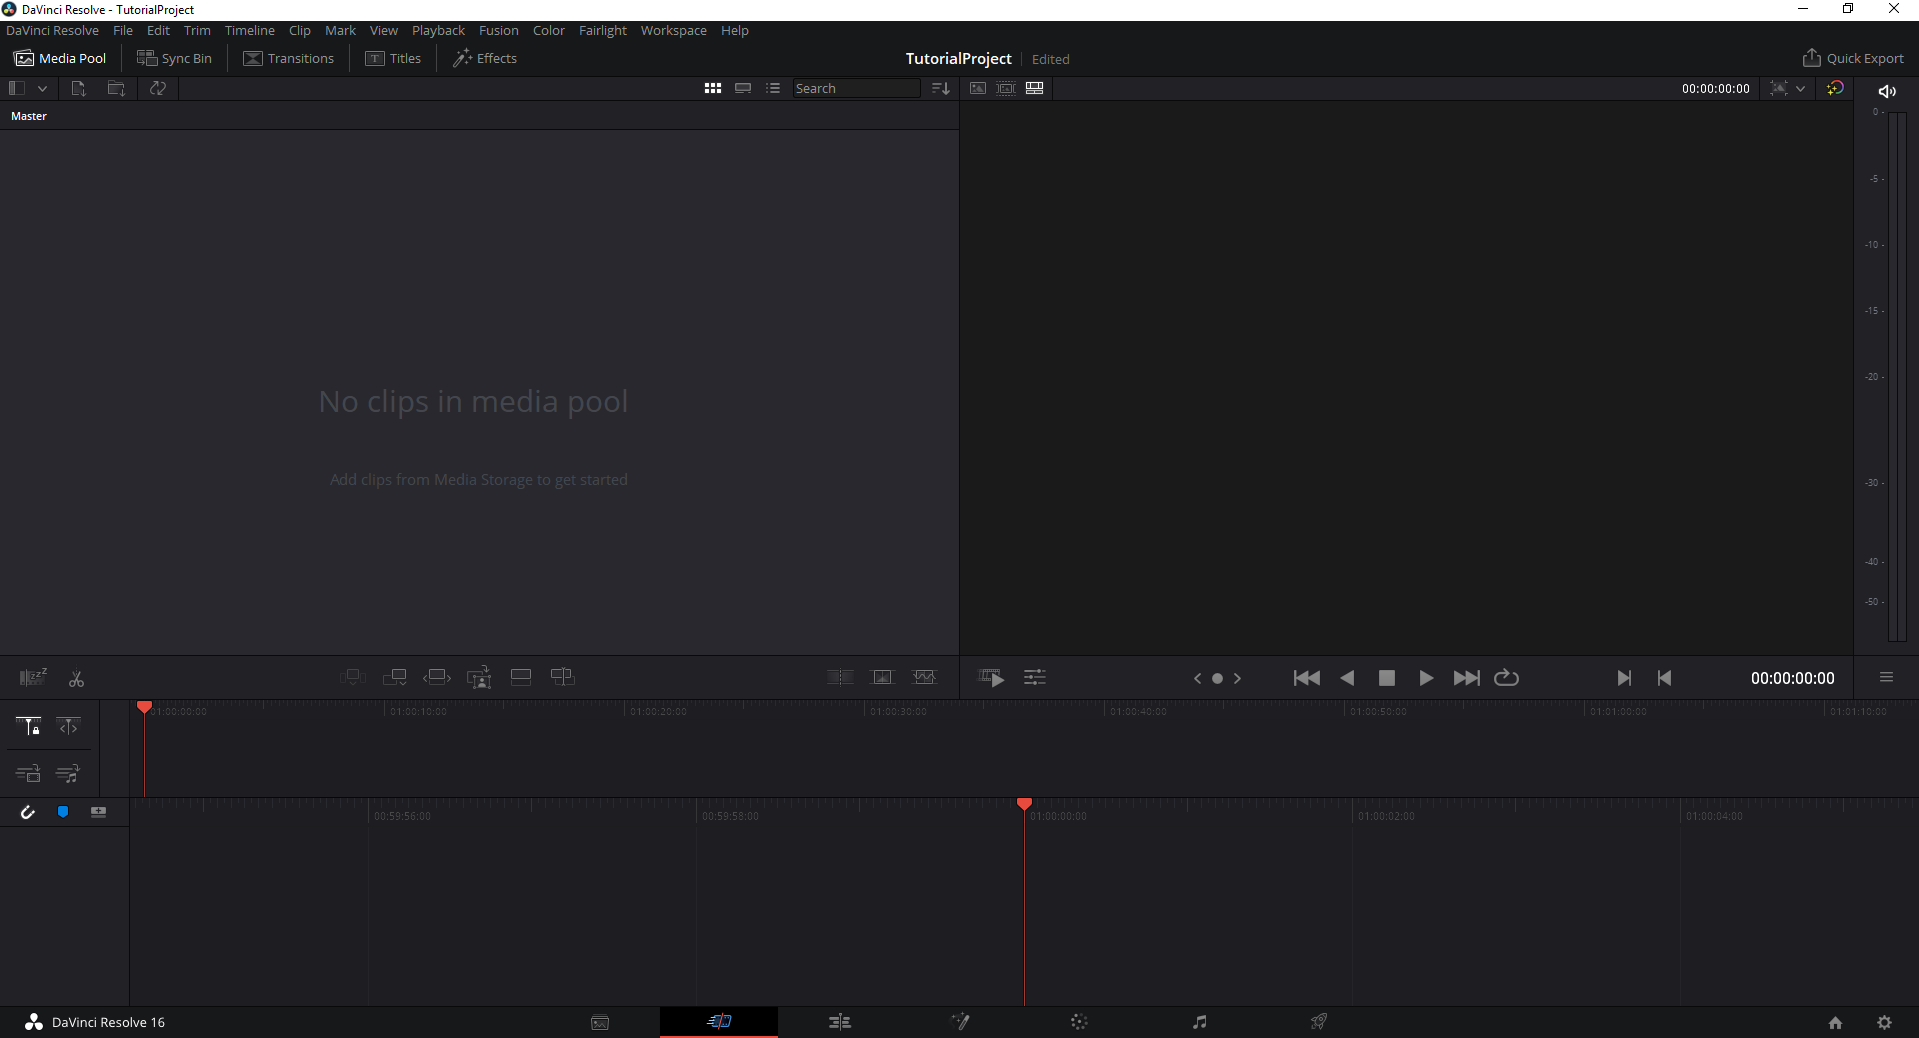
When you start a new project this is the first thing you will see:
Import new media
Here you can import the media you want to work with, by dragging them into the "Media Pool" window in the top left area (no .mov files, thx apple).
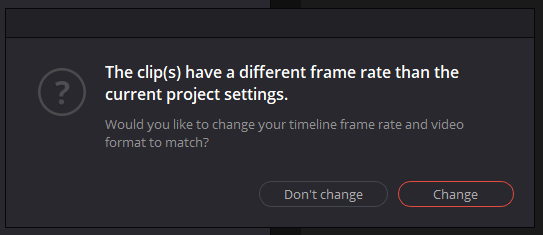
You might get a message about different framerates compared to the project settings. I strongly advise to select the "change" option here. This will fit the framerate setting of the project to the video. This can not be changed later!
The different tabs
On the bottom you can see different symbols in a row. These are different tabs for different modes of the program.
- Media: Here you can manage your media, import unlink, or relink them.
- Cut: A mode for quickly cutting videos. I prefer the "Edit"-Mode
- Edit: A mode for Editing Videos, allows to stack them over each other, add sound and allowing transformations like scaling.
- Fusion: You can create fancy visual effects here (I prefer HitFilm for that)
- Color: This is where most of Resolves horsepower is. This is an amazingly complicated and powerful color grading tool.
- Fairlight: I don't really know what it does and never missed it.
- Deliver: The most important one. Here you can get the results out of Resolve.
The only two tabs that are important for editing a simple lecture recording are "Edit" and "Deliver".
Basic editing
- Import the Media you need
- Switch to the Edit tab
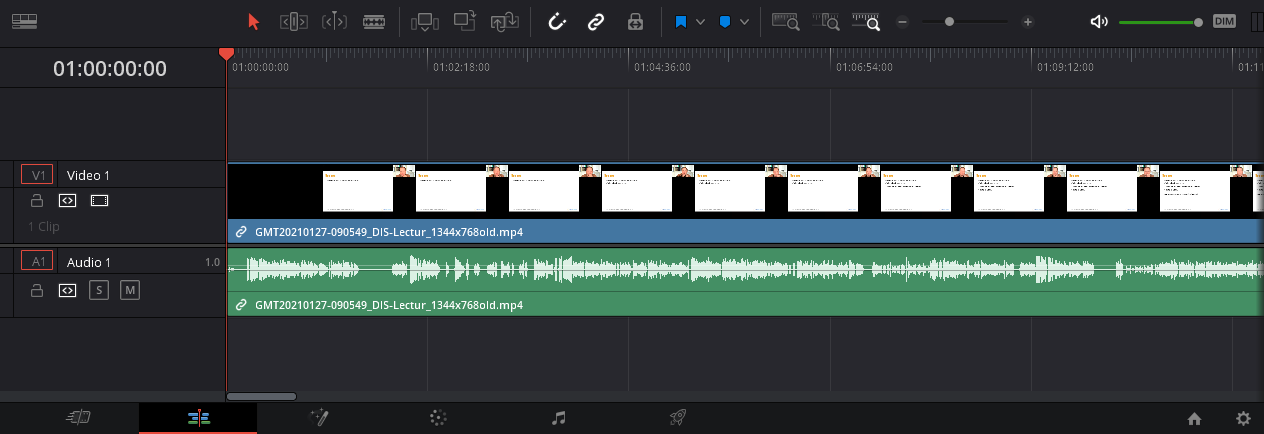
- Drag and drop the media you want to start with into the timeline
- The timeline always starts at the one-hour mark
- You can now use different actions to edit:
- Cut: Select the razor blade tool and click where a cut should be made
- Move: Select the Cursor and drag and drop clips around in the timeline
- Zoom in/out: There are three different modes for zooming (the three symbols containing a magnifying glass): Overview, Detail View and Custom Zoom. Use the slider to select the custom zoom factor.
- Delete and close gap: select the clip that should be deleted and press del or entf on the keyboard. All clips behind will be pulled forward to close the gap.
- Delete and keep gap: select the clip that should be deleted and press backspace on the keyboard. Other clips will not move.
- Add text: On the left under Toolbox select "Title" and drag the "Text" object into the timeline
- Add a solid color: On the left under Toolbox select "Generators" and drag the "Solid Color" object into the timeline
- Scale or move the video: Under the bottom left corner of the preview window is a symbol and a small drop down arrow. Select "Transform" and select the clip that should be scaled. Move the play head on the location of the clip in the timeline. Now the clip can be rescaled by using the markers in the preview window.
- Crop the video: This works like scaling, but in the drop-down menu select "Crop"
- Normalize Audio: select all relevant clips, right-click on an audio track and select "Normalize Audio Levels". Use 0 dBFS.
Export
- Make sure the audio is normalized
- Go to the very right delivery Tab. It looks like a rocket.
- The options are on the left side.
- Chose filename and location
- Chose MP4 for the format.
- Click on the Audio Tab and make sure "Export Audio" is selected
- Click "Add to Render Queue"
- The render queue stuff is on the right side.
- Select the new render job and click start render


