Aachen Maker Meetup #153 Lithophanes, new faces and other interesting projects
During this week's Maker Meetup, we were delighted to host a considerable number of newcomers. The evening started with the usual series of small and engaging conversations, setting a relaxed ambiance. Shortly after the pizza arrived, letting everyone enjoy a few slices before continuing with this evenings interesting topics.
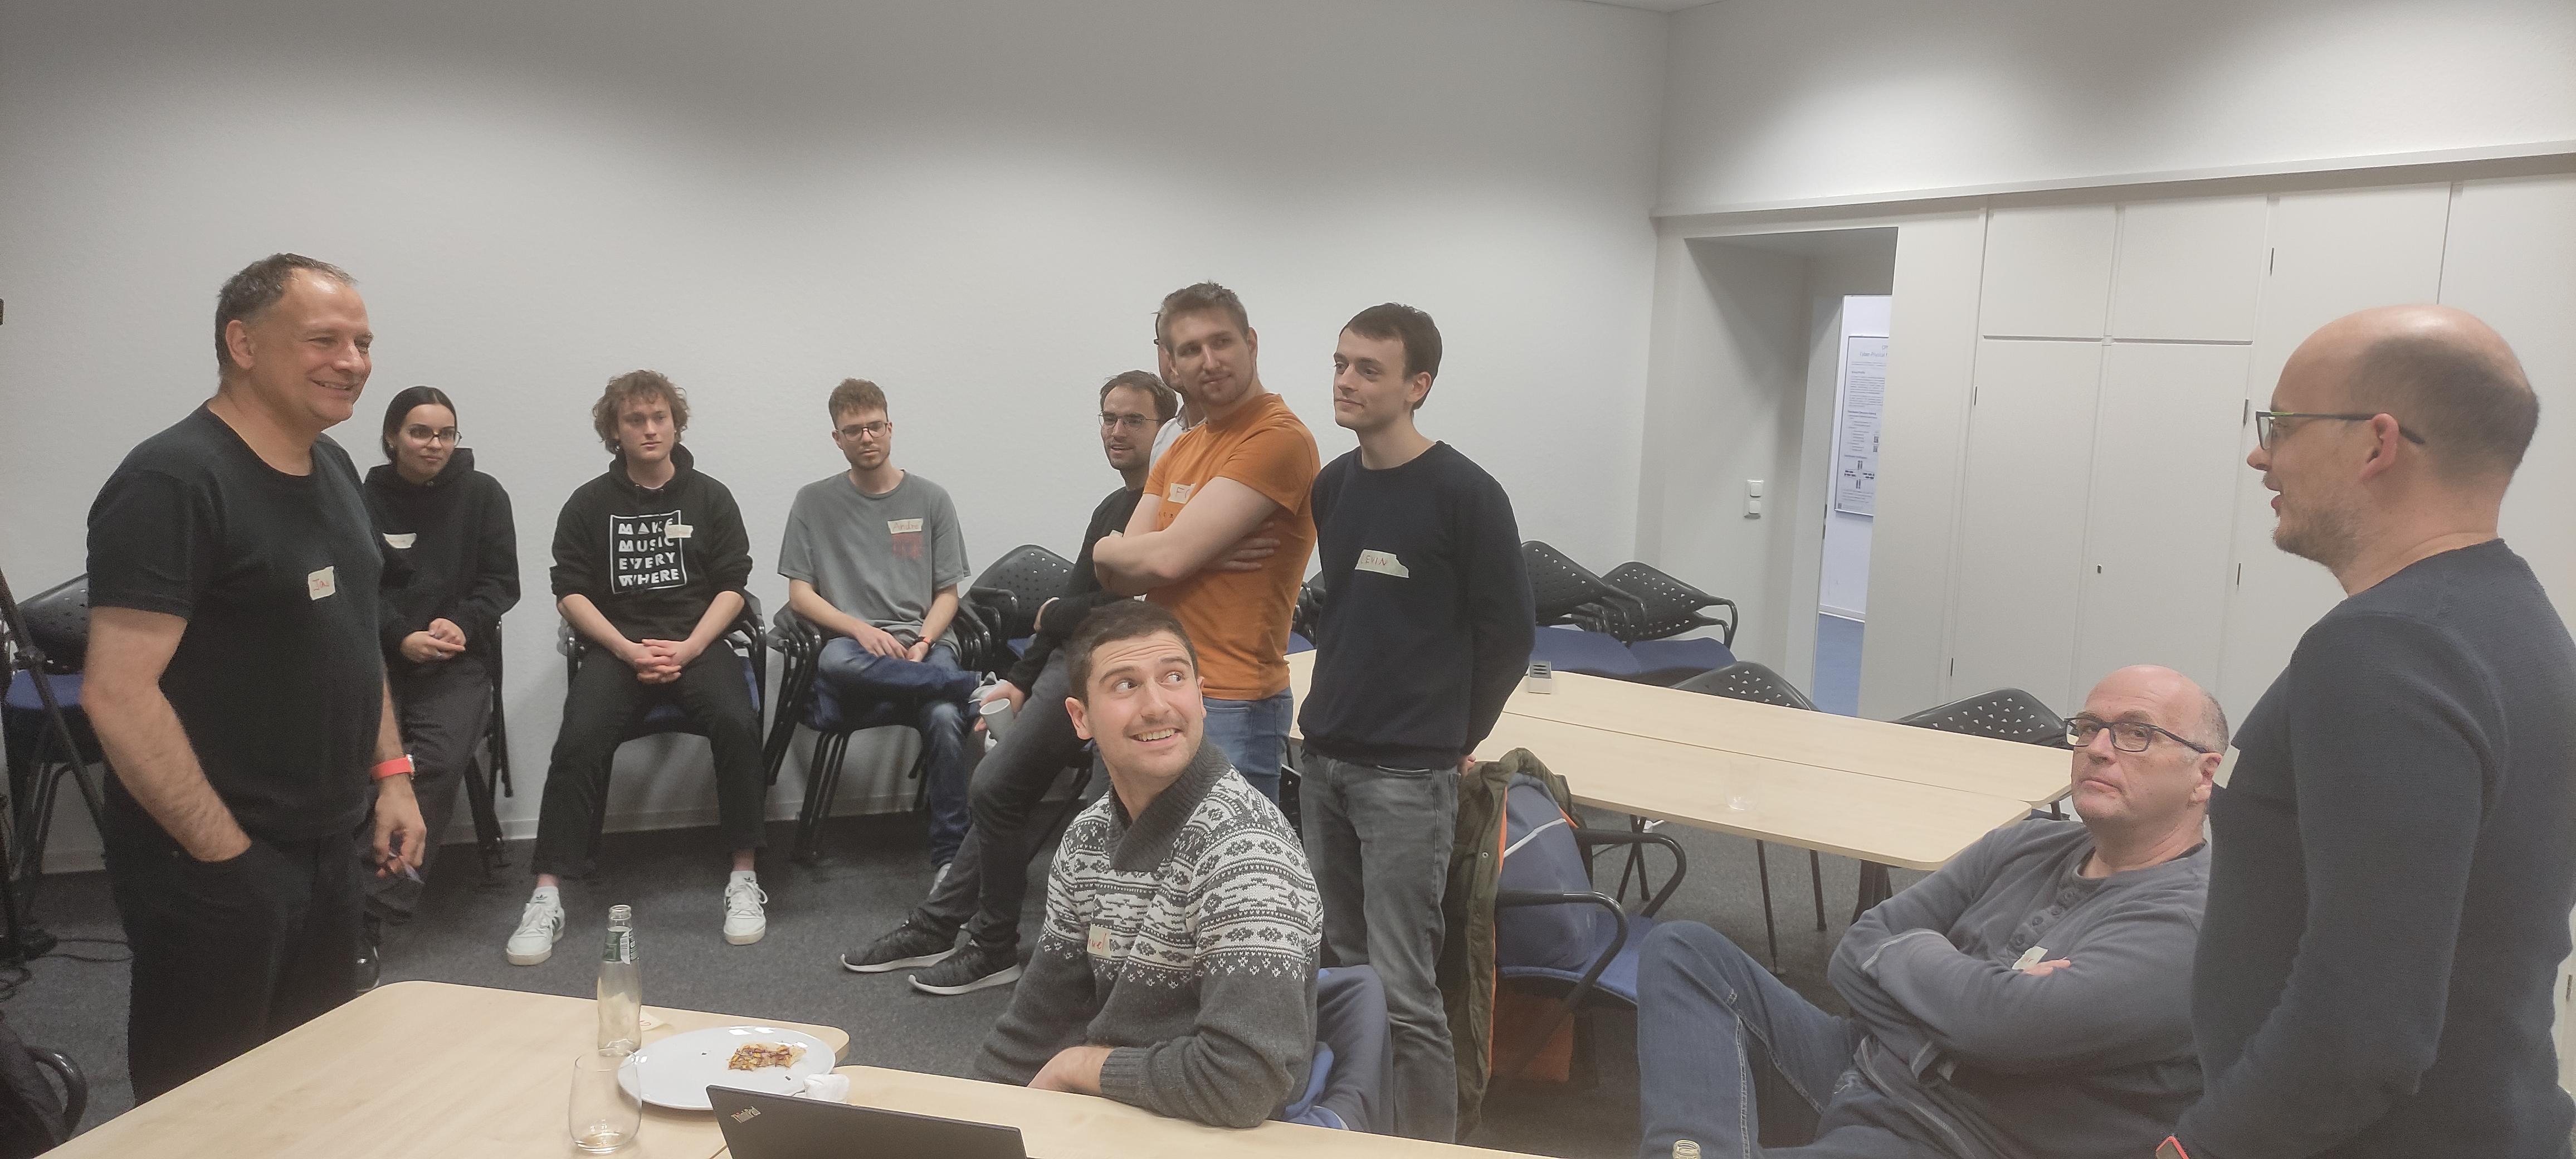
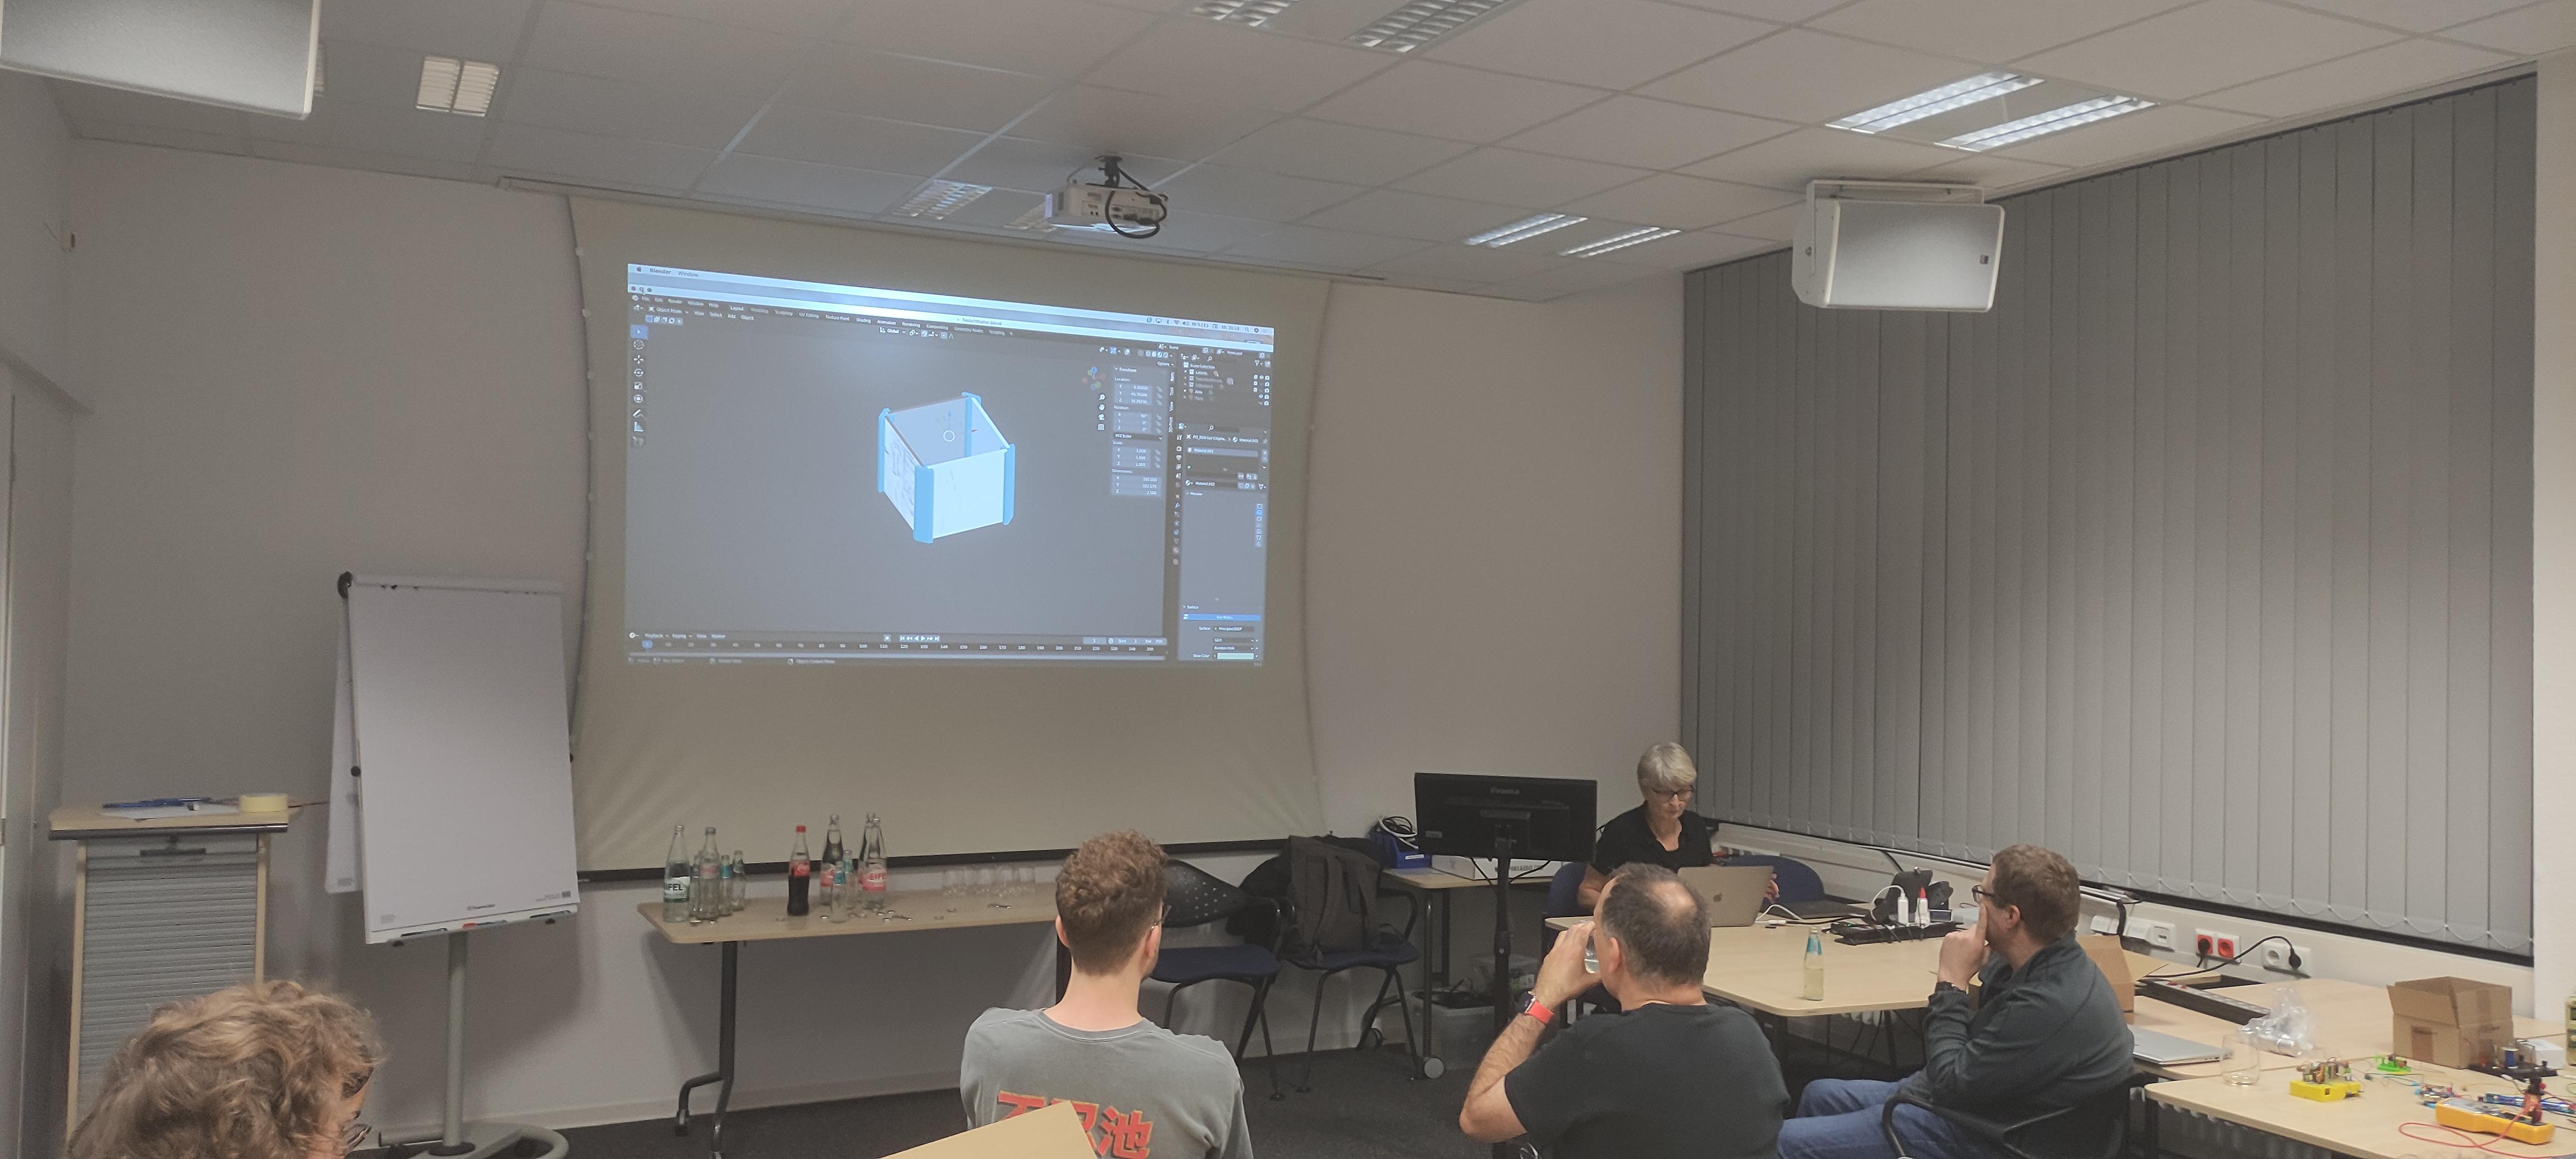
As we welcomed numerous newcomers this time, Prof. Jan Borchers took a moment to elaborate on the purpose of the Aachen Maker Meetup. The event serves as a gathering point for people who share a passion for building, tinkering and experimenting, providing a platform to present and discuss their diverse projects. The showcased projects range from various electronics endeavors to decorative pieces and other practical or unique creations. Weather it's exploring the projects of fellow attendees or learning something about interesting manufacturing methods, the meetup always offers something interesting to see. During this gathering a fascinating method for crafting lithophanes from pictures with the help of 3D-printers was presented, alongside several other interesting projects.
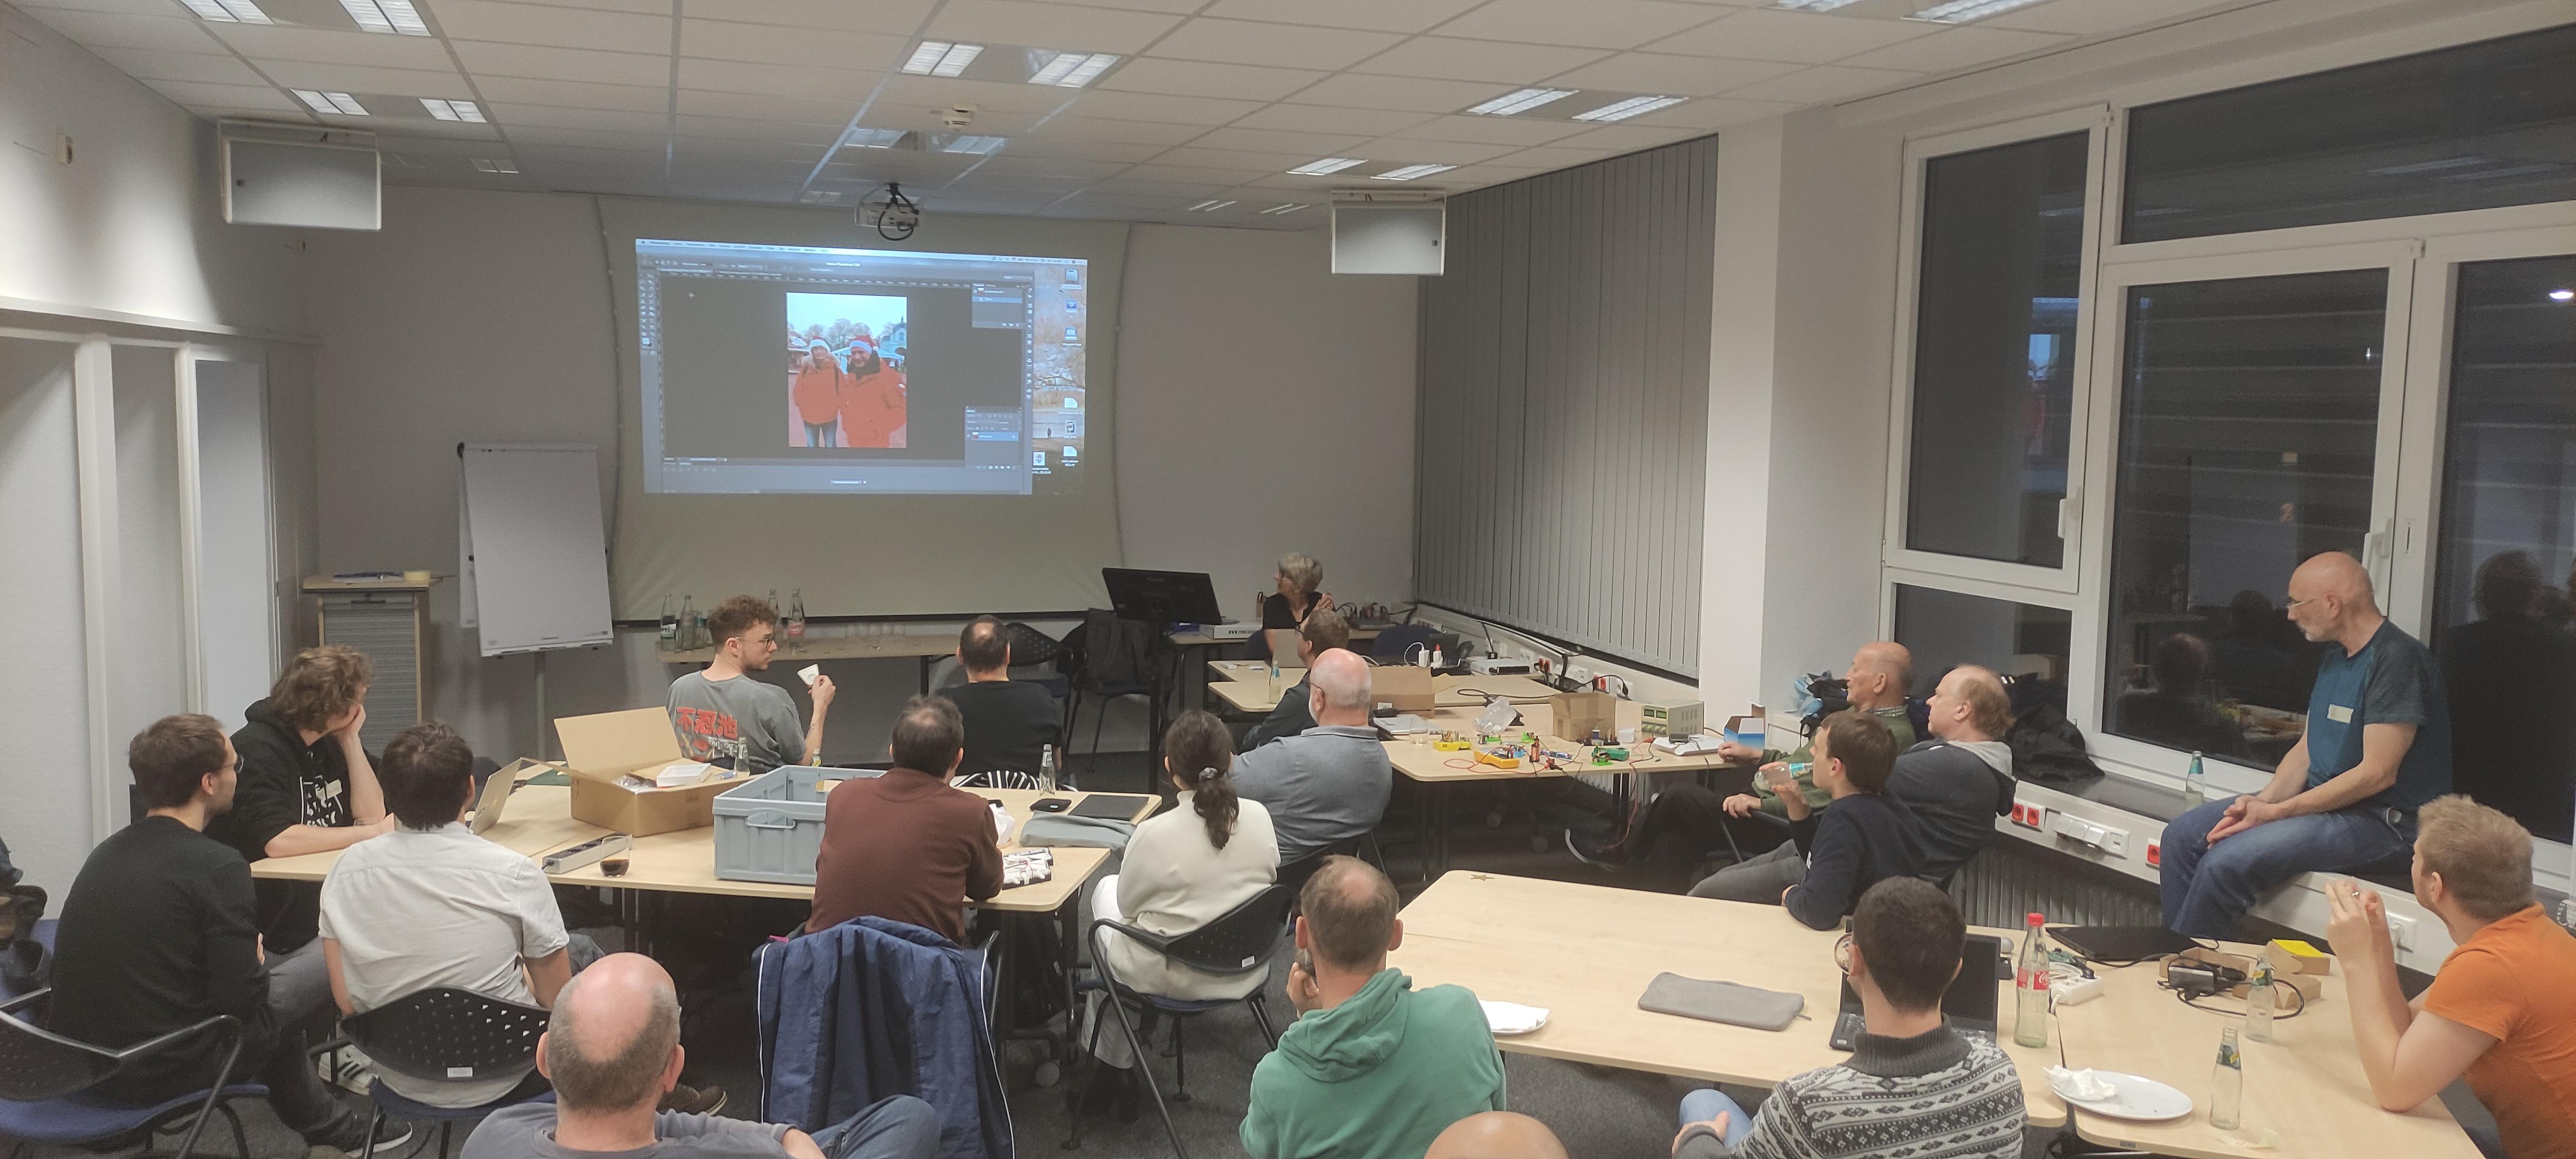
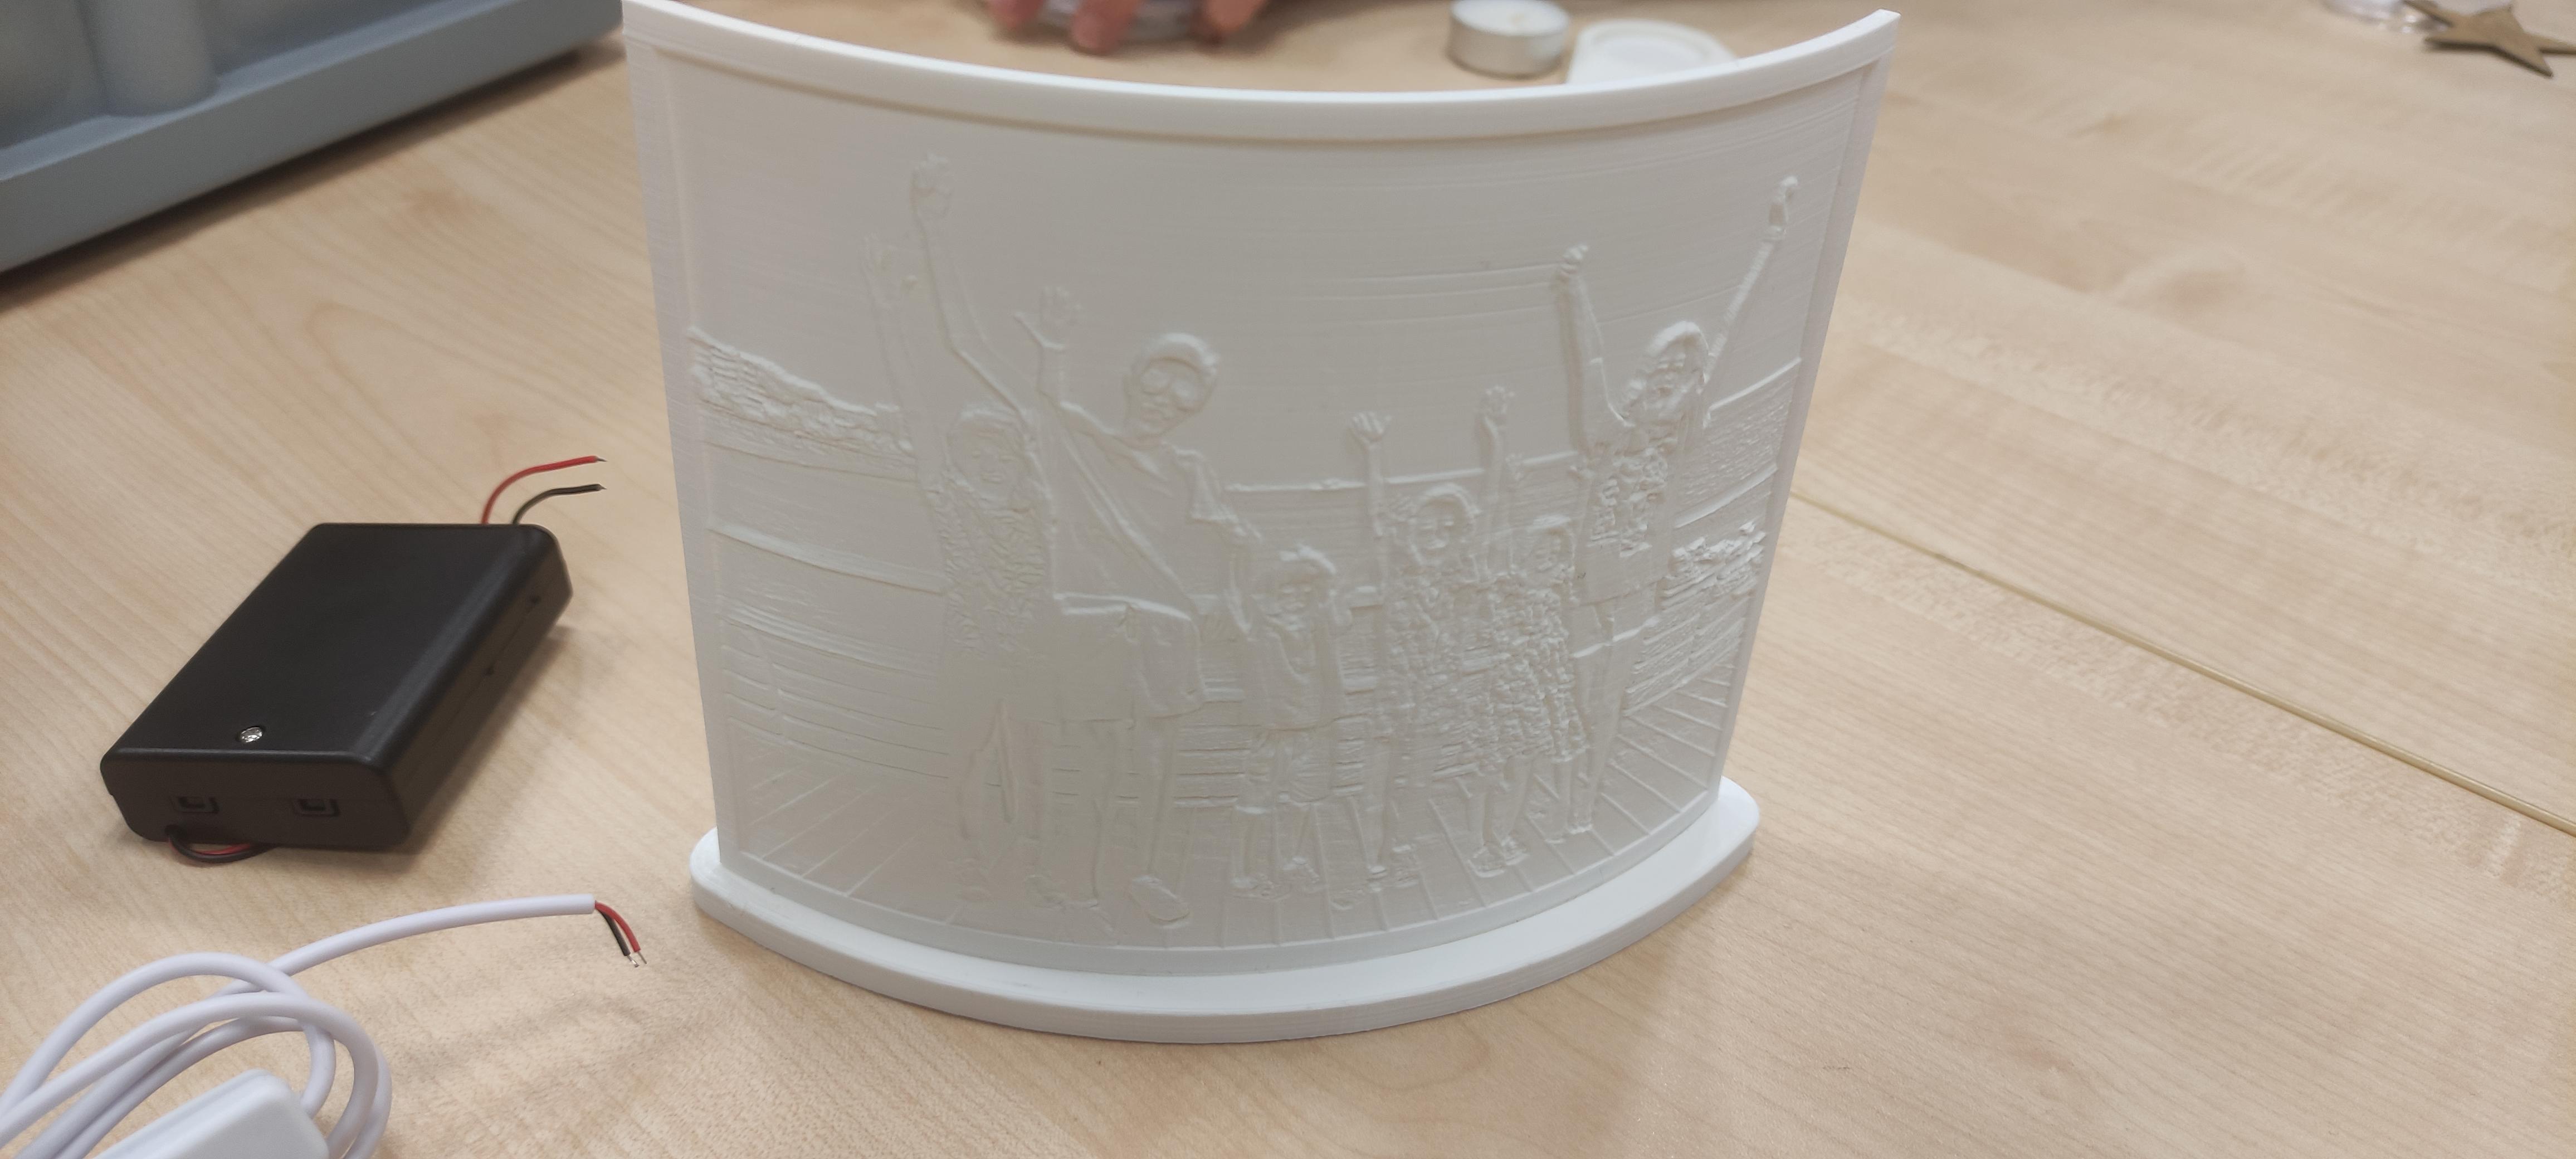
In a well-prepared presentation, Birgit Stolte explained the process of fabricating lithophanes from images. Starting with an ordinary picture, she went through each step and explained how to end with a 3D-printable file. She also presented a 3D-printed lithophane showcasing the end result of the picture she converted in her presentation.
 |
 |
 |
 |
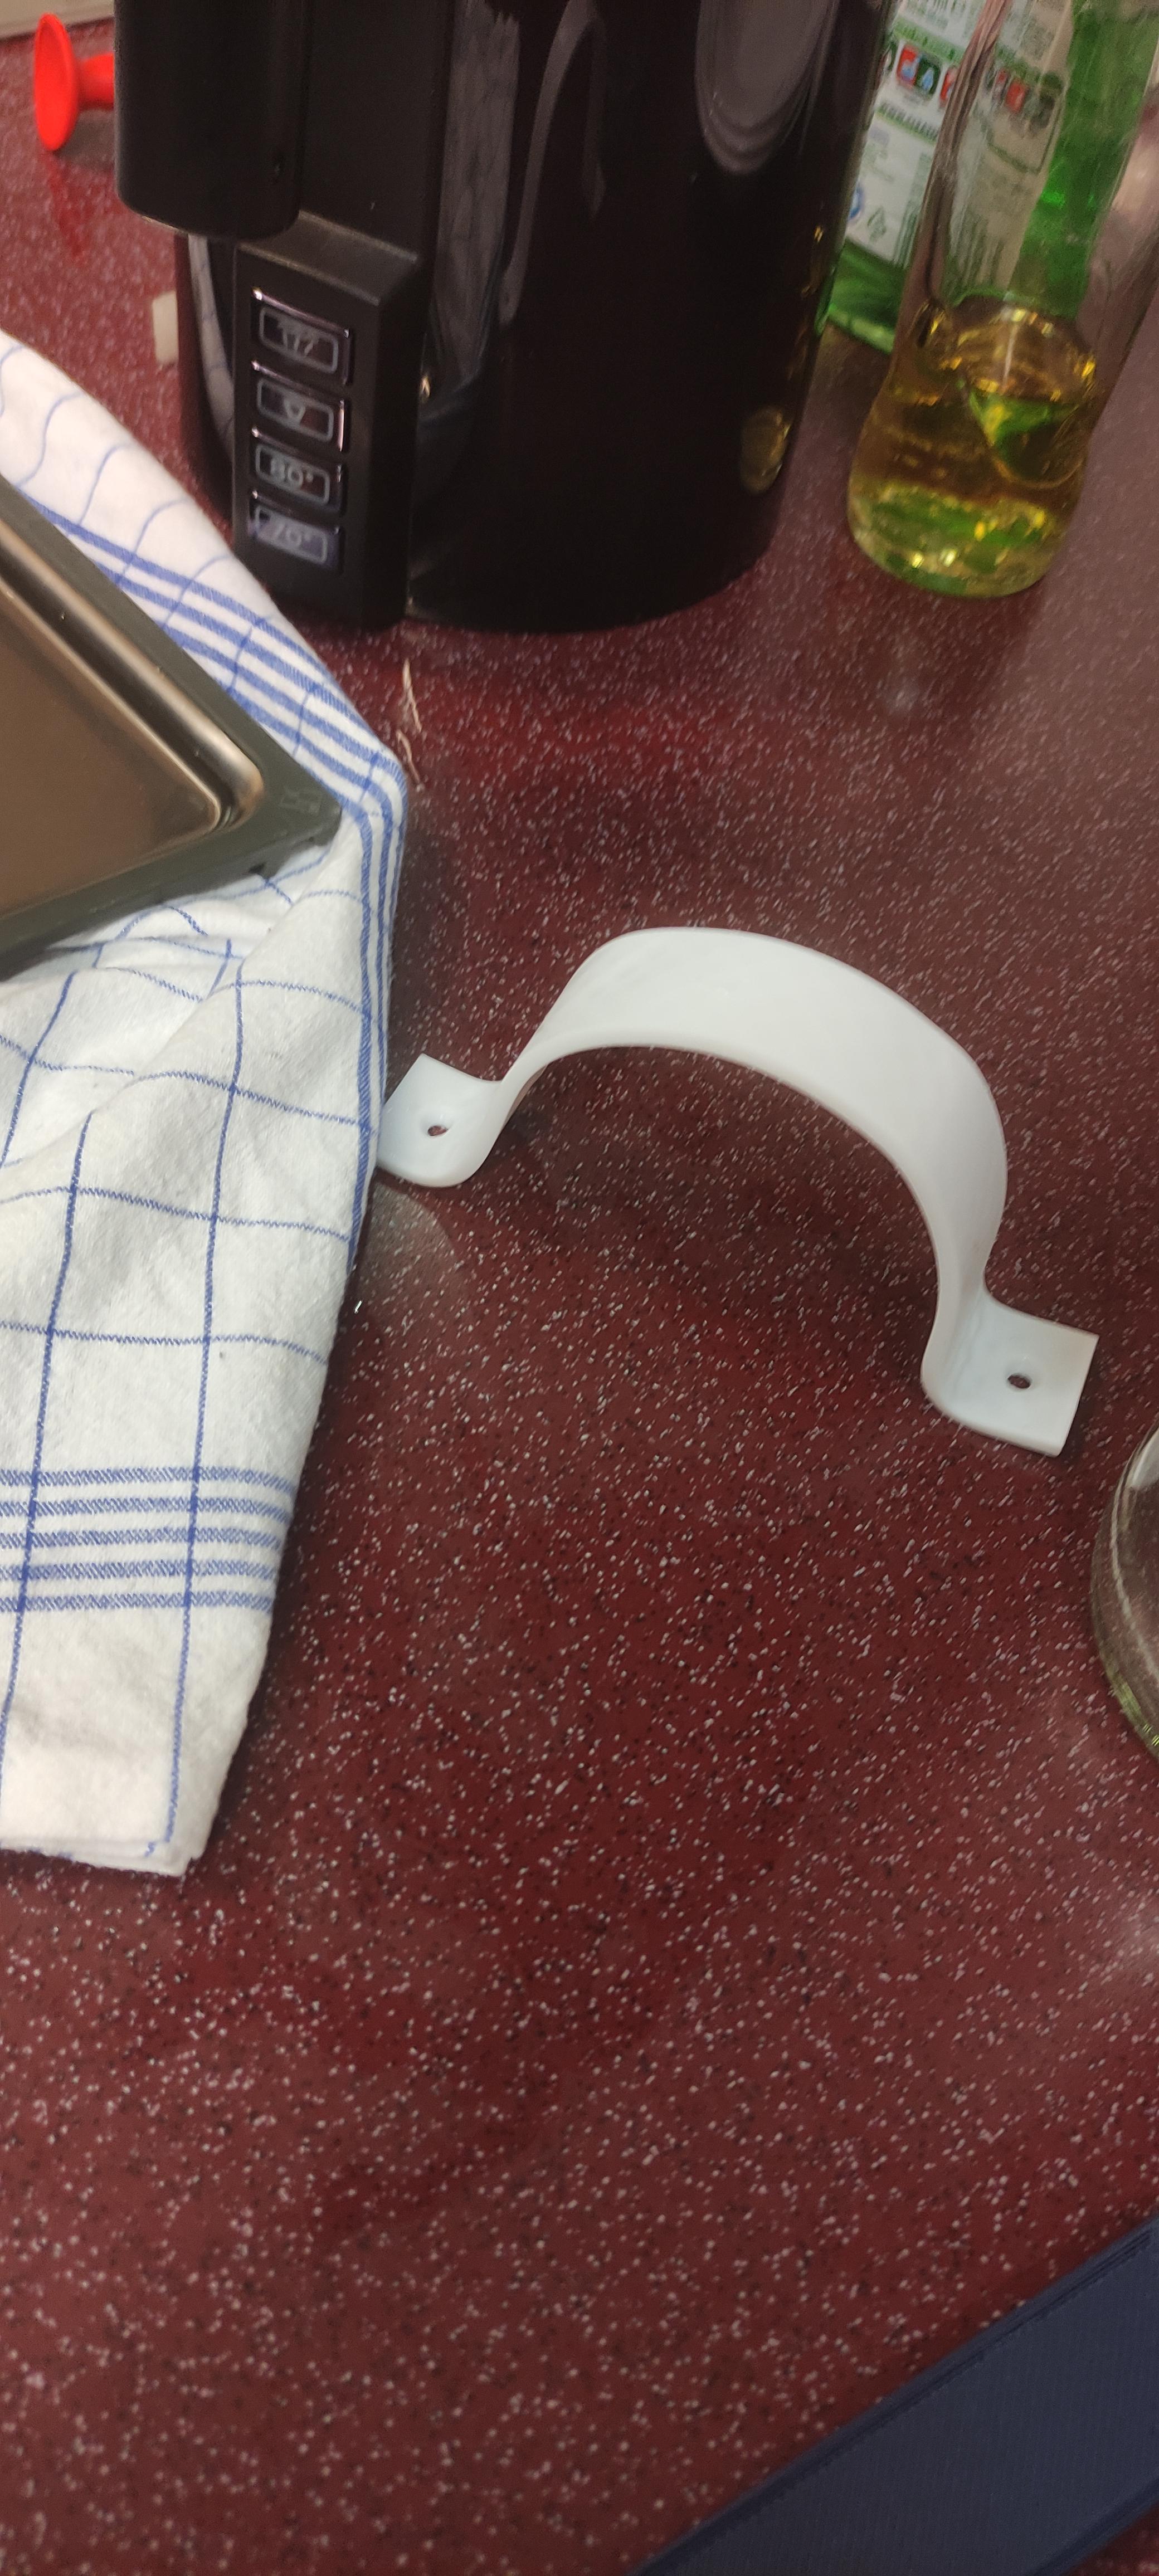 |
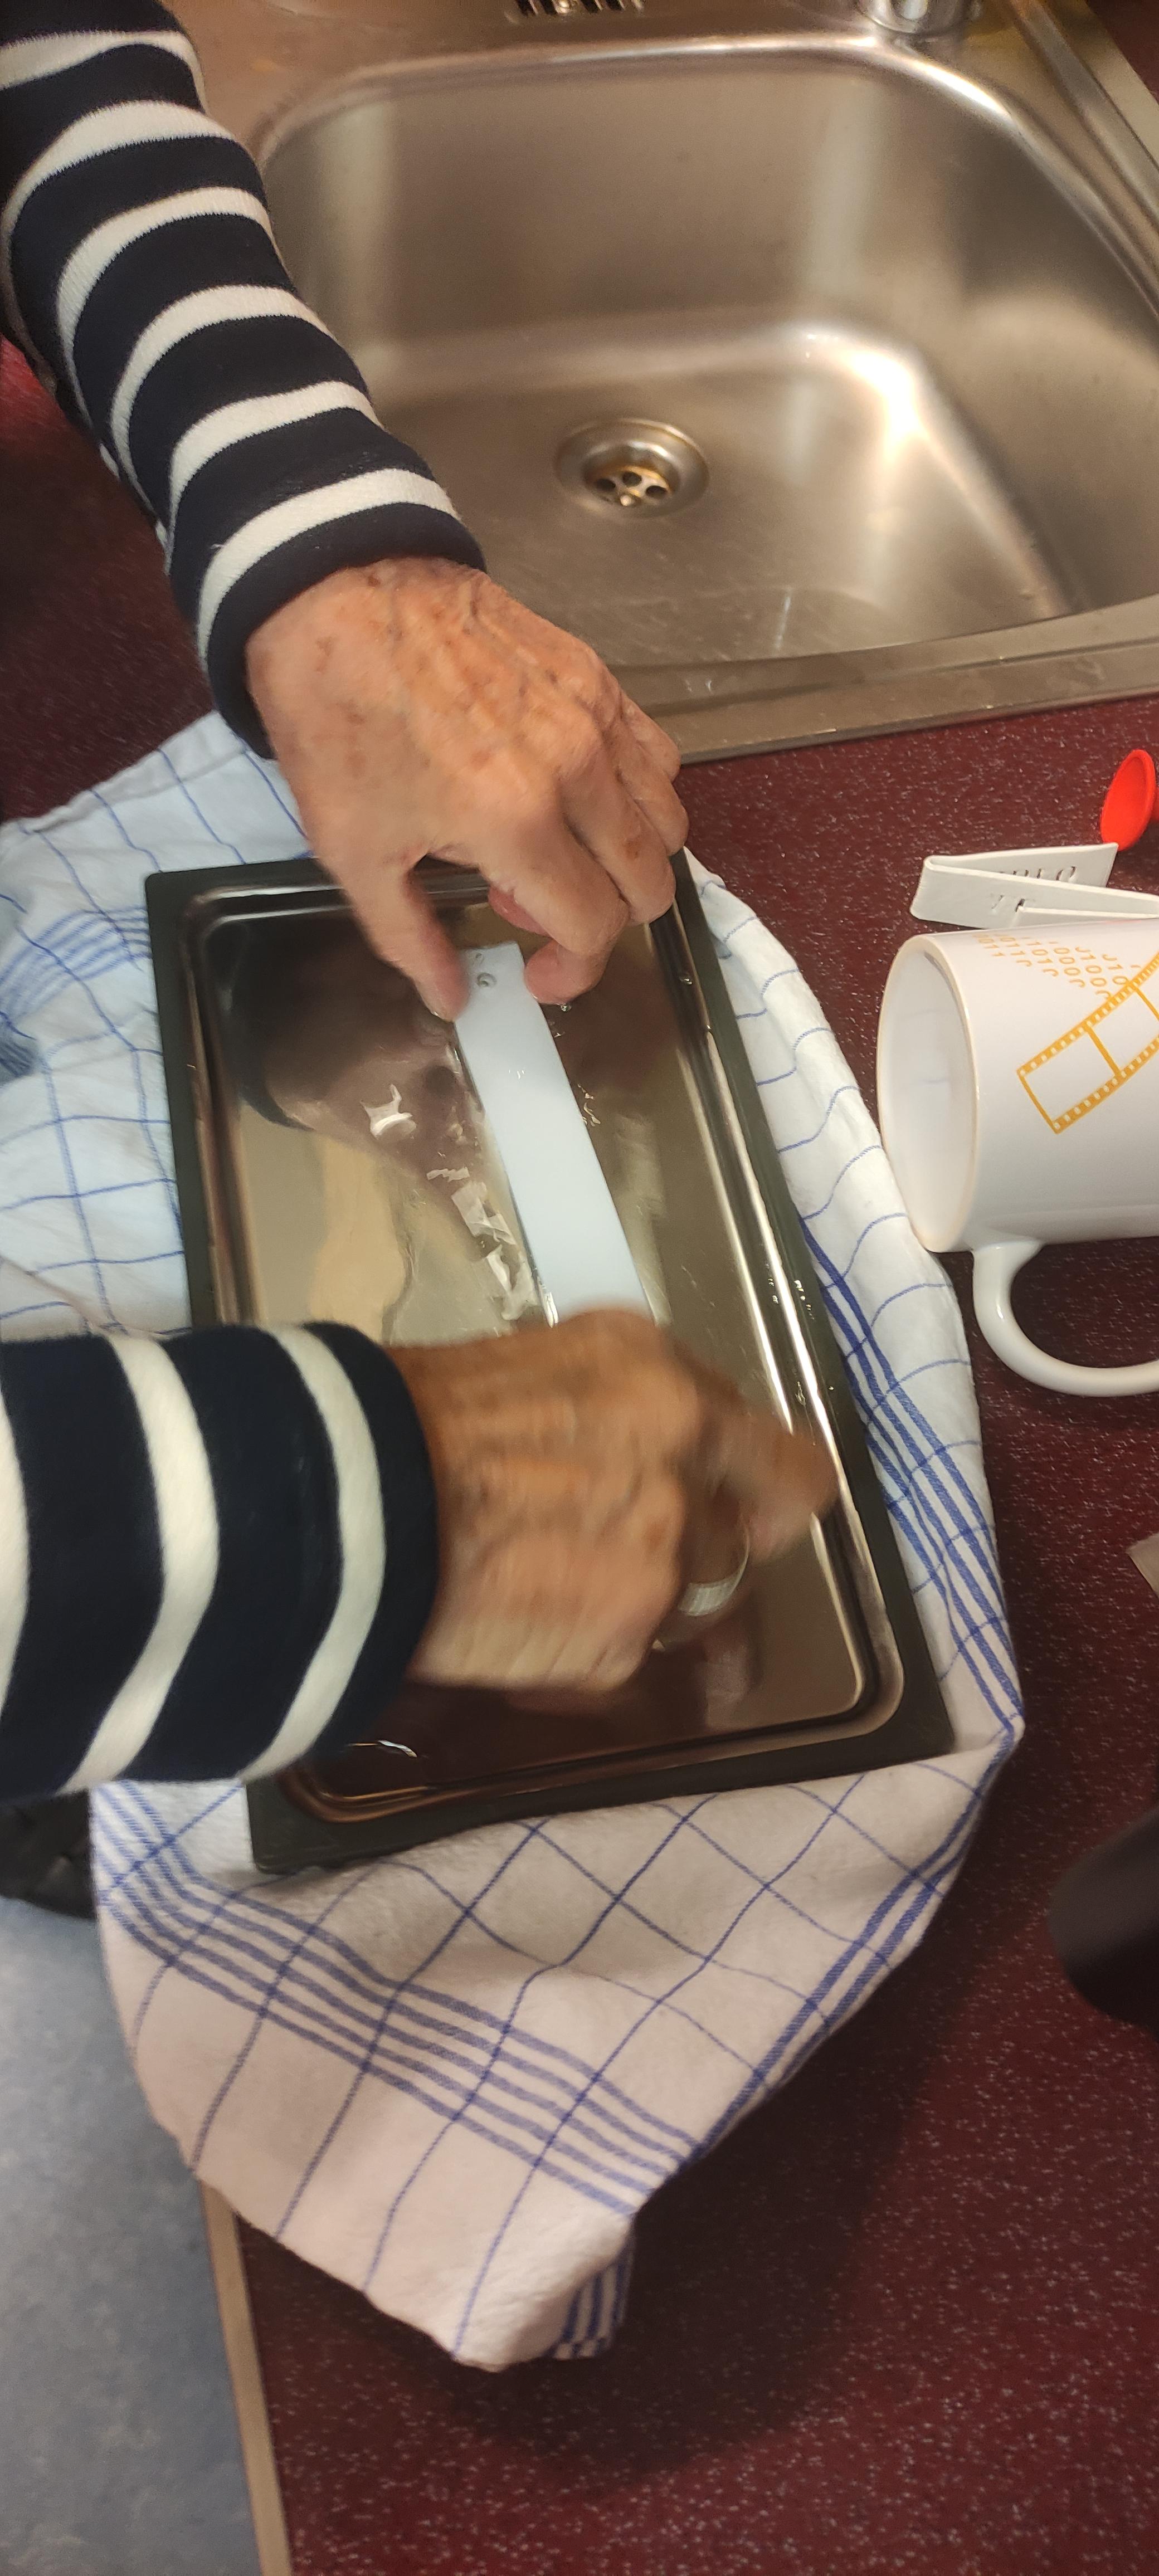
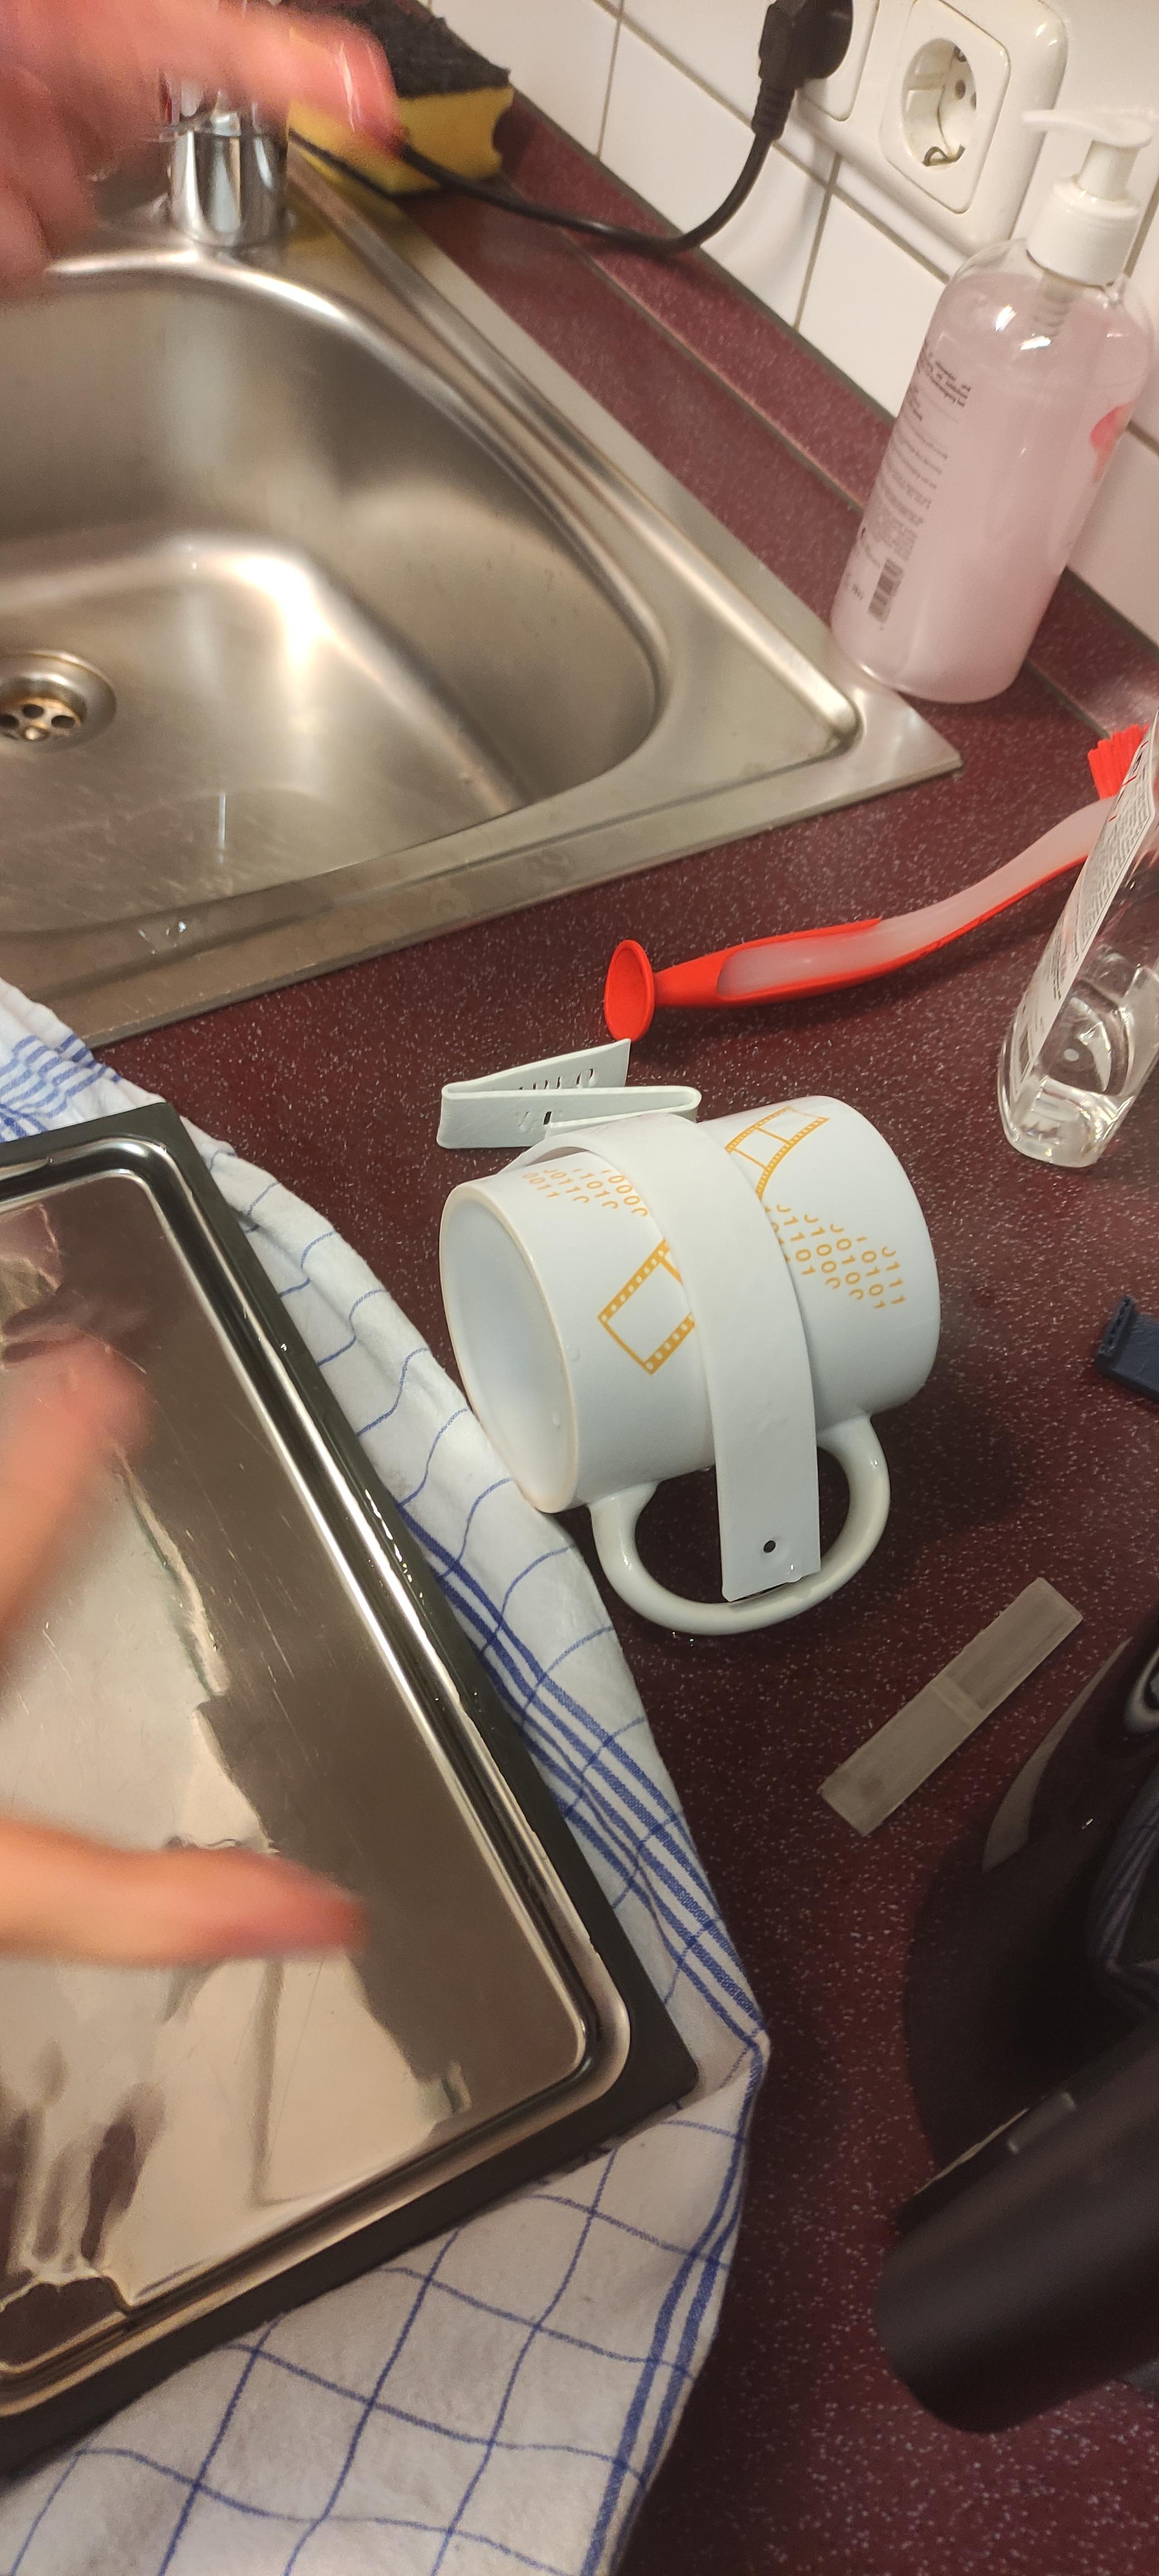
After the lithophane presentation, Birgit also shared a method for bending 3D-printed objects using hot water. Just pour hot water into a flat container, immerse the 3D-printed part until it becomes pliable, then reshape it by hand or with a guiding tool. Once it cools down, the part will harden in its new form.

The process also worked really well on rather thick 3D-printed parts.
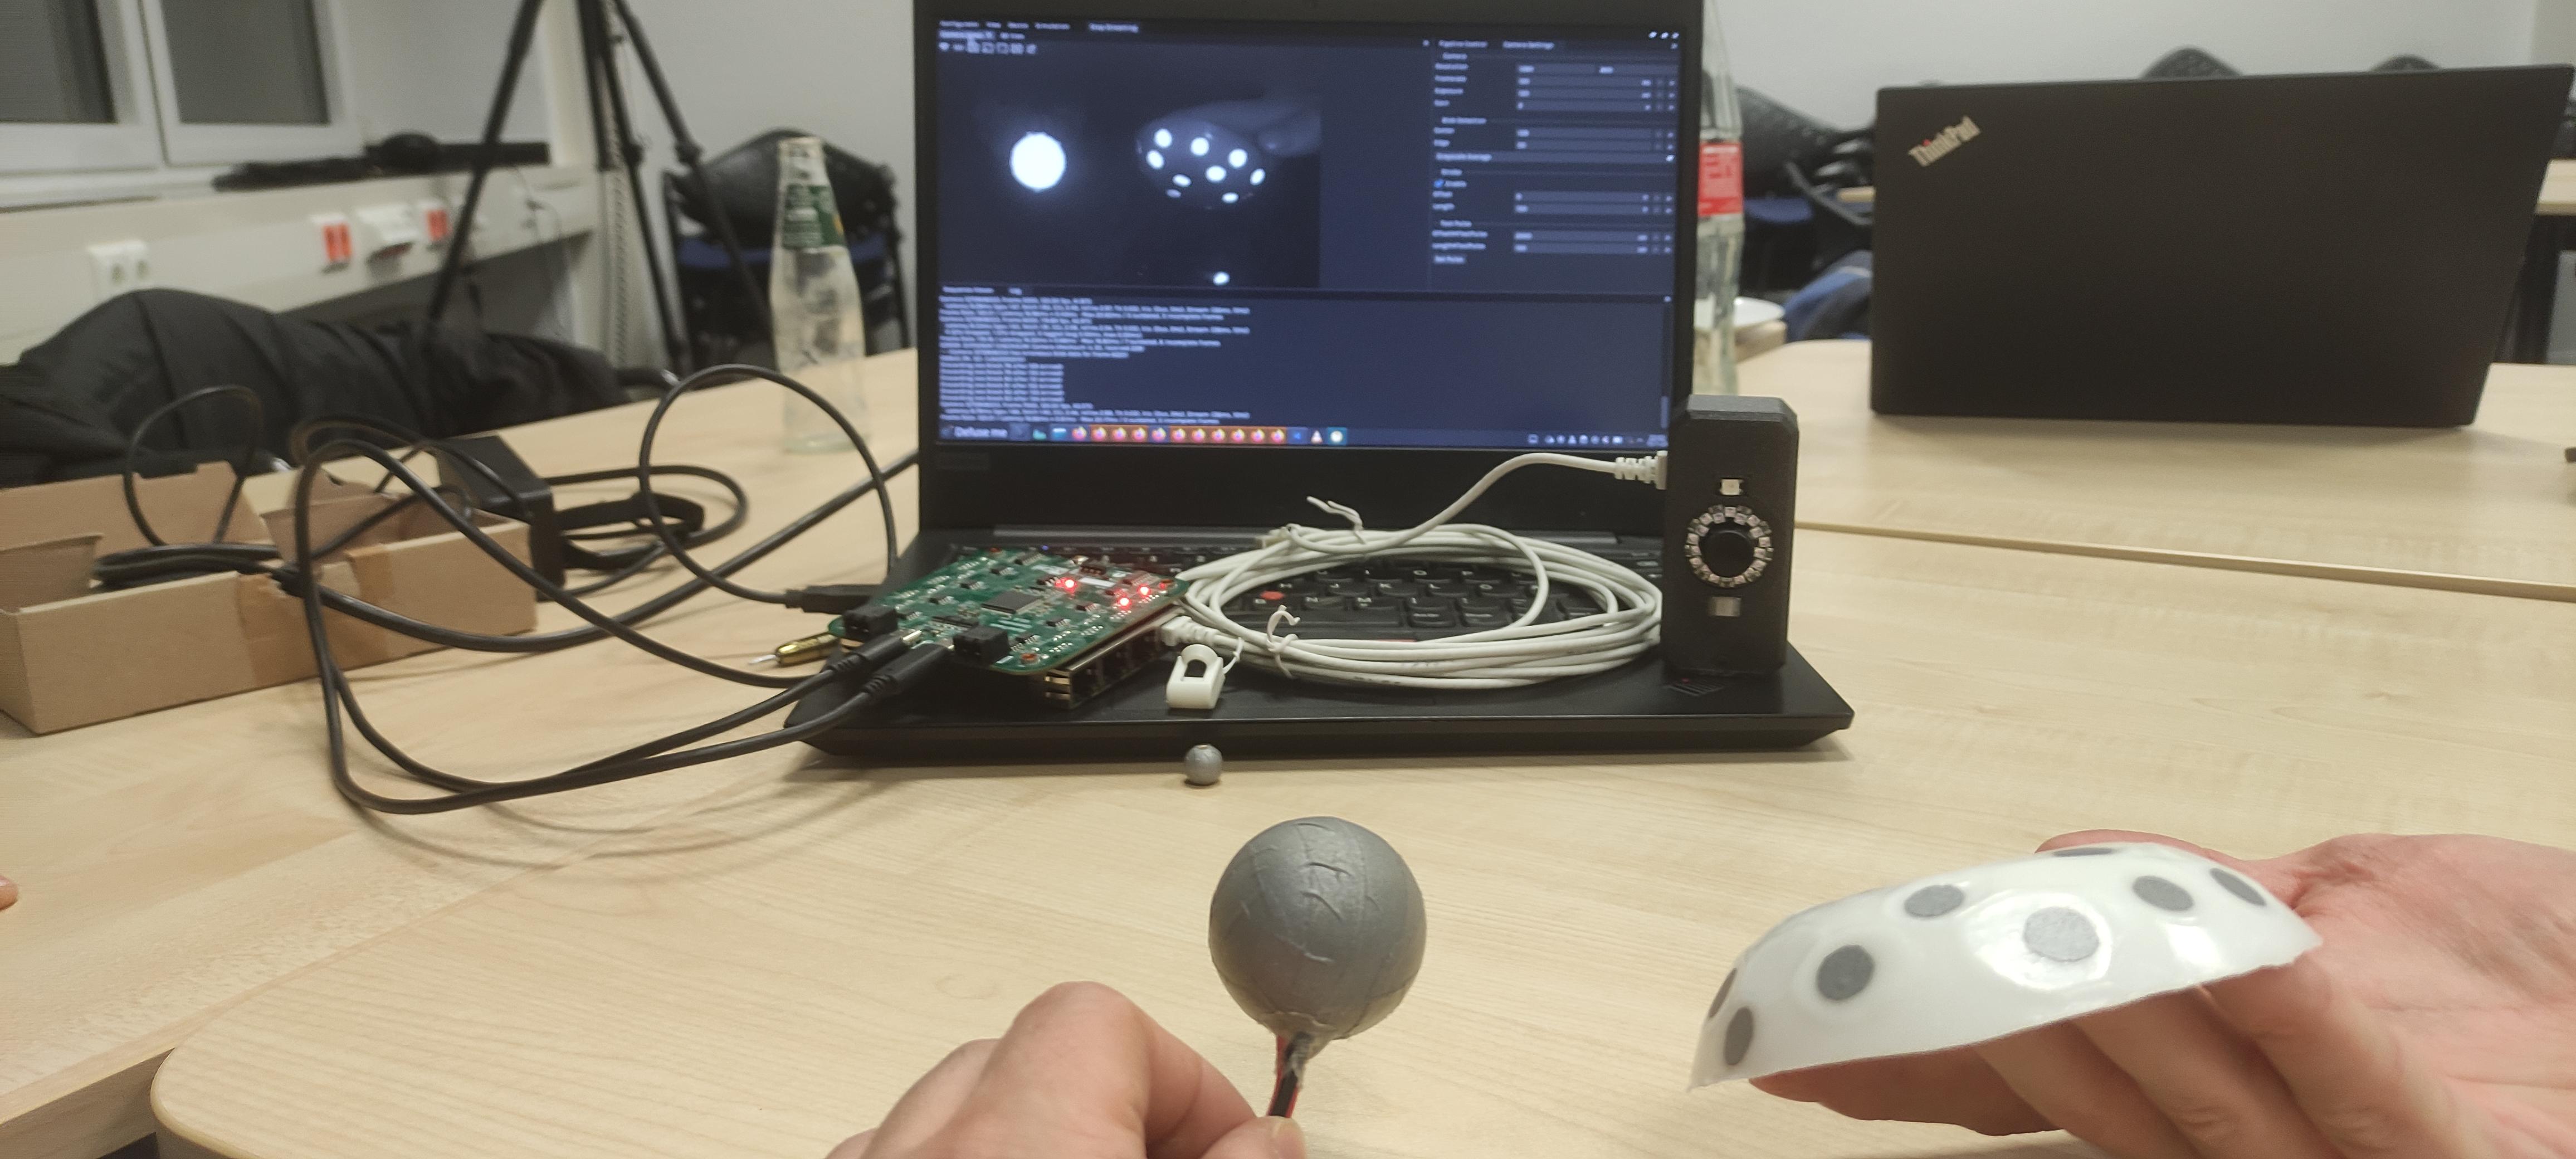
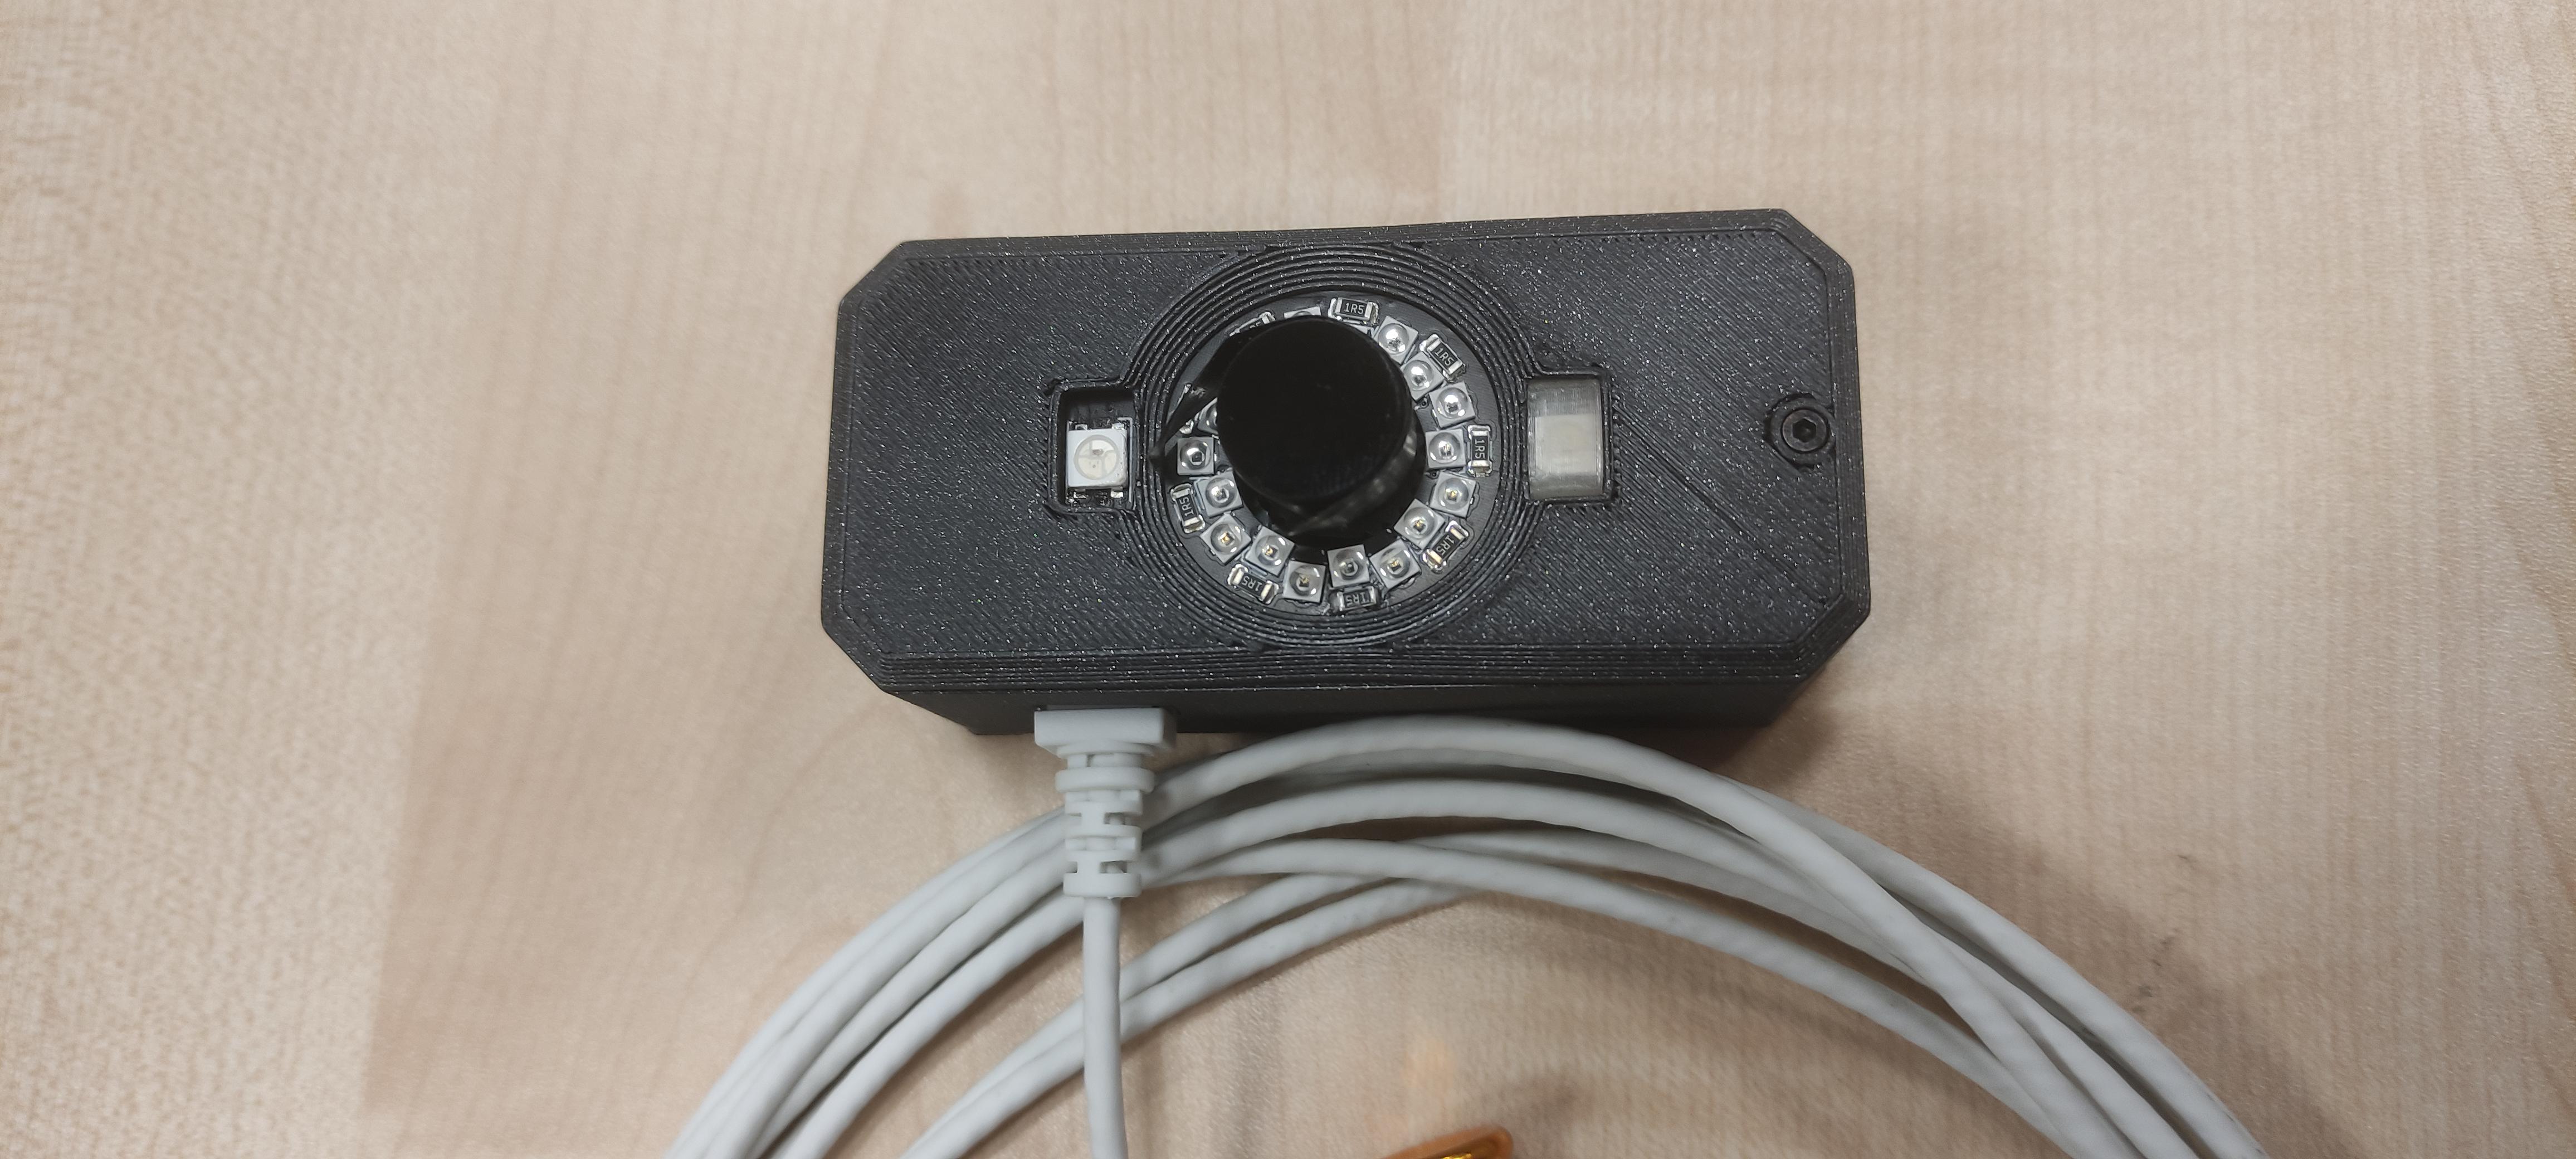
A new attendee presented an interesting project he had been working on. He utilized an infrared camera to track the movement of specially marked objects, with the goal of creating his own tools for motion tracking, intending to apply them in virtual reality scenarios.
 |
 |
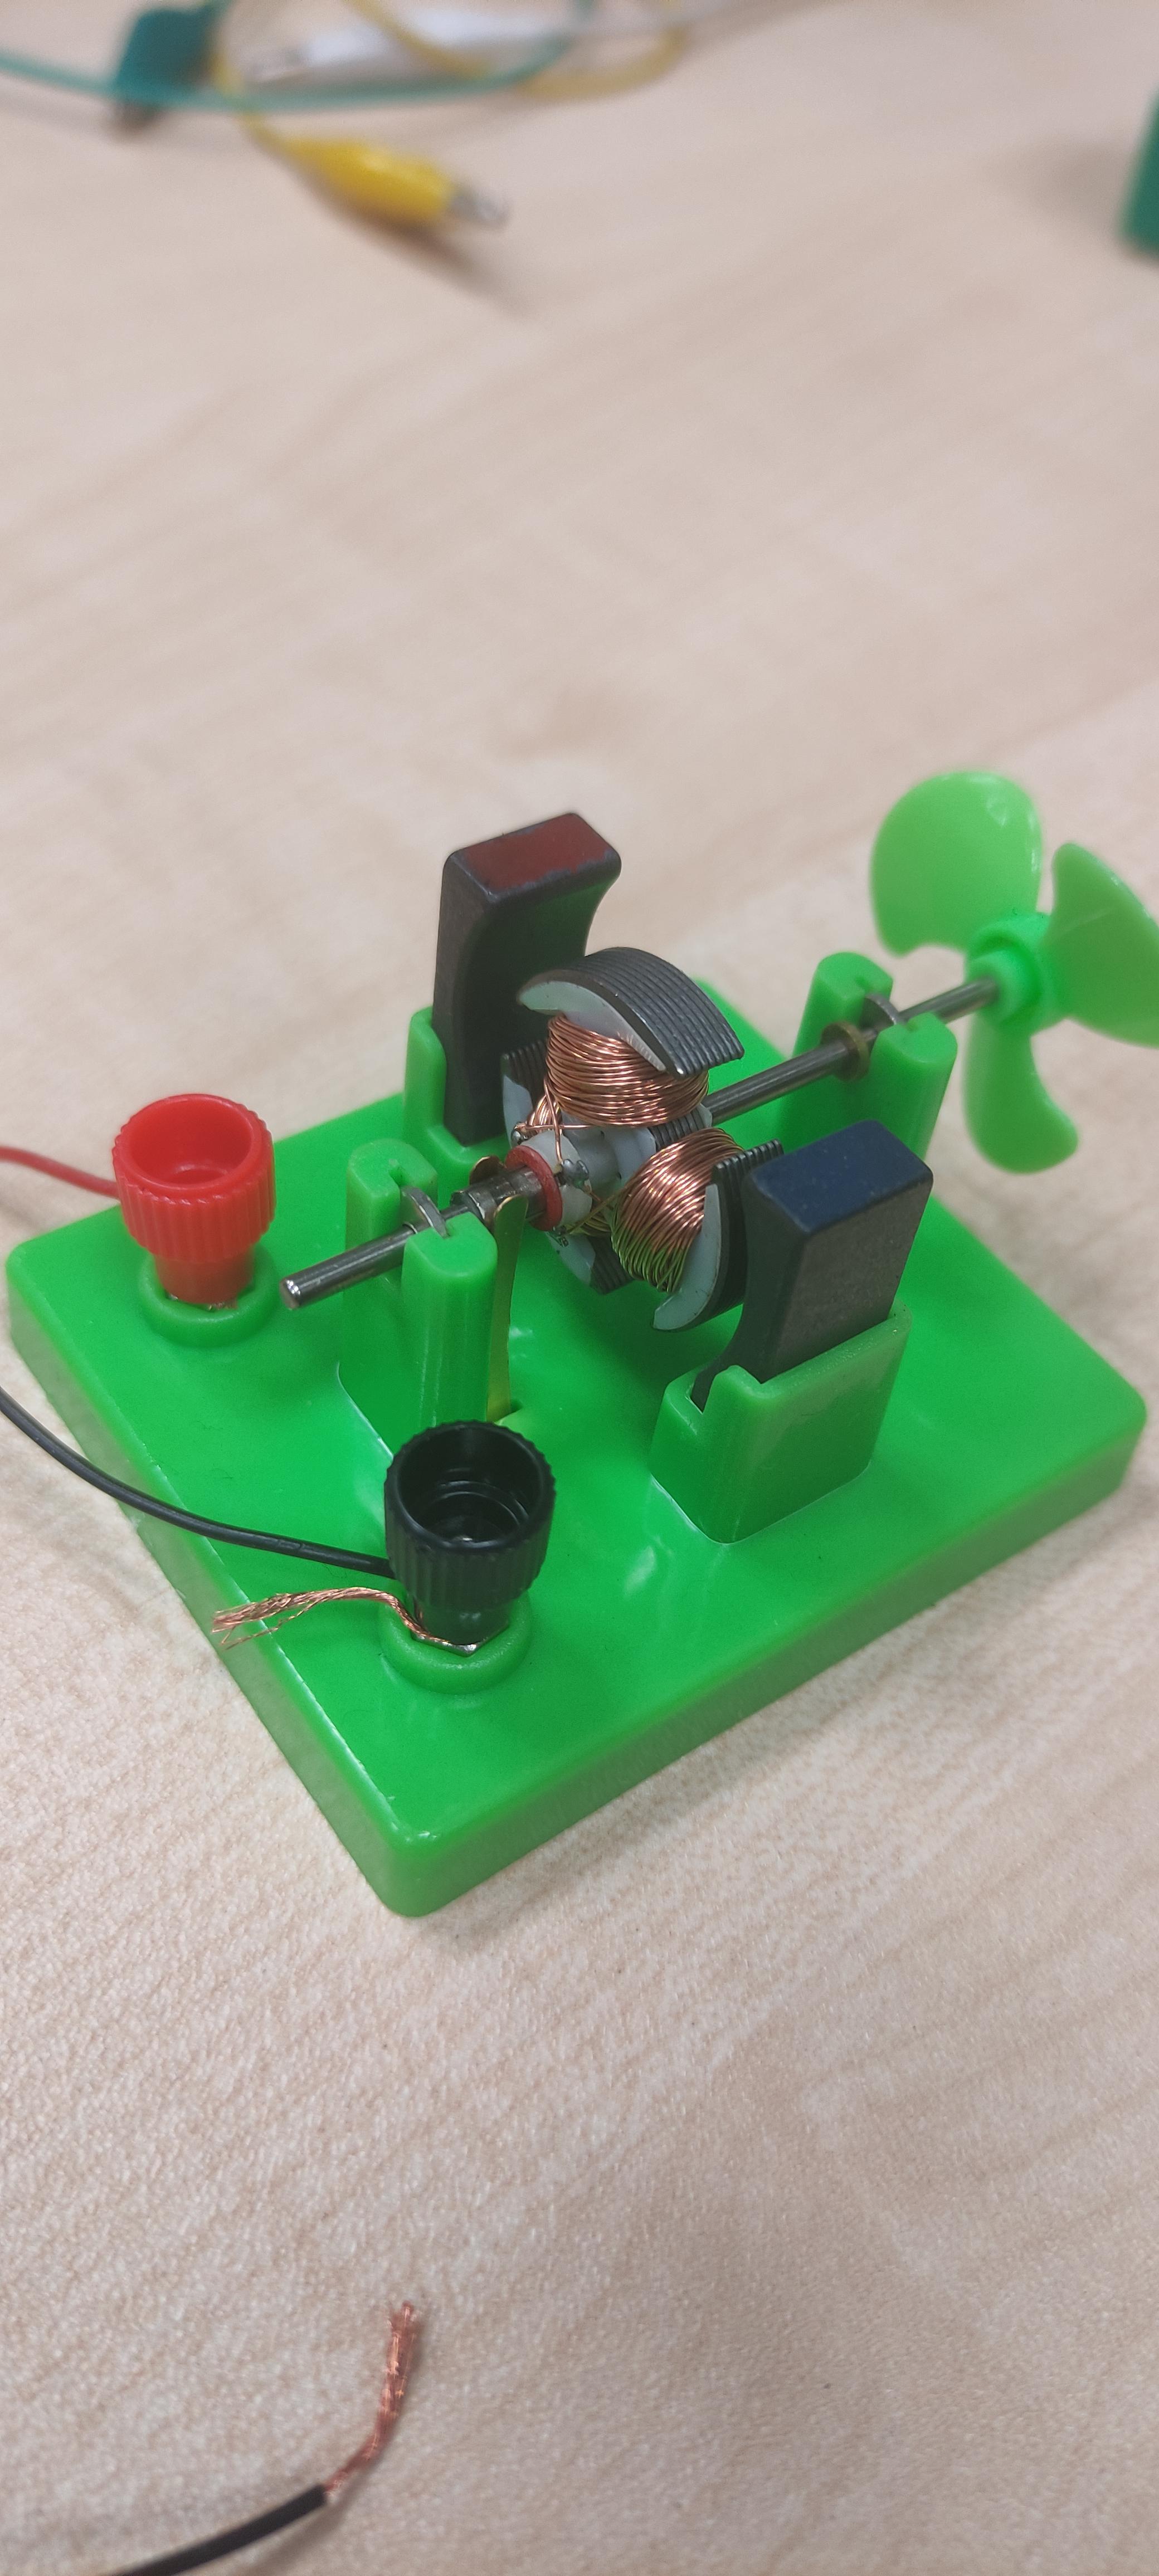 |
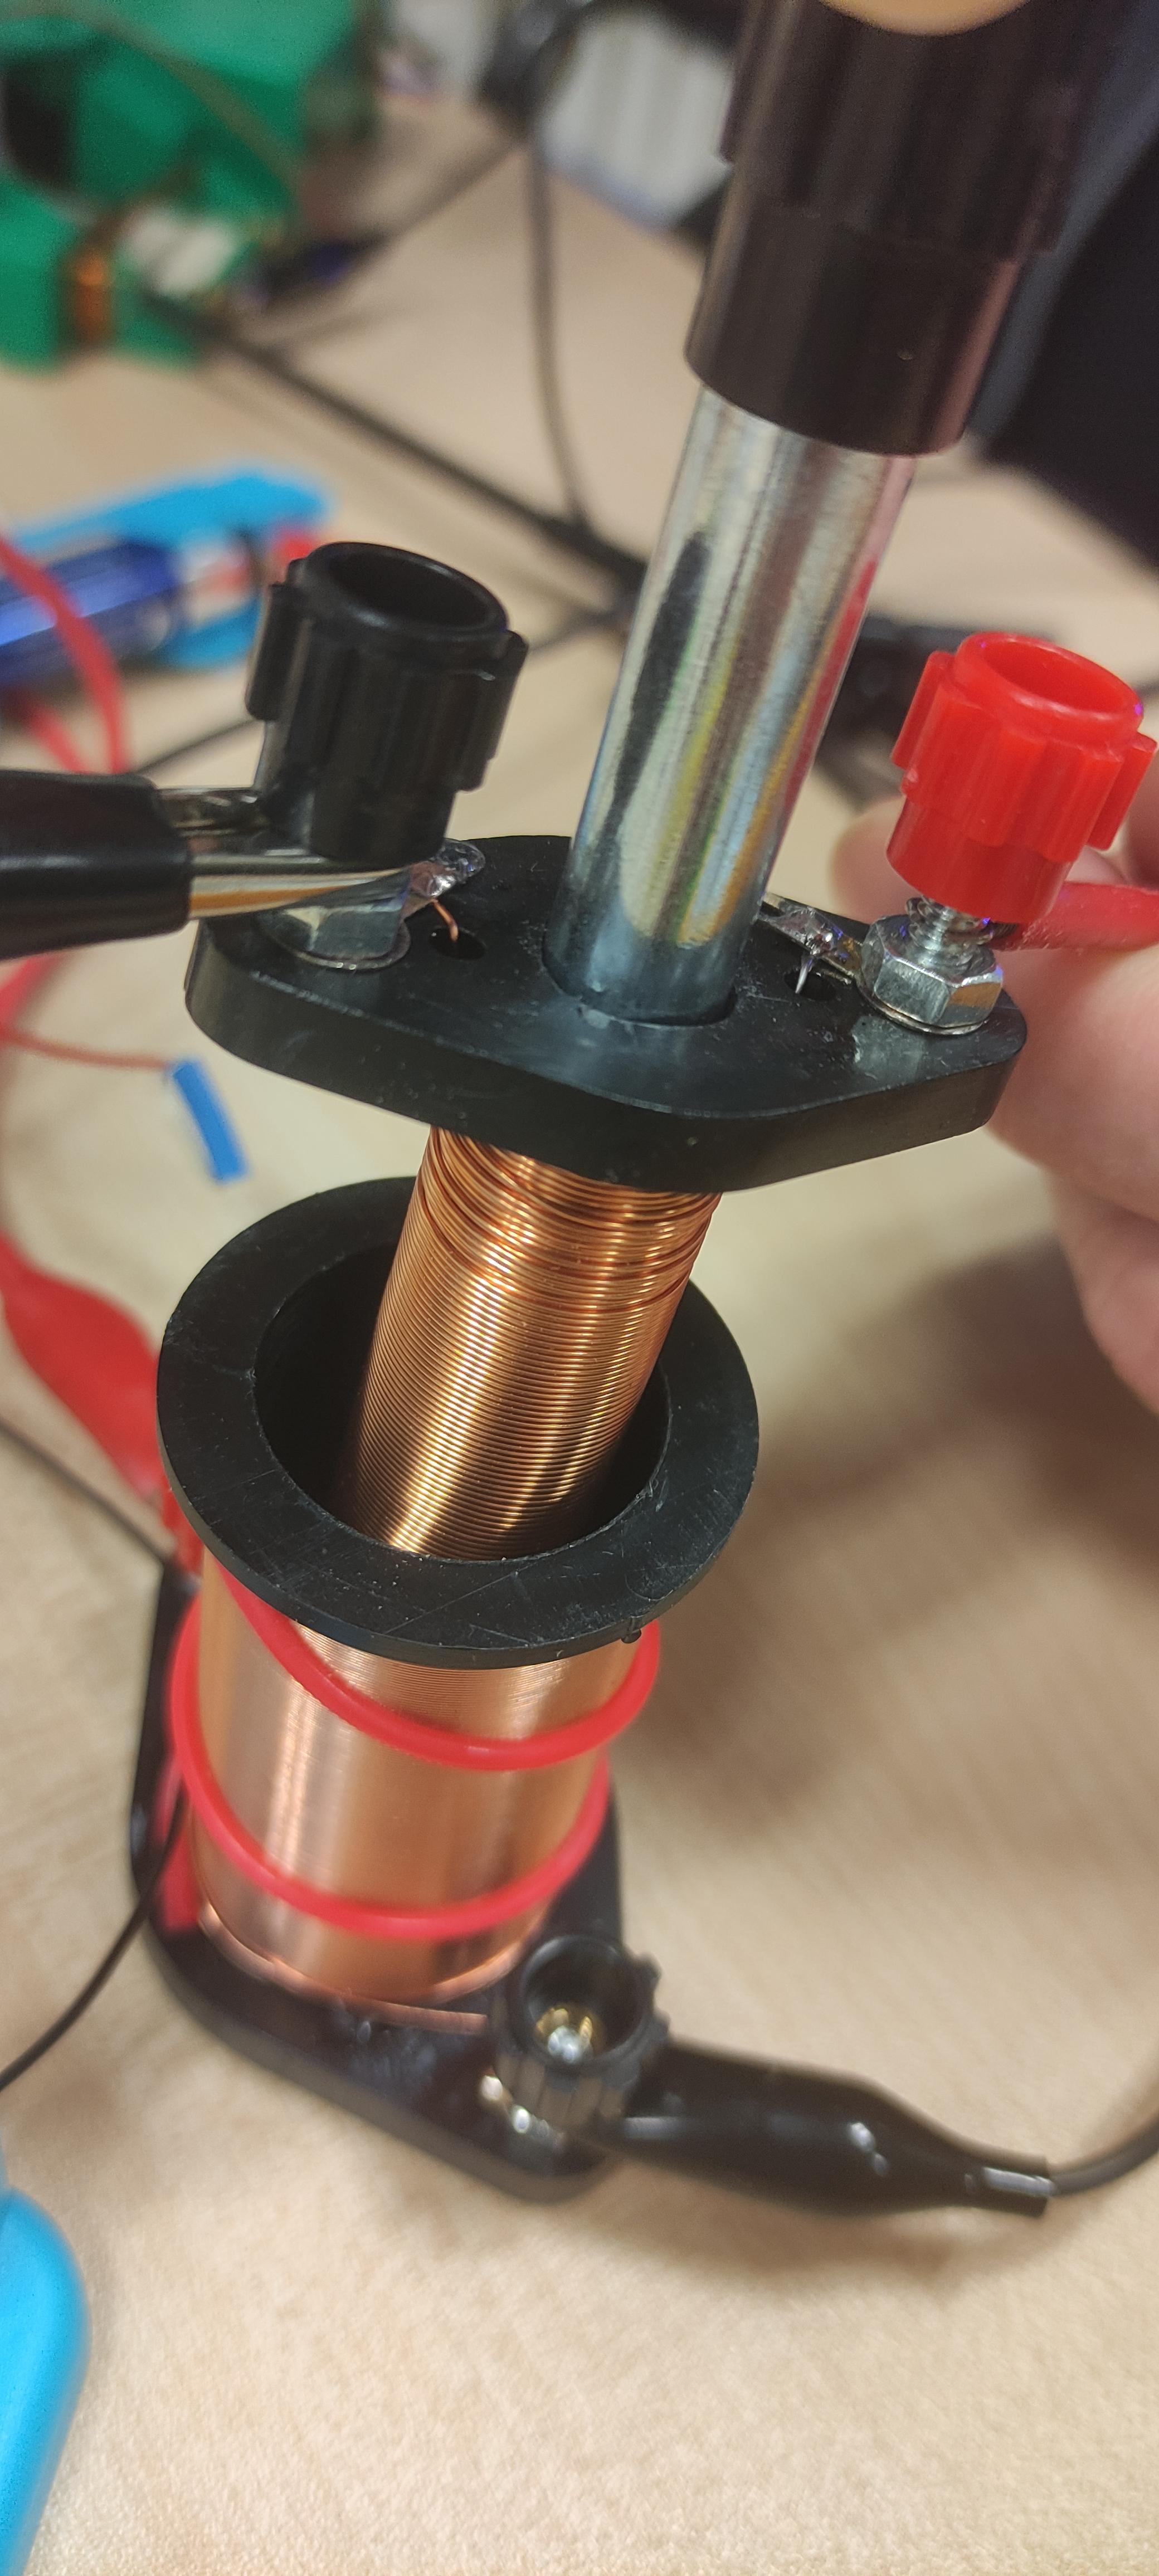
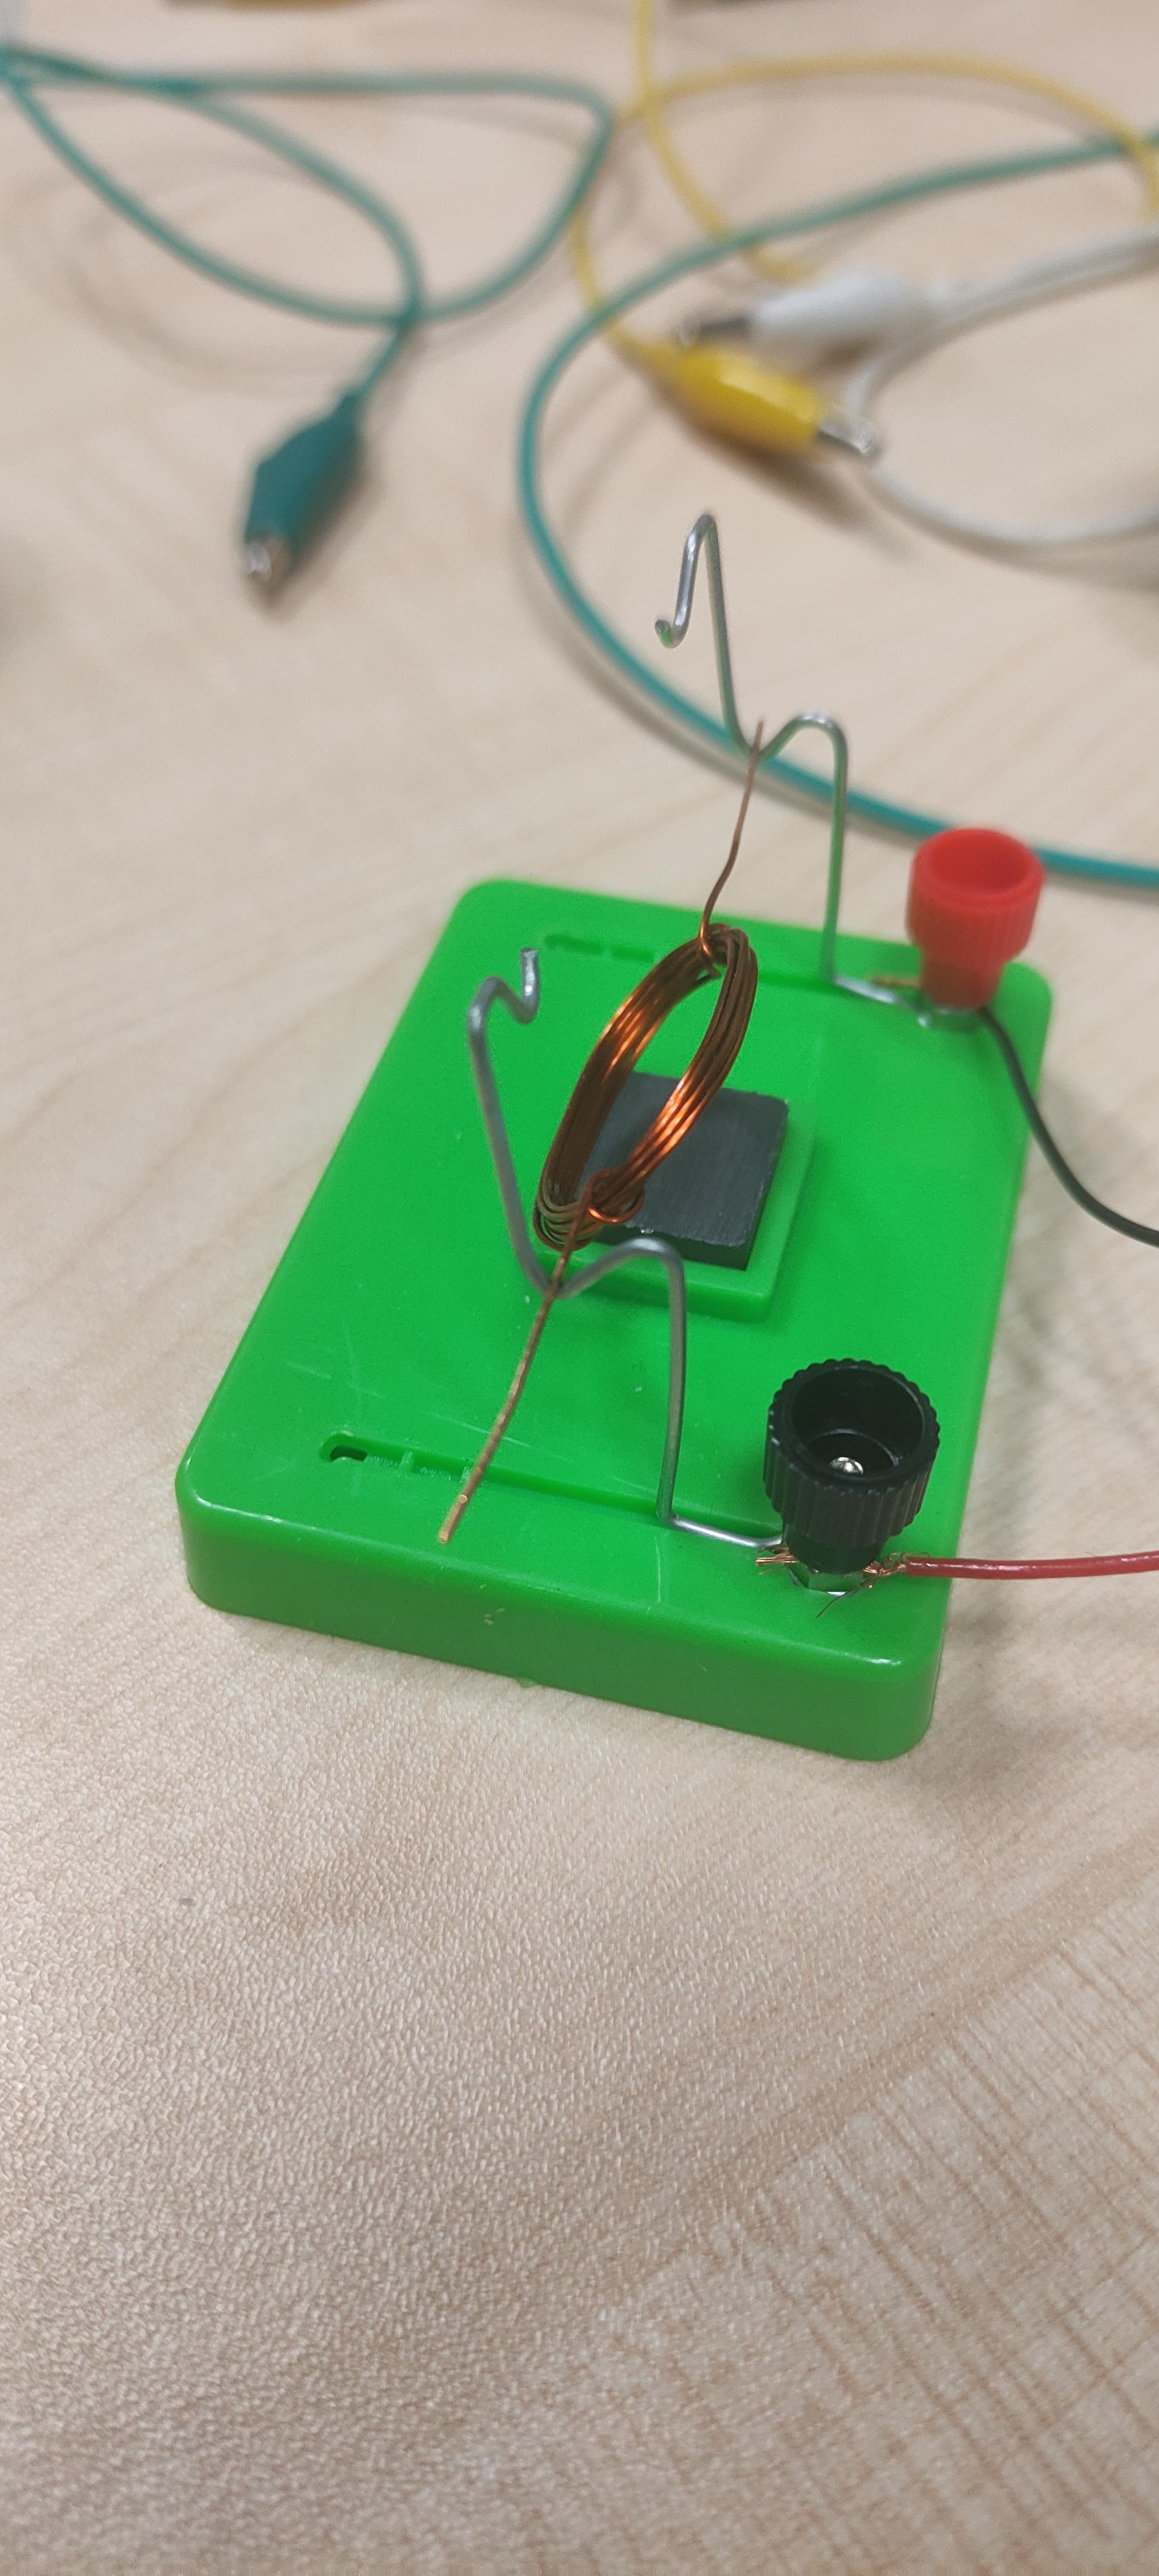
Roger Leifert brought along some interesting items, among them parts of science kits intended to demonstrate the fundamental principles of basic electronic components.
Left: A transformer featuring both primary and secondary coils, accompanied by a ferrite core.
Middle: A very simple electromotor made up of only one coil and one permanent magnet.
Right: A more complex electromotor with multiple coils and permanent magnets, capable of self starting.
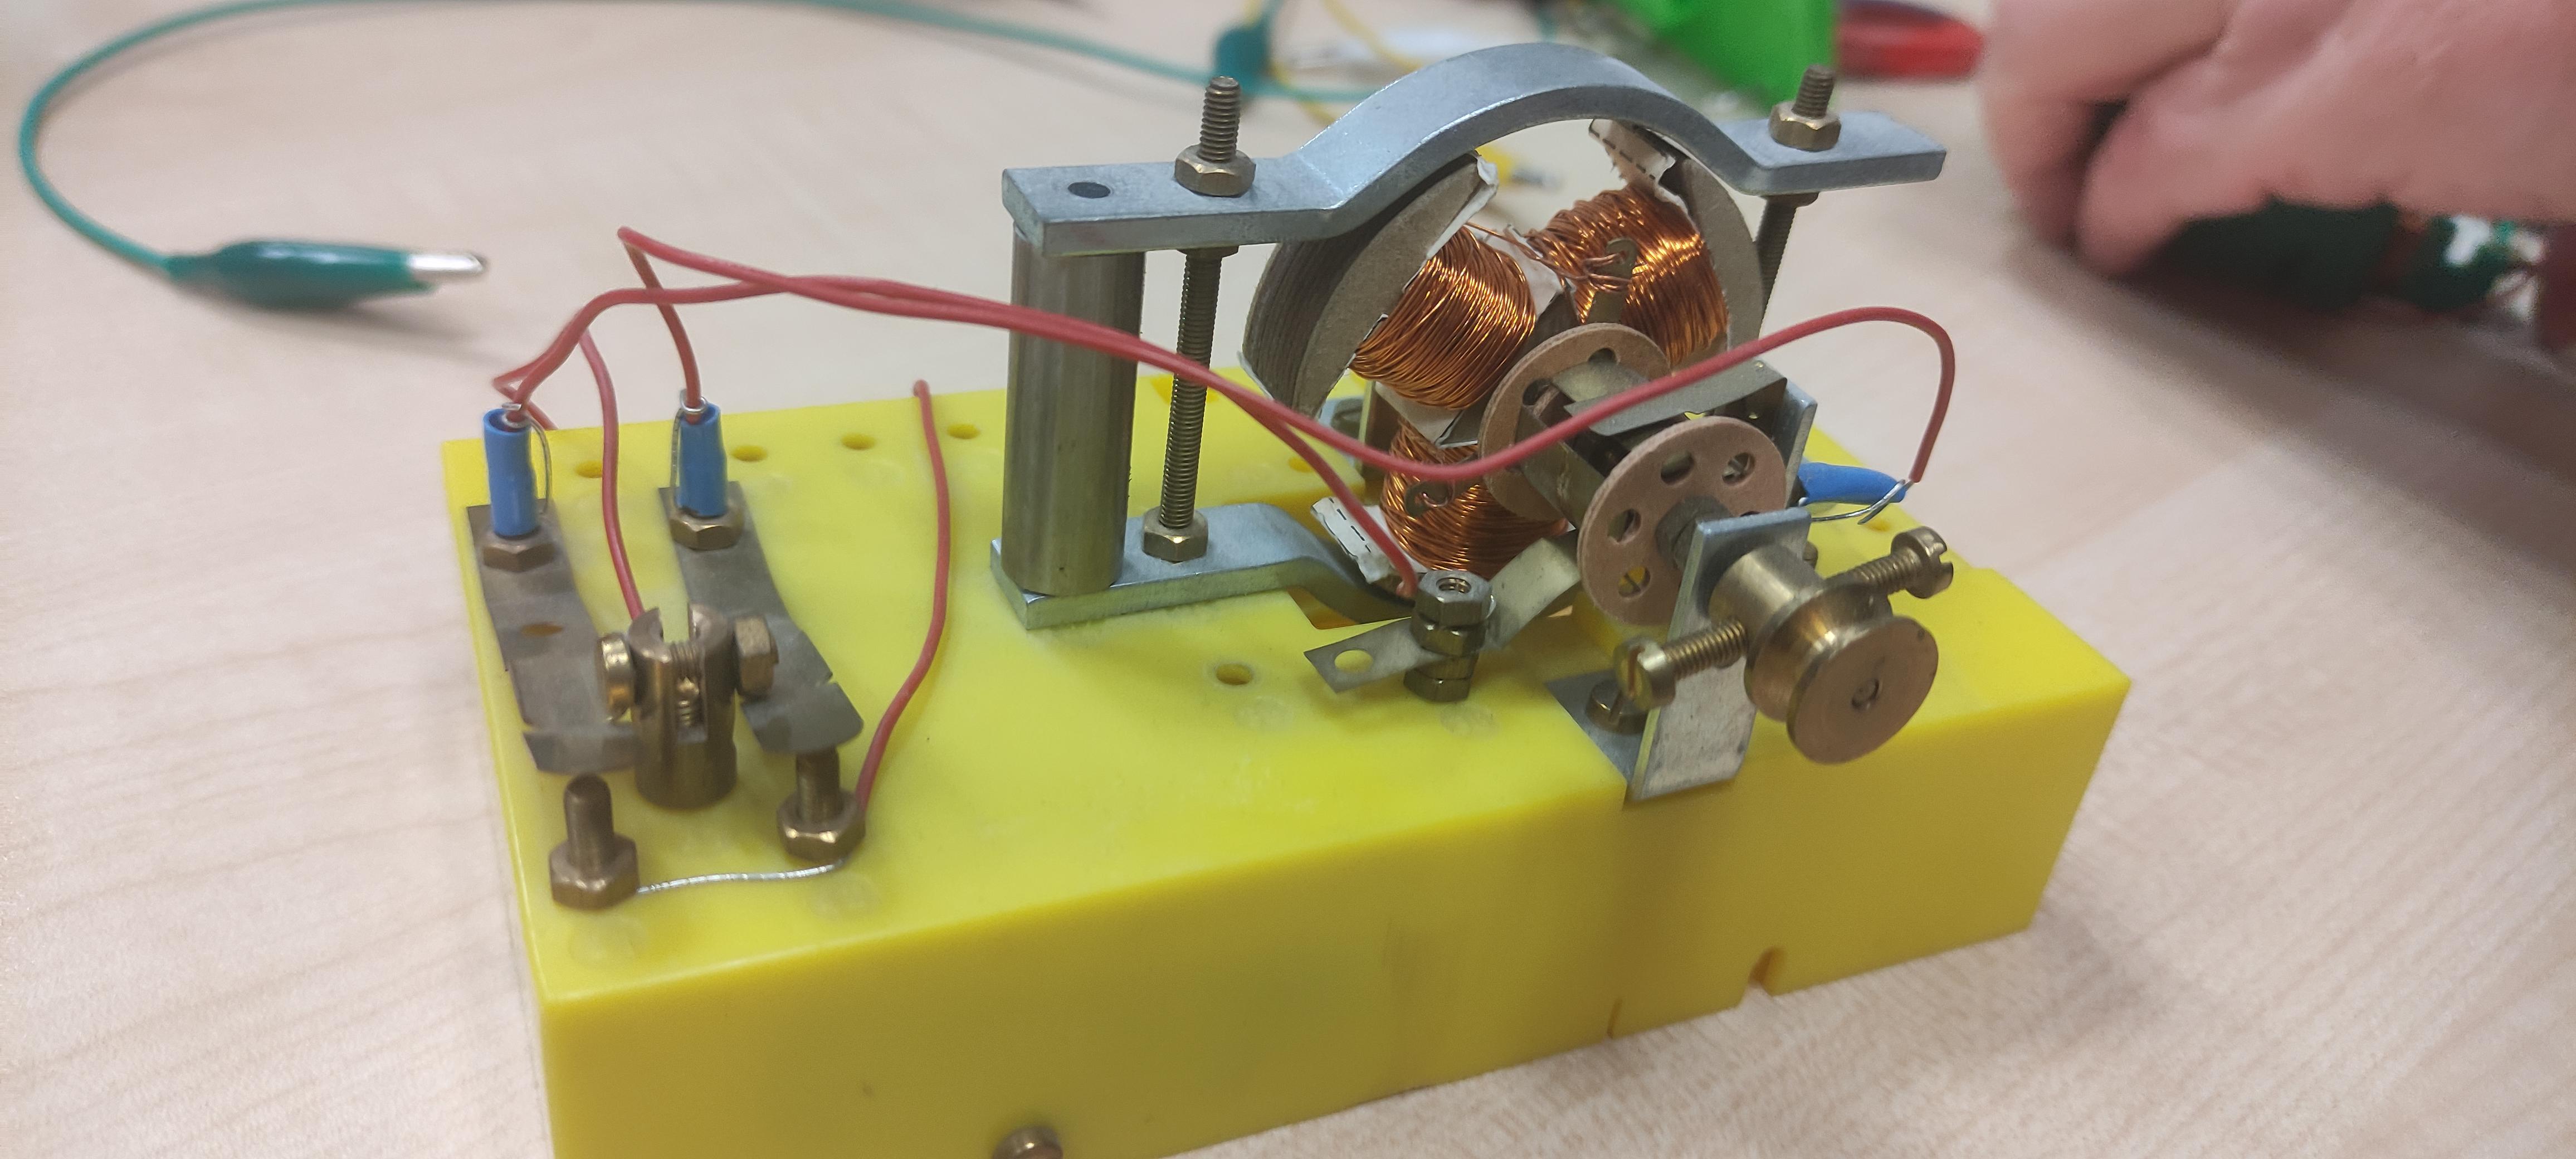
He also presented a larger version of the more complex electromotor, possessing the same capabilities but providing a deeper understanding of the inner workings of an electromotor.
Steps for creating a lithophane from a picture:
1. Open the picture in an image editing software like Adobe Photoshop or Gimp.
2. Make a rectangular or square selection of the part of the picture that you want to convert. Try to only keep the most important things inside because the effect will look better with less clutter in the picture.
3. Isolate your selection, so everything except the part you want to convert gets removed.
4. Scale the picture down to the desired final size while keeping the DPI at around 600 and not going below 300. The higher the DPI, the more detailed the image file will be.
5. Add a black border to the picture that is as large as you want the border of your lithophane to be. Not using one is not recommended because the border on the lithophane will look very messy without one.
6. Convert the picture to a black and white image using gradation curves so you can individually increase and decrease the brightness and contrast of the bright and dark areas of the picture. By carefully varying the settings you should try to preserve as much detail as possible in the very dark and very bright areas.
7. Convert the picture to a greyscale image.
8. Save your image as jpeg file.
9. Open Cura Slicer and either open or drag and drop your image into the working area of cura slicer. A window should open were you can define the settings on how cura should interpret the image.
height = total height, at this height the pictures darkest areas will end (black) (we used 2,5mm)
base = at this height the pictures brightes white areas will begin (white) (we used 0,4 mm)
Depending on the chosen values the thickness of your lithophane might vary.
10. Either use Cura Slicer to slice the now created 3D object or save it as stl-file and slice it with a slicer of your choice. White filament should be used for the best visual effect.
The layer height for printing the picture flat should be at most 0,12mm so not too much detail gets lost in the printing process.
Alternative method, easier but less customizable: https://3dp.rocks/lithophane/
As an alternative to manually converting your picture into a greyscale image there are websites that offer to convert pictures directly into 3D-printable stl-files. The website offers a bit less functionality in terms of image editing, but it is possible to form some interesting shaped lithophanes.