Using Vicon at i10

Our Vicon system has a stable, robust setup in the Project Space.

Features:

  • Pre-calibrated Bonita Cameras; connected directly to the i10 network.
  • Tracking volume of 2m x 2m x 2m; supports sitting as well as standing postures.
  • Workspace available for testing and development purposes.
  • Support for using Vicon with multiple machines simultaneously.
  • An overhead projector.
Snapshot of switch control goes here 
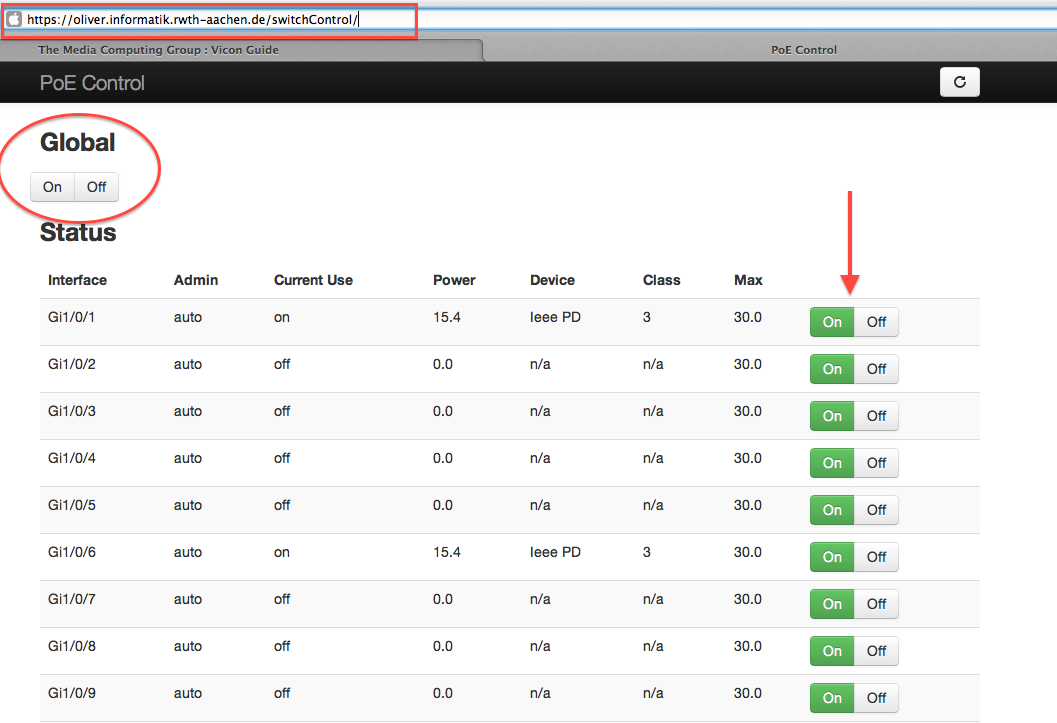
If you want to just use this setup, perform the following steps:
  1. Make sure all cameras are plugged into the project space ethernet ports.
  2. Connect your machine to the i10 network (via LAN/WLAN).
  3. Go to the Remote PoE Control page (log-in with i10 credentials).
  4. Use the global on/off button to turn the PoE (Power over Ethernet) in the project space on.
  5. You should now see the cameras pulsing with a red glow. This means they are powered but not connected.
If the PoE Control page does not work, see this section.

Using Vicon outside i10

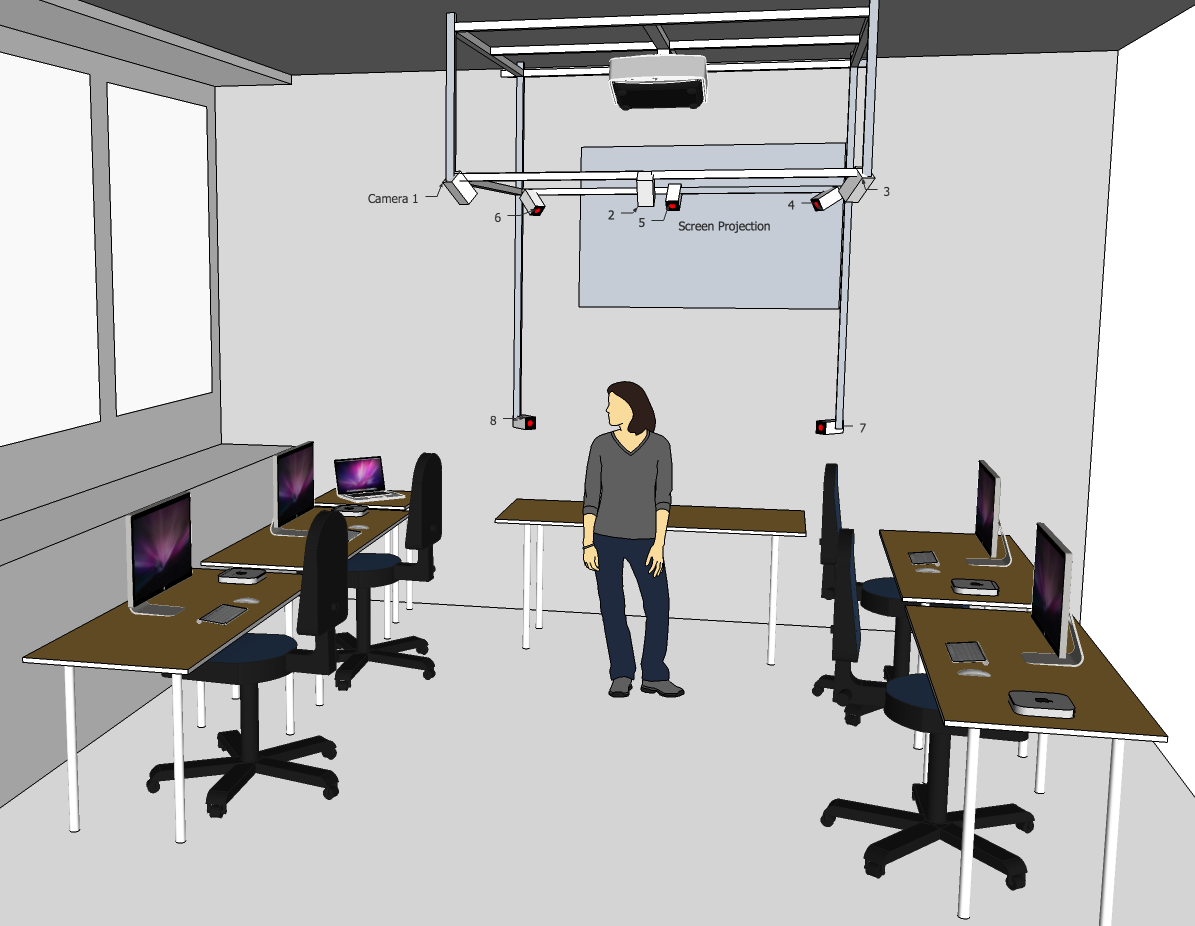
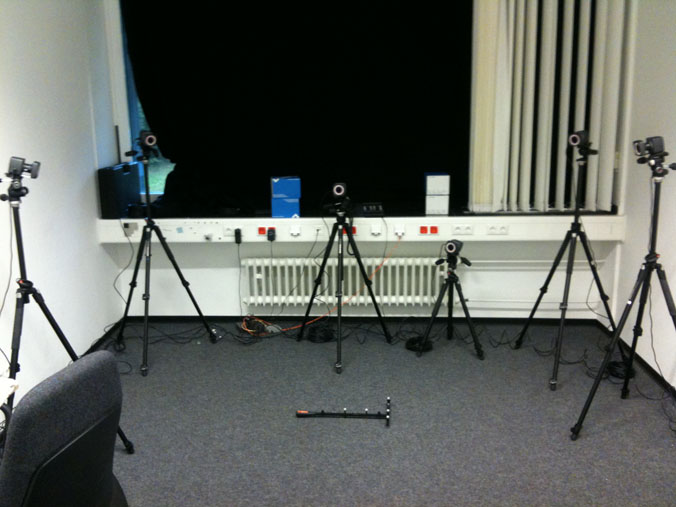
If you want to use the Vicon outside i10 or in a different room, you will have to make your own camera setup.
On the left, you see an overview of how the hardware should be setup.
Using one switch, up to seven cameras can be powered. To use all eight cameras, the second switch would be required.

To ensure stability, consider spending one full day to install proper aluminium profiles at the test site, and to calibrate cameras.
  1. Mount the cameras onto the stands.
  2. Set up the camera stands so that that the camera mounts point towards the area that is to be observed. A half-circle configuration has proven practical. Note that the perspective of the four cameras should not be too similar, or else the coordinate calculations will be unstable and thus imprecise. The cameras should not be in each others view, or else the tracking will get confused by the IR sources. If cannot be avoided, see see this section.
  3. Plug a Vicon LAN cable into each camera. Do not apply force! When placing the cables, do so neatly. Use cable ties to tie up the parts of the cable that are to long.
  4. Plug another end of the Vicon LAN cable to the PoE switch.
  5. Plug the PoE switch power cord. The camera should be powered up. You should see the red infrared ring blinking slowly.
  6. Connect Macbook Pro and the switch with a LAN cable.
  7. Close the window blinds. Sunlight disrupts the marker detection. Fluorescent light in the room is OK.